|
|
||||||||||||||||||||||||||||||||||||||
|
Armor |
|
|||||||||||||||||||||||||||||||||||||
|
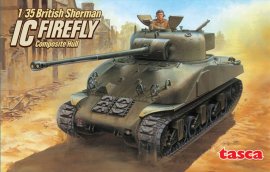
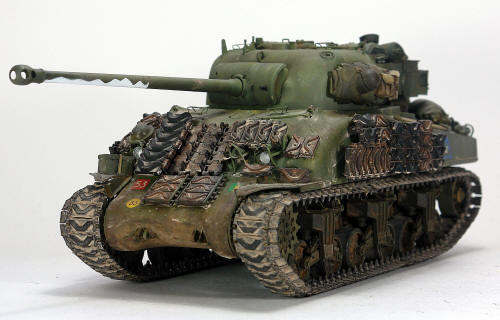
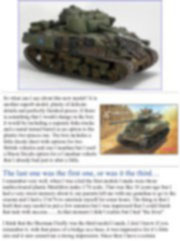
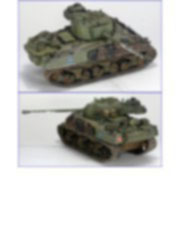
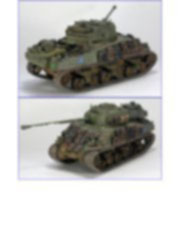
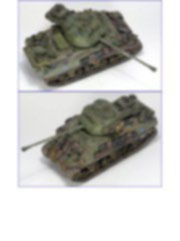
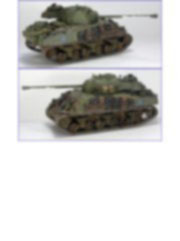
Building the Tasca Sherman Firefly Ic 1/35 scale |
||||||||||||||||||||||||||||||||||||||
|
by Federico Collada © Modeler Site |
||||||||||||||||||||||||||||||||||||||
|
Legal Notice No material from Modeler Site any Web site owned, operated, licensed, or controlled by Damian Covalski may be copied, reproduced, republished, uploaded, posted, transmitted, or distributed in any way, except that you may download one copy of the materials on any single computer for your personal, non-commercial home use only, provided you keep intact all copyright and other proprietary notices. Modification of the materials or use of the materials for any other purpose is a violation of Damian Covalski's copyright and other proprietary rights. Read More here > Legal notice When Tasca started to produce military models everybody was nicely surprised of the high quality of their first Sherman, it was in fact a Firefly. Since then Tasca and Sherman are synonymous. Some year later they still produce the best Shermans models in 1/35 scale, when modellers plan to make one they just think in Tasca.
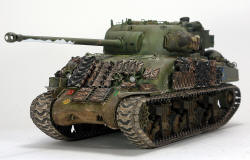
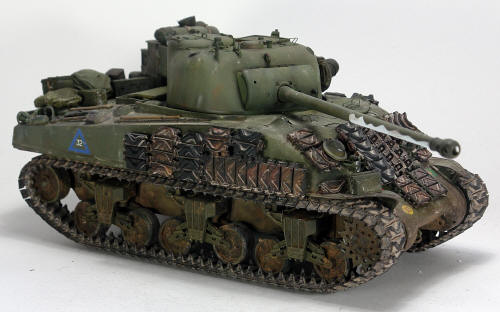
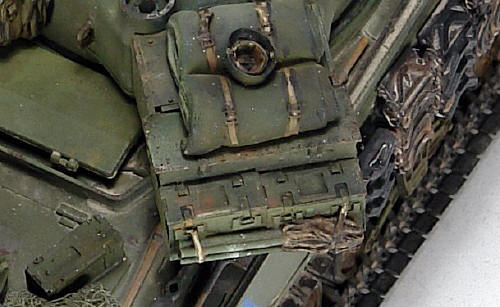
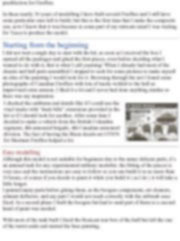
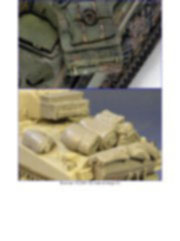
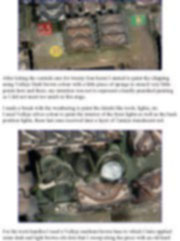
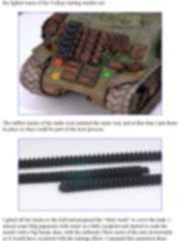
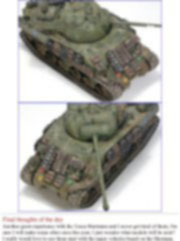
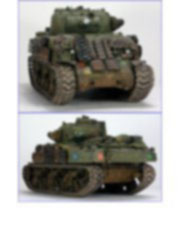
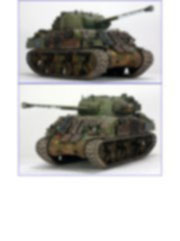
The last one was the first one, or was it the third… I remember very well, when I was a kid the first models I made were those multicoloured plastic Matchbox tanks 1/76 scale. That was around 30 years ago but I had a very sweet memory about it, my parents left me with my grandma to go to the cinema and I had a T34/76 to entertain myself for some hours. The thing is that I built that easy model in just a few minutes but I was impressed that I could finish that task with success……In that moment I didn’t realize but I had “the fever” I think that the Sherman Firefly was the third model I made, I don’t know if you remember it, with that piece of a bridge as a base, it was impressive for it’s little size and it sure caused me a strong impression. Since then I have a certain predilection for Fireflies. In these nearly 30 years of modelling I have built several Fireflies and I still have some particular ones left to build, but this is the first time that I make the composite one, now I know that it was because in some part of my intricate mind I was waiting for Tasca to produce the model. Starting from the beginning I did not wait a single day to start with the kit, as soon as I received the box I opened all the packages and glued the first pieces, even before deciding what I wanted to do with it, that is what I call yearning! When I already had most of the chassis and hull parts assembled I stopped to seek for some pictures to make myself an idea of the painting I would look for it. Browsing through the net I found some photographs of Canadian Fireflies with lots of tracks welded to the hull as improvised extra armour, I liked it a lot and I never had done anything similar so there was my inspiration.
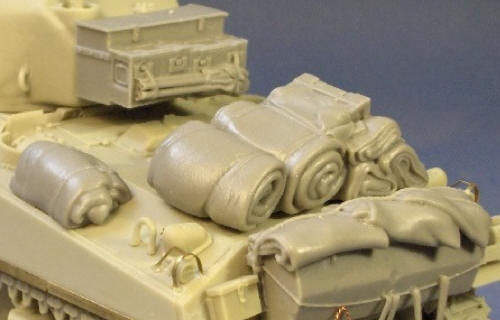
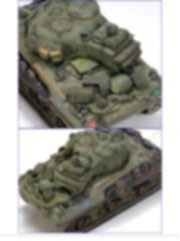
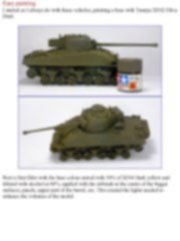
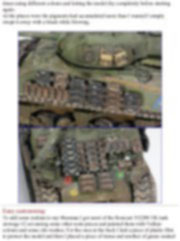
Easy modelling Although this model is not suitable for beginners due to the many delicate parts, it’s an amused task for any experimented military modeller, the fit of parts is very nice and the instructions are easy to follow so you can build it in no more than 10 hours, of course if you decide to paint it while you build it ( as I do ) it will take a little longer. With most of the tank built I fixed the Resicast rear box of the hull but left the one of the turret aside and started the base painting.
This note is offered in PDF format to be read or printed using Acrobat reader, contact our webmaster > Here Includes more than 43 pics, here we show only the text pages.
Esta Nota es ofrecida en formato PDF, el cual puede ser leído o impreso usando el Acrobat reader, contacte a nuestro webmaster > Aquí Incluye más de 43 imágenes, aquí solo mostramos las paginas de texto.
Big size photos are only available in our PDF format. Support us ordering our notes in PDF > Here |
||||||||||||||||||||||||||||||||||||||