Formula one

Building the Tyrrell 1977 six wheeler - Tamiya & Chevron transkit 1/12 scale

by Mario Covalski © Modeler Site

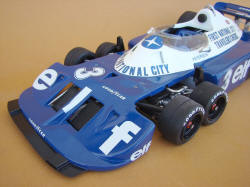
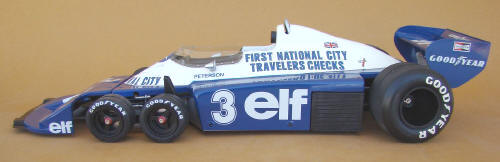
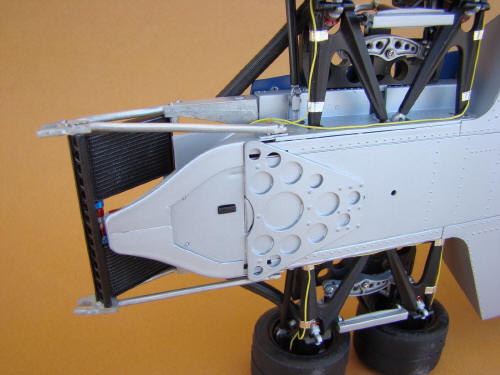
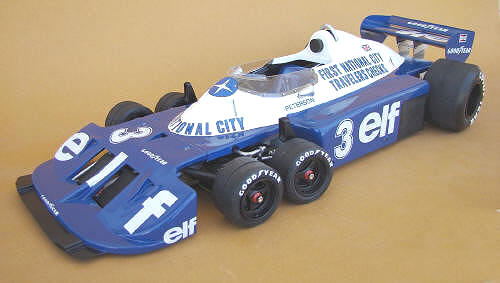
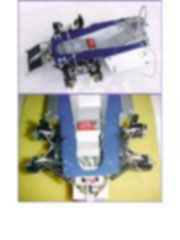
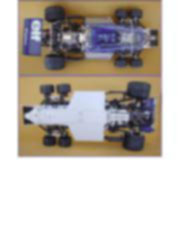
Legal Notice

No material from Modeler Site any Web site owned, operated, licensed, or controlled by Mario Covalski & Associated may be copied, reproduced, republished, uploaded, posted, transmitted, or distributed in any way, except that you may download one copy of the materials on any single computer for your personal, non-commercial home use only, provided you keep intact all copyright and other proprietary notices. Modification of the materials or use of the materials for any other purpose is a violation of Mario Covalski & Associated's copyright and other proprietary rights.

Read More here > Legal notice


I won't speak much about the well-known Tyrrell project 34 history. I will only say that at the beginning of  1977 season Ken Tyrrell modified the 1976 six wheeler model, adapting it to that moment technology. The changes were more evident in the trail of the front train width, a compounded materials body that covered the old design, and the increase of more than 8 inches long.


This car didn't have its predecessor's success, and in my opinion the changes, denaturalized the original project, which was a small car with good aerodynamic penetration. 

Chevron presented us some time ago a conversion kit, that allows us to transform the Tamiya's 1/12 Tyrrell P34 1/12 scale in its 1977 homonym. In this note I will describe which were the problems I found in building this complicated and compound kit, and the way I solved them.

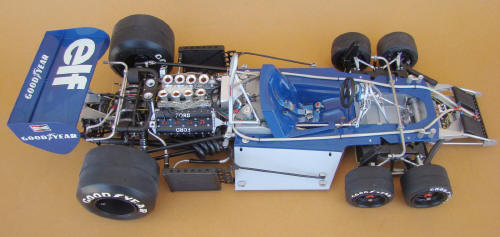
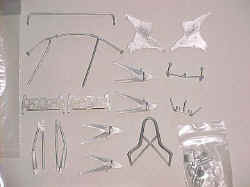
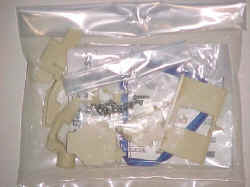
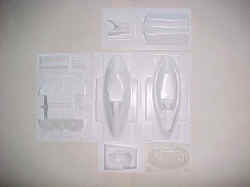
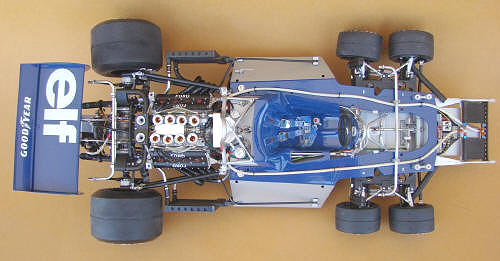
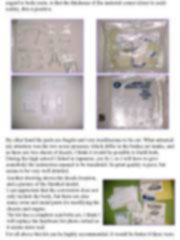
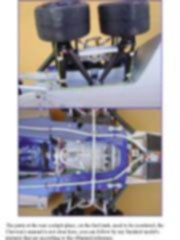
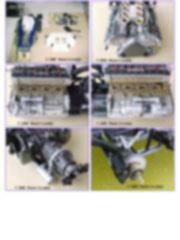
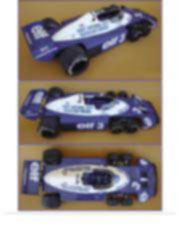
When I received the transkit, immediately I was impressed by its good presentation and the amount of resin and metal parts.
The Chevron products are the well-known garage’s kit, made in small quantity by artisans, for the scale car builders delight. The finished model shows the six wheels as it looked by the end of 1977, with the careened engine and more streamlined profile, It’s an ideal complement for Tamiya’s kit. The most important novelty about this transkit, is that besides being the first for 1/12 scale, is that body parts are made of vacuform plastic.
This has advantages and disadvantages. My experience using vacuform with regard to body resin, is that the thickness of the material comes closer to scale reality, this is positive.


Metal parts.jpg (52326 bytes) Resin parts.jpg (55255 bytes)
Vacform parts.jpg (35241 bytes) Decals.jpg (81714 bytes)


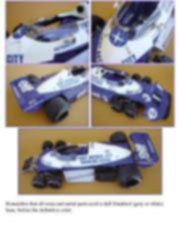
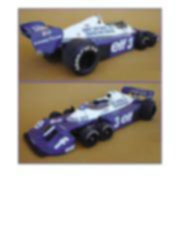
By other hand the parts are fragile and very troublesome to be cut. What attracted my attention was the two noses presence which differ in the brakes air intake, and as there are two sheets of decals, I think it would be possible to build both.
During the high school I failed in Japanese, yes Sr.!, so I will have to give somebody the instruction manual to be translated. Its print quality is poor, but seems to be very well detailed.

Another drawing shows the decals location, and a picture of the finished model.
I can appreciate that the conversion does not only include the body, but there are also many resin and metal parts for modifying the chassis and engine.
The kit has a complete seat-belts set, I think I will replace the hardware for photo etched as it seems more real.

Chevron's tyrrel.jpg (49767 bytes)

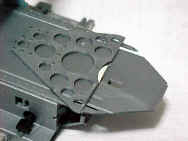
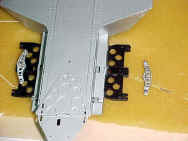
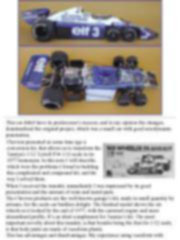
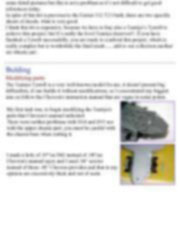
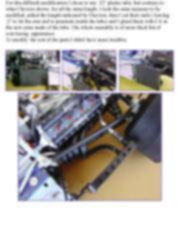
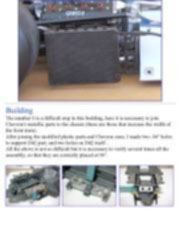
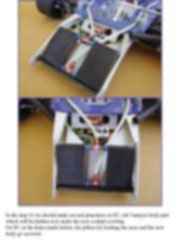
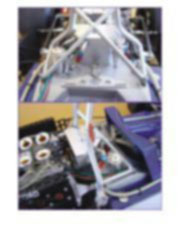
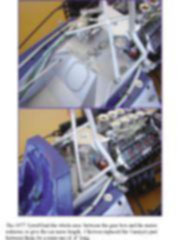
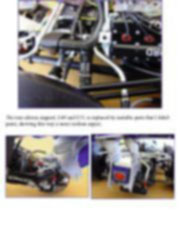
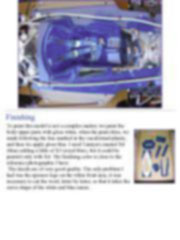
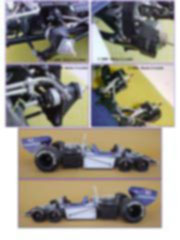
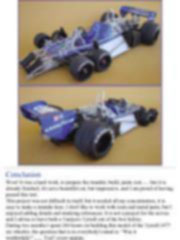
For all above this kit can be highly recommended, It would be better if there were some detail pictures but this is not a problem as it’s not difficult to get good references today.

In spite of this kit is previous to the Ferrari 312 T2 I built, there are two specific sheets of decals, what is very good.
I think this kit is expensive, because we have to buy also a Tamiya’s Tyrrell to achieve this project, but It’s really the level Tamiya deserves!!. If you have finished a Tyrrell successfully, you are ready to confront this project, which is really complex but is worthwhile the final result.......add to our collection another six wheels car!.


Building

Modifying parts

The Tamiya Tyrrell is a very well-known model for me, it doesn't present big difficulties, if one builds it without modifications, so I concentrated my biggest aim on follow the Chevron's instruction manual that are vague in some points.  

My first task was, to begin modifying the Tamiya's parts that Chevron's manual indicated.
There were neither problems with D14 and D15 nor with the upper chassis part, you must be careful with the chassis base when cutting it.  

Mvc-003f.jpg (61304 bytes)

I made a hole of .05"on D42 instead of .08"(as Chevron's manual says) and I used .04" screws instead of those .08" Chevron provides and that in my opinion are excessively thick and out of scale. 

Mvc-164f.jpg (58377 bytes)


Esta Nota es ofrecida en formato PDF, el cual puede ser leído o impreso usando el Acrobat reader, contacte a nuestro webmaster > Aquí

Incluye más de 98 imágenes, aquí solo mostramos las paginas de texto.


This note is offered in PDF format to be read or printed using Acrobat reader, contact our webmaster > Here

Includes more than 98 pics, here we show only the text pages.


Gift!!!!!! 3200 pixels highres picture, click the thumbnail.


Support us ordering our notes in PDF > Here