|
|
|||||||||||||||||||||||
|
Motorcycles/Techniques |
|||||||||||||||||||||||
|
Realistic Fork Tubes for 1/12 scale motorcycles |
|||||||||||||||||||||||
|
by Evan Jones © 2005 |
|||||||||||||||||||||||
|
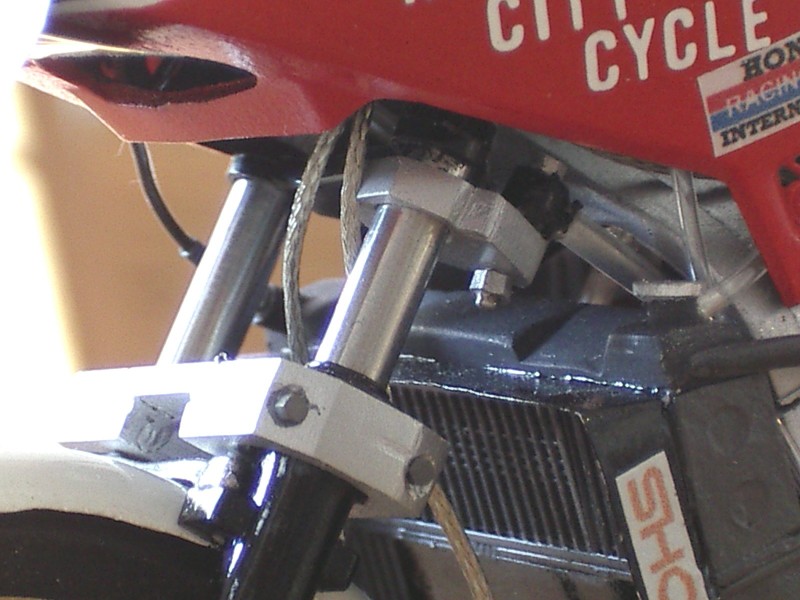
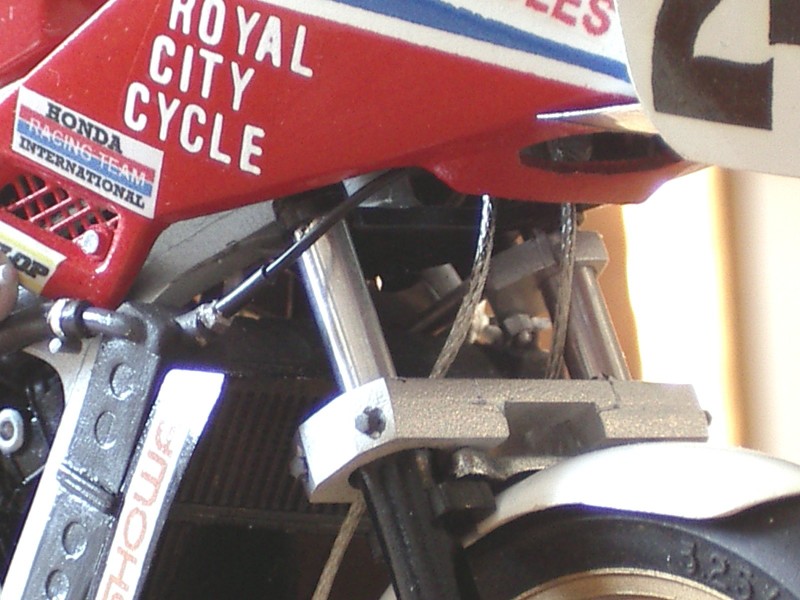
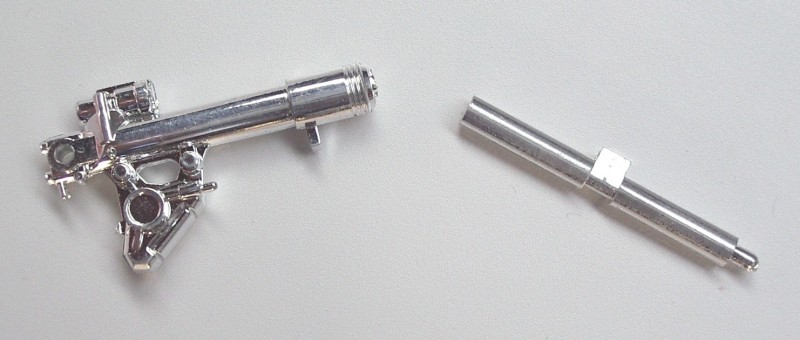
Legal Notice No material from Modeler Site any Web site owned, operated, licensed, or controlled by Damian Covalski may be copied, reproduced, republished, uploaded, posted, transmitted, or distributed in any way, except that you may download one copy of the materials on any single computer for your personal, non-commercial home use only, provided you keep intact all copyright and other proprietary notices. Modification of the materials or use of the materials for any other purpose is a violation of Damian Covalski's copyright and other proprietary rights. Read More here > Legal notice There is a wealth of motorcycle kits available on the market in 1:12 scale. Many of these kits depict older bikes that have fork sliders on the bottom and the fork tubes attached to the steering head via fork triple clamps. The forks and tubes can appear unrealistic for a few reasons:
The solution to these problems is to clean up the fork sliders and replace the fork tubes with aluminum rod available at any good hobby shop. Rod of 1/8 inch diameter (3.2 mm) will give a scale 1.5 inch diameter (38.4 mm) tube, which is accurate for most older motorcycles in 1:12 scale. Some of the newer, upside down forks will need a larger diameter rod and the technique here is similar. The aluminum rod has no seam in it and it can be polished to represent real forks quite realistically. This will really enhance a chopper motorcycle with their long front forks. To make this work, you will need a few simple hand tools such as a razor saw, a pin vise, miniature drills, needle files and polishing pads or cloths. Below are the simple steps involved.
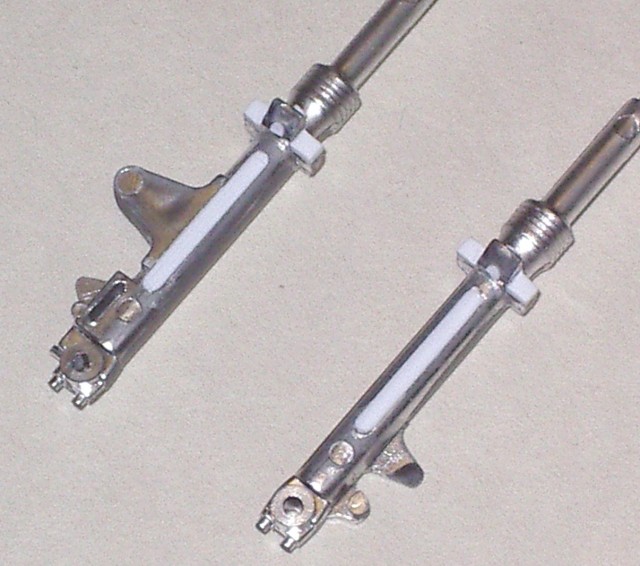
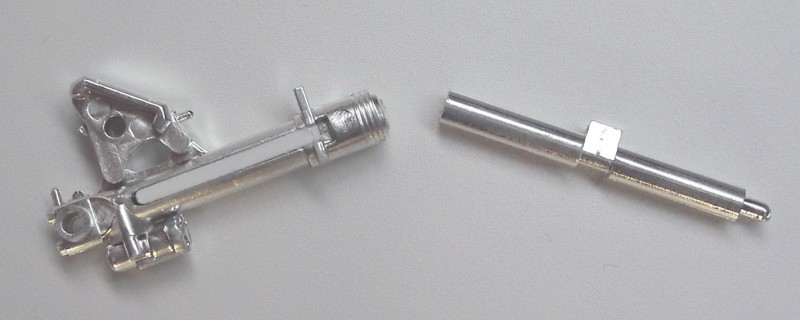
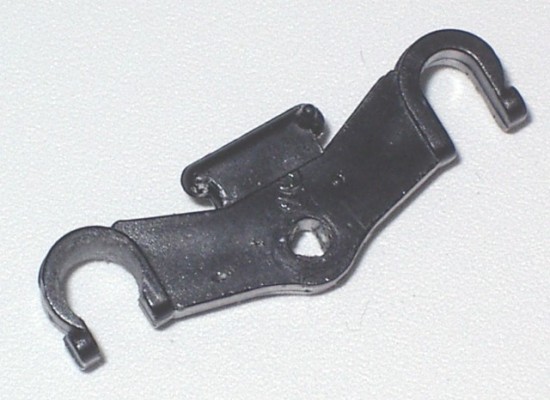
Step Two – Remove fork tubes from sliders This is best done with a razor saw. Make sure that you make the cut square.
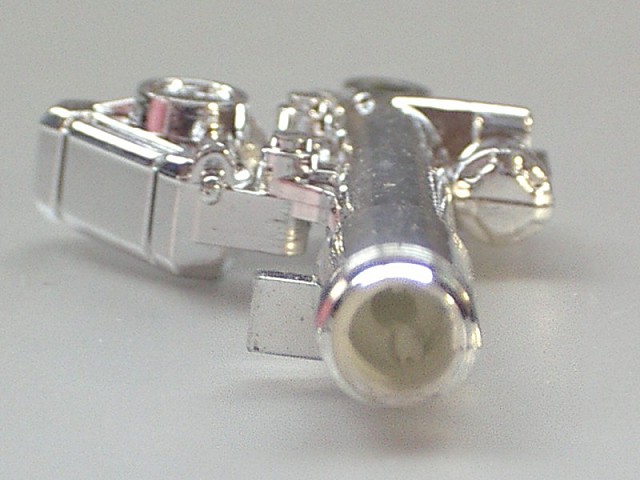
Step Three – Drill out the fork slider This is the most difficult part and care must be taken. I usually mark the center with a pin, drill a pilot hole with a number 61 drill, then start the hole with a 1/8 inch drill done by hand. You can finish the hole by hand or use a variable speed drill set to a very low speed. Drill to a depth that will give the new fork tube stability, usually at least 1/4 inch (5 mm). Getting the hole straight and centered is the most important step to getting this enhancement correct.
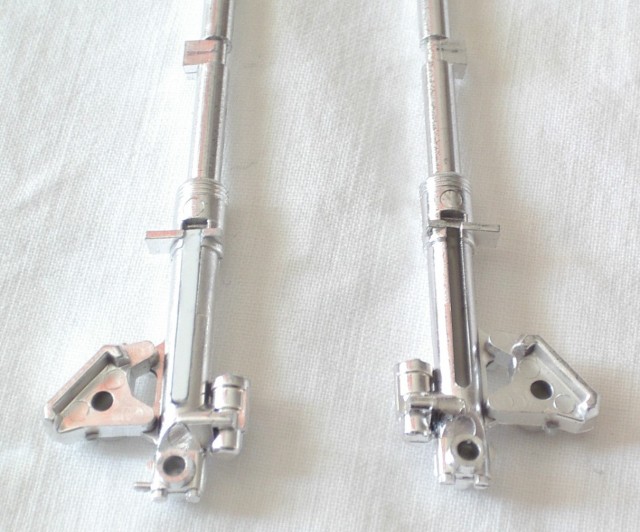
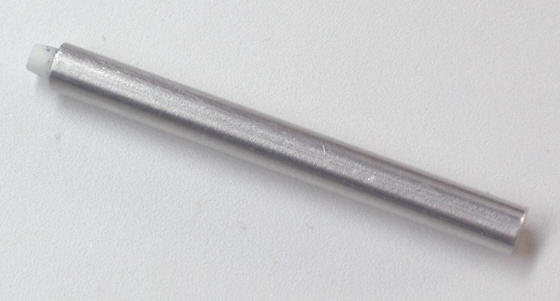
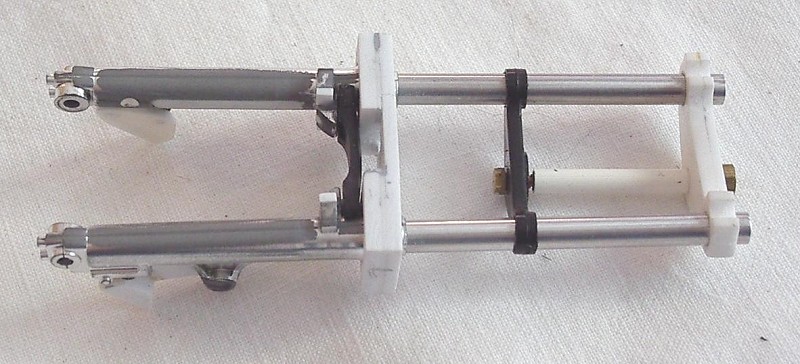
Step Four – Cut and polish aluminum rod From the original fork tube that you cut off, measure the length of aluminum rod that you need, plus the depth of the hole in the fork slider. Using a series of polishing paper (starting at 3200 grit and going to 12000), give the tubes a mirror like finish. You can add a piece of styrene rod in the end to attach to the upper fork triple clamp.
Step Five – Modify fork triple clamps The attachment points for the fork tubes will need to be modified to accept the new tubes. I usually find that a round needle file will widen out the slot in the lower triple clamp and the top triple clamp can often be drilled out. Be careful because the new attachment area will become very thin once you are done. You can also make completely new pieces out of sheet styrene as an alternative.
Attach together by carefully applying superglue and your new forks are ready.
A variation that I have yet to try would be to make working front suspension. You could drill deeper holes in the forks and glue a spring in the bottom of the hole and to the end of longer aluminum rods. You would probably only need the spring in one fork slider. Support us ordering our notes in PDF > Here |
|||||||||||||||||||||||