|
Legal Notice
No material from Modeler Site any Web site owned, operated, licensed, or controlled by Mario Covalski & Associated may be copied, reproduced, republished, uploaded, posted, transmitted, or distributed in any way, except that you may download one copy of the materials on any single computer for your personal, non-commercial home use only, provided you keep intact all copyright and other proprietary notices. Modification of the materials or use of the materials for any other purpose is a violation of Mario Covalski & Associated's copyright and other proprietary rights.
Read More here > Legal notice
Modelling of figures is an activity that has developed to the utmost in several countries such as USA, Spain, Italy, France, etc. Some people, are exclusively devoted to model scale figure kits especially about military figures or comic or Sci-Fi movies characters which are later reproduced and sold by different brands; others, are fond of busts scratchbuilding. Along this article, you’ll be able to learn about how to model one of the main character from “The immortals”, a comic by Enki Bilal. Here, you’ve a version of Bastet.
Producing a figure from scratch, means actually a great challenge, and I think that the key to a successful job, is to know every aspect about human anatomy.
First, we should gather all available references we consider useful to study the anatomical proportions. You could easily get some inexpensive magazine about drawing (available at any bookstore or art shop) which will help you at the time of learning and understanding about the mentioned proportions.
You can also find this kind of material at a very low cost, on the Internet. This previous stage of analysis is essential, since any proportional defect on the figure, will spoil all subsequent work.
Another important point to take into account before setting to work, is to choose the pose the figure will stand, this will allow you to decide how to approach the harmony of proportions and design of the muscles and extremities, trying then, the pattern of the cloths wrinkles. A draftsman wooden mannequin ( a completely jointed figure) would be of great help to you if you could spend that money, or something less expensive: Why not to ask a relative of yours to act as mannequin?
Well, this stage will end with the draft of the figure you intend to represent, and of course in the scale you’ve decided to get it modelled. This draft will be a guide of reference to be consulted along the modelling job.
Scratchbuilding…
|
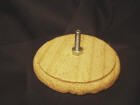
Step 1
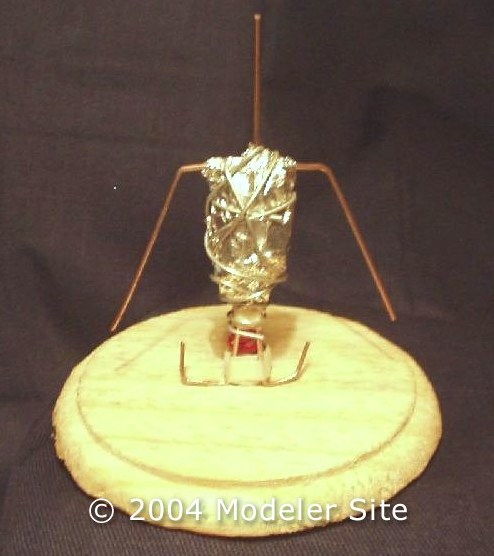
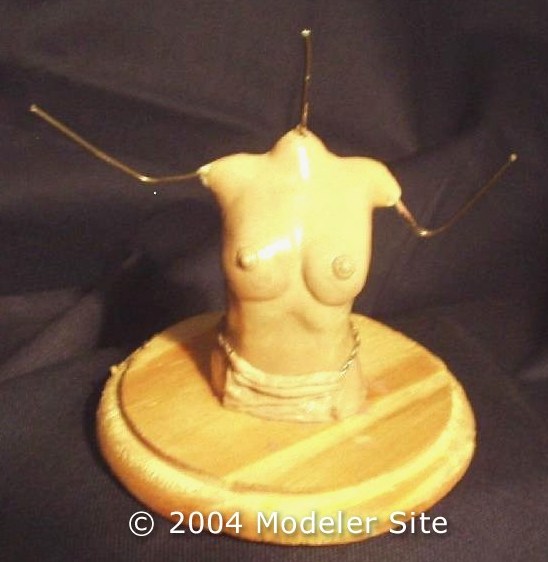
Over a wooden base, I screwed a mounting bolt that acted as support, to build the wire skeleton.
|
 |
|
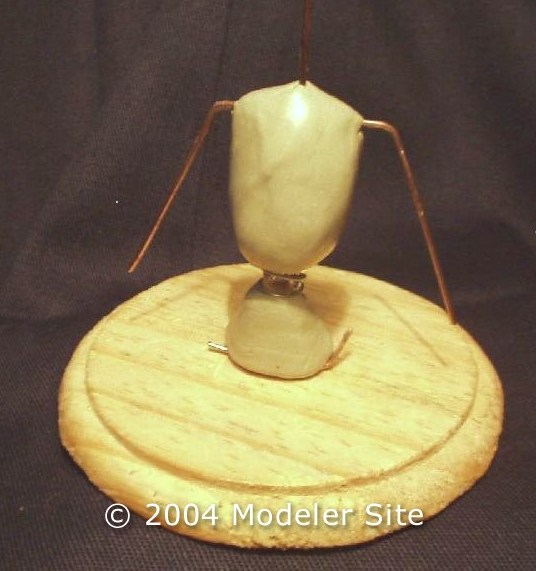
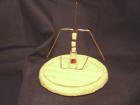
Step 2
Wire skeleton: I applied dry fast epoxy putty over it, to define the basic body volume. At the time of scratchbuilding the skeleton, let’s decide the pose and figure proportions. |
 |
|
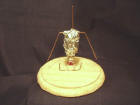
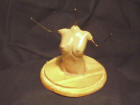
Step 3
Before applying the epoxy putty, add aluminium foil (used to wrap up foods) to begin giving volume. This will let us save putty and time consuming, besides of making it easier to give the proper shape to the body.
|
 |
|
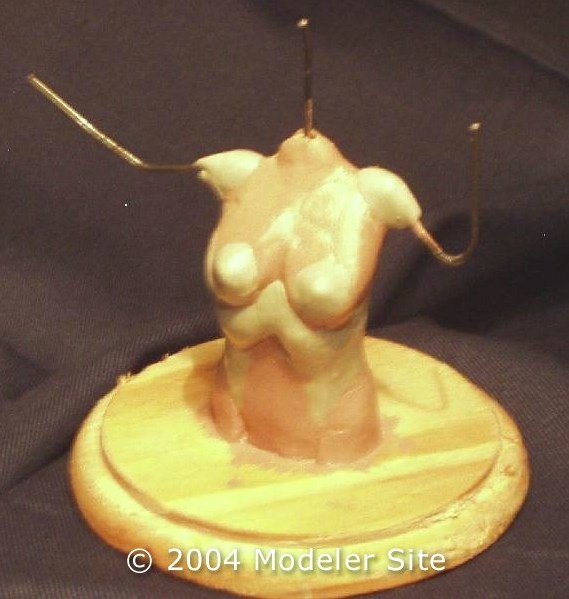
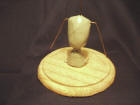
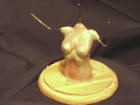
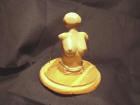
Step 4
This is the initial phase of the body’s modelling. Putty has already been added as to cover the aluminium foil, and the thorax, waist and pelvis volumes have been defined. |
 |
|
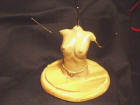
Step 5
The modelling procedure goes straightforward. The body begins to appear, the thorax muscles, abdominal cavity and breast are shaped. Here, we use slow dry instead of fast dry putty, since the details we try, need more work and accuracy. |
 |
|
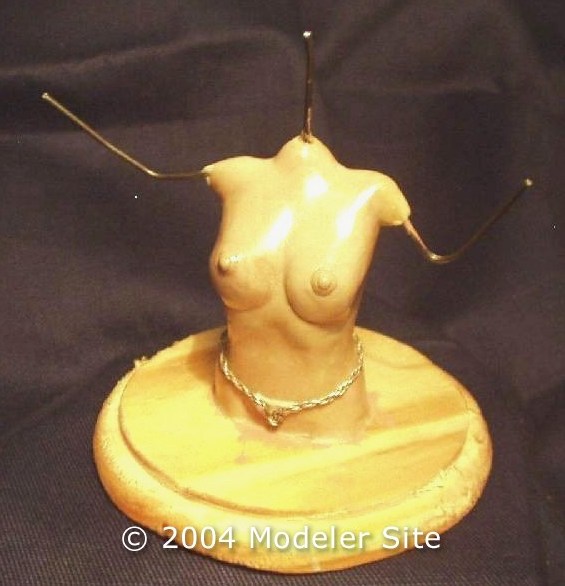
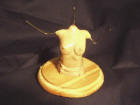
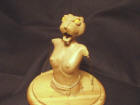
Step 6
The bust modelling has ended. To get a better finishing and in order to hide the imperfections, for instance fingerprints, which appear when modelling, a thin epoxy putty layer made by flattening a little epoxy putty over the surface was applied with the help of a rolling tool (a knead stick would be useful). |
 |
|
Step 7
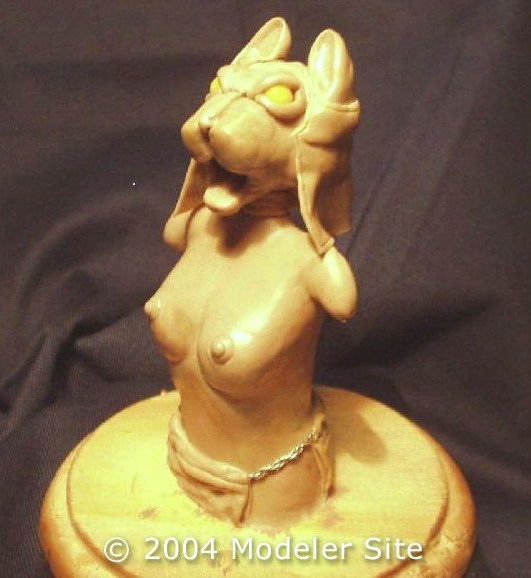
About detailing cloths. In this case, I used a short chain (from bijouterie) as the string of the small skirt the figure uses. |
 |
|
Step 8
The skirt was already made from a small amount of putty intending to replicate the cloths natural wrinkles. |
 |
|
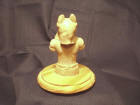
Step 9
Modelling the head, initial volume. |
 |
|
Step 10
The head with its features. To give an even volume and to shape the socket of the eyes small plastic pearls (used in necklaces) were used. |
 |
|
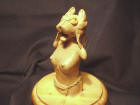
Step 11
The head was finished with the location of the ears and kind of “coif “, a headdress used by the kings and Egyptian deities. |
 |
|
|
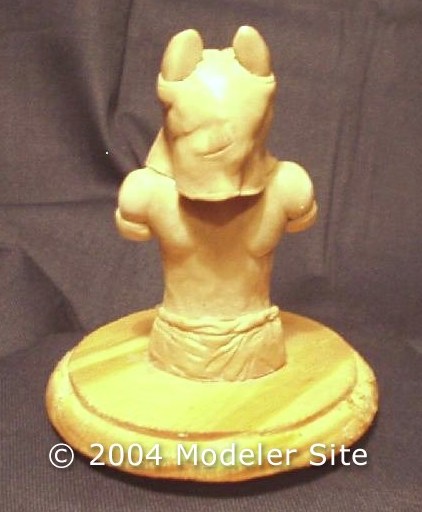
Steps 12 y 13
View of the back of the figure. You may appreciate how the hair was applied reaching the shoulders. |

|
|
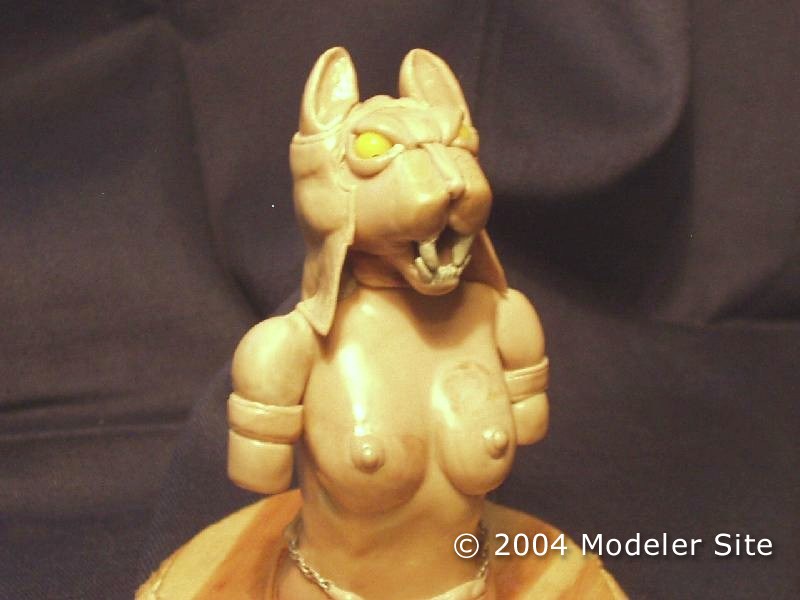
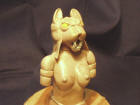
Step 14
The canine teeth were placed inside the mouth and two bracelets shaped to each forearm.
|
|
And that’s it!. Just remains to mount the bust on a proper base, going on with the last step, the painting.
Support us ordering our notes in PDF > Here
|