|
This was my first completed kit for three years, work commitments and a new child had meant that something had to give and it was modelling, however, I had kept my hand in to a degree by doing bits and pieces to my ever increasing stock of models, opening up panels and doors removing front cowls that sort of thing, spending hours dry fixing components, although I was not finishing any models it is all good practice and helps keep your hand in, even if my wife thinks I am mad, starting at instructions and kit trees for hours at a time. As mentioned it was to be my first finished model for years and my very first full resin kit, so I was filled with some trepidation as I was to be working with a new media, my worries were not warranted.
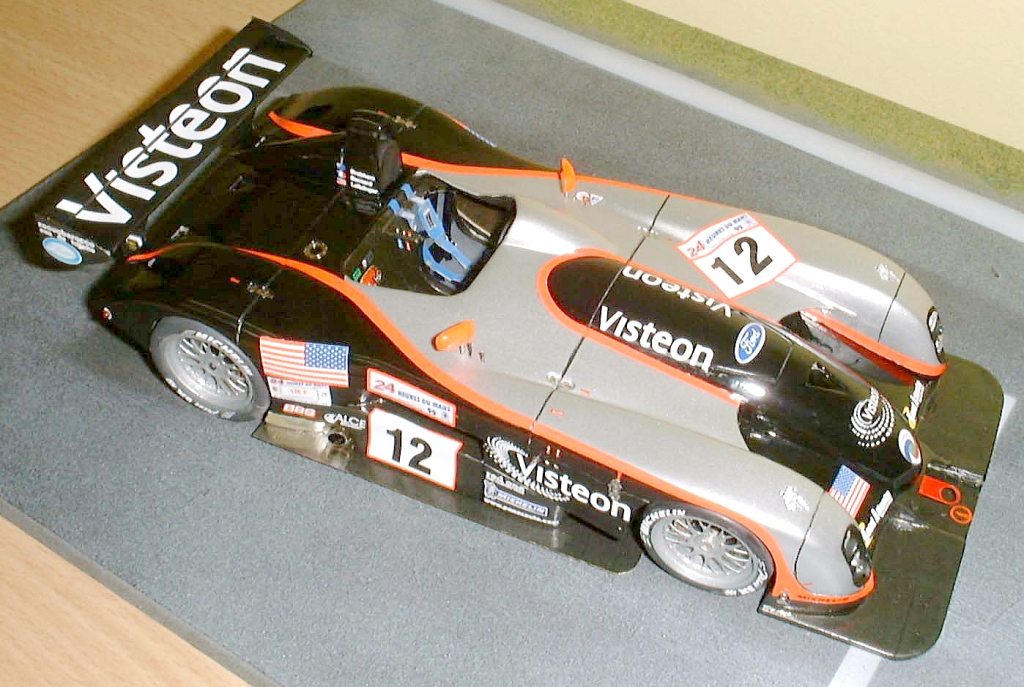
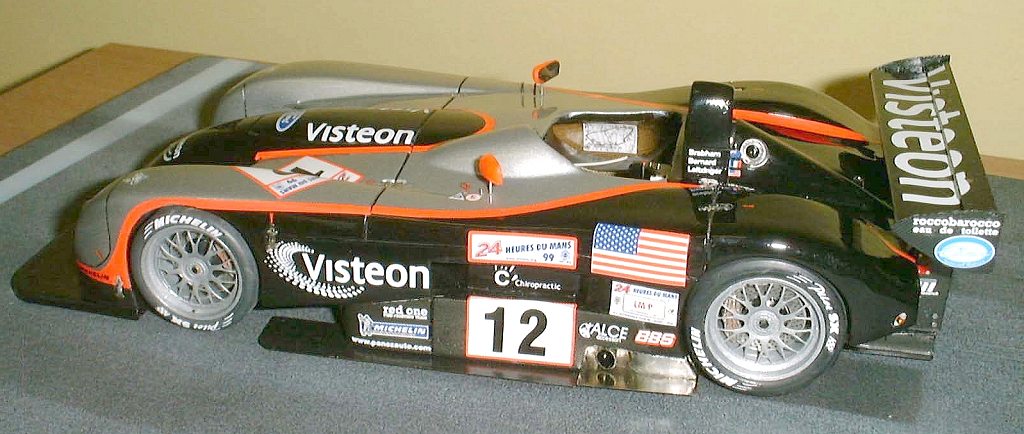
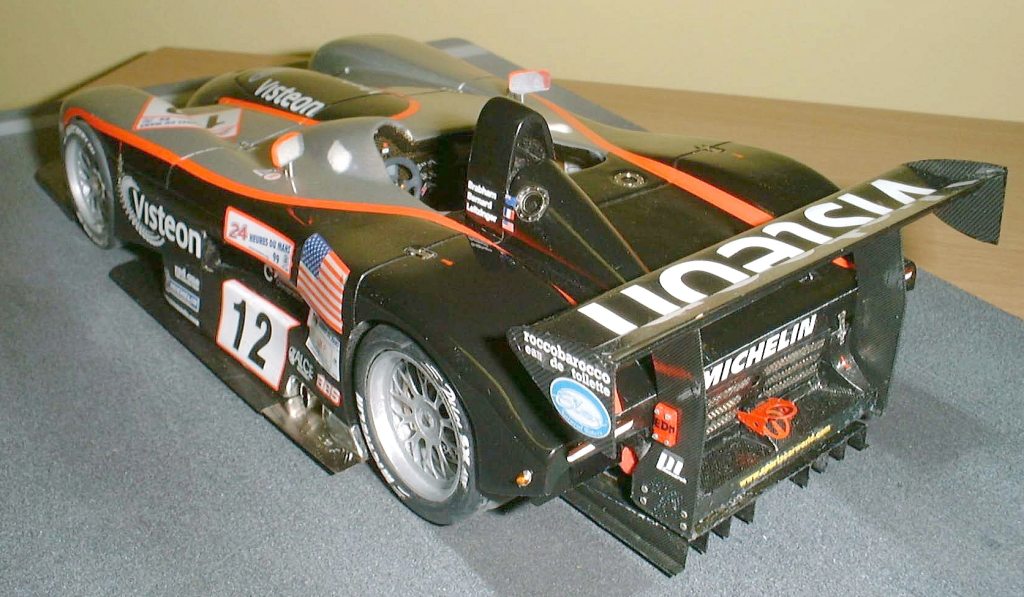
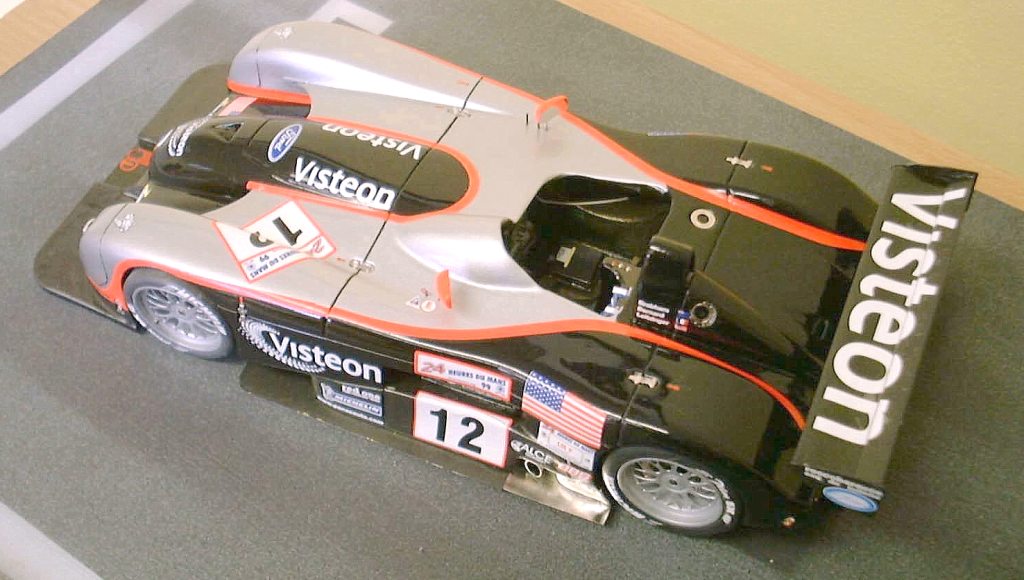
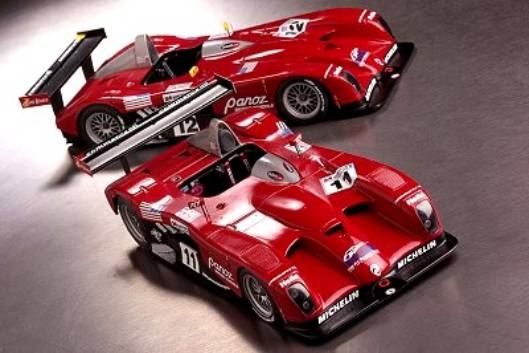
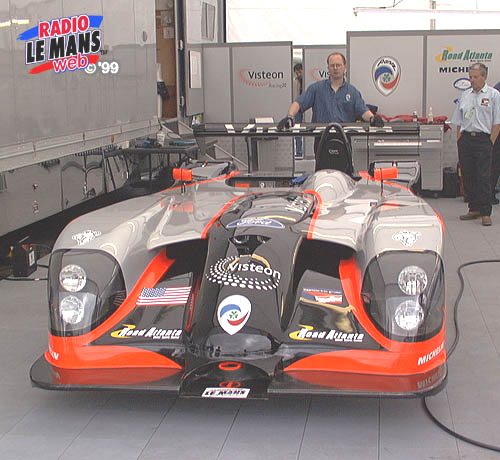
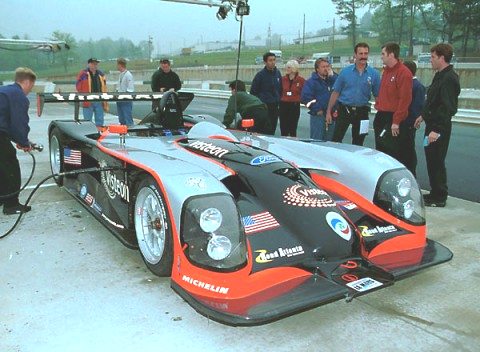
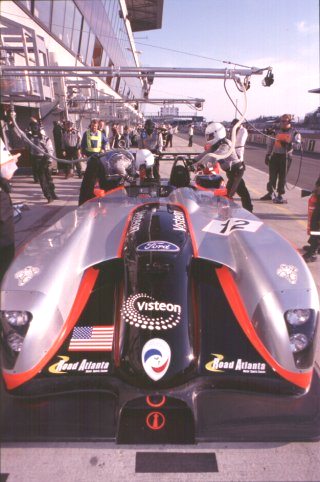
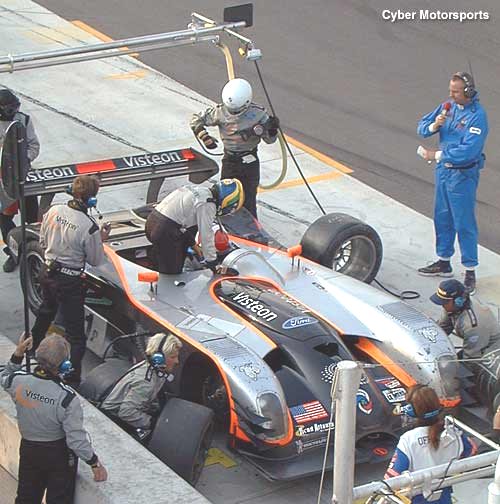
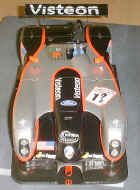
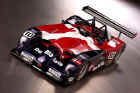
I have never been a great lover of American cars but the Panoz LMP1 Roadster appeals to me, there is a certain beauty in its ugliness, the earlier GTR is no different and I fully propose to get Sakatsu's model of this at some point. There are quite a few Roadsters available from several companies, but (in my opinion) the striking colour scheme of the works entered 1999 Le Mans entries shows the lines of the car off perfectly (see end of article for alternatives), the decision on which manufacturer to choose was harder, both Renaissance and Le Mans Miniatures offer outstanding multi media kits, as I have used several of the Renaissance transkits and loads of their decals to good extent, it made sense to go with Renaissance. Pricing is not an issue as both kits go for about the same price around £70.00 ($100.00 or 110 euros).
|
The kit
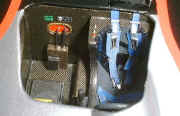
As mentioned the kit is multi media and is made up off, a superbly cast resin body, very neatly scored panel lines, all exterior fittings either have the appropriate indentation or hole that helps with fixing later, and is wonderfully smooth. The wheel rims are beautifully done in resin, as are the brake disks, calipers, roll hoop and rear wing, electronics box, dashboard gear lever and wing mirrors. The chassis is in two pieces, with the seat moulded in place (personally I would have preferred a separate seat as this makes life a bit easier later on.)
There are two brilliantly done photo etched sheets one in brass and the other in nickel silver. The brass sheet carries all the parts that are going to be painted, such as the wing end plates, wing struts and the Venturi plate (which is a sub assembly of no less than five pieces of wondrously thin brass, also there are the fantastic BBS wheels which again are scaled to perfection.
A beautiful nickel silver sheet with all the body clips refuelling dry brake cells and race harness hardware.
There are some nice turned pieces such as air jack valve, headlight rims, rear indicators (turn lights for our American friends) and exhaust ports.
The waterslide decals are from Virages in France so you can expect top quality in perfect register.
A vac formed piece is included that has the headlight covers on and a thin piece of acetate with the drivers wind deflector printed on, (although I would have preferred it if a template was provided for it on the instruction sheet.
You are also supplied with three sheets approx 10cm x 5cm (4" x 2" for our American cousins again) of carbon fiber and carbon kevlar. Also supplied is a length of red flexible rubber ducting.
|

|
|
|
|
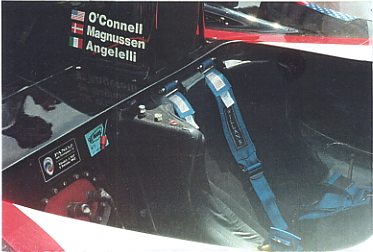
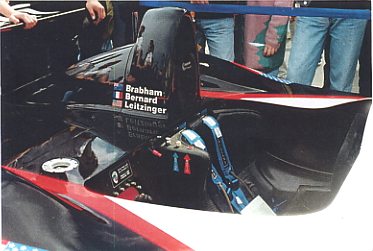
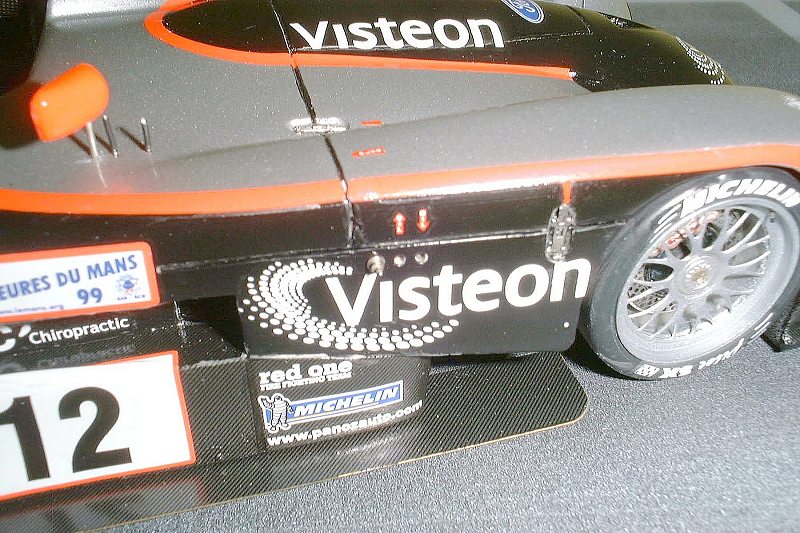
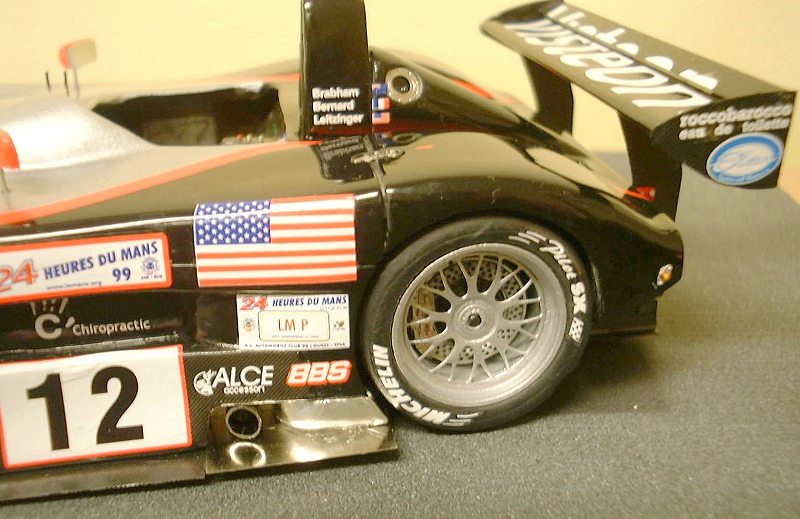
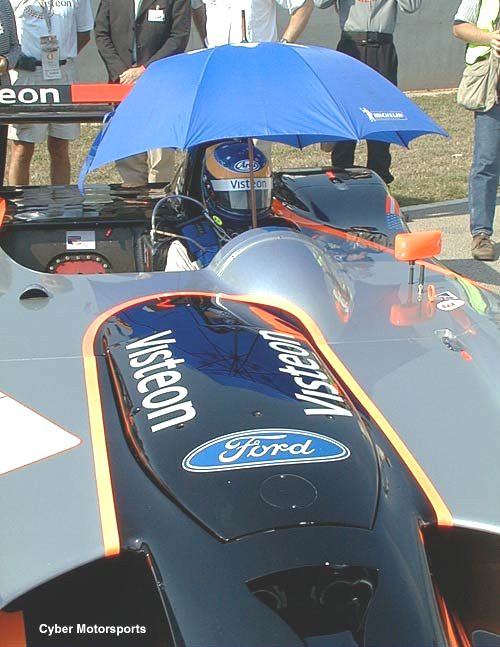
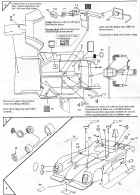
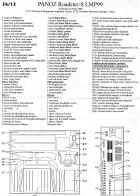
The instructions have a full parts break down and identification along with a colour guide, are easy enough to follow should prove no hazard, when word of warning though is that car #11 is represented on the decal guide facing one way and car #12 the other, be careful not to make the mistake of using car #11 decals on the right hand side as they had slightly different sponsors, also included which is a lovely touch is an A4 sheet of colour images, this will certainly help in the detailing of the cockpit if you decide to go down that route.
The Build
I am not going to bore you with how to paint or build your models as we all have our own way of doing things, however I will give some pointers. I found it best to spray the whole car black first then mask off and spray silver, I scanned and then used a cut out of the Day-Glo stripes as a guide to help lay the Tamiya tape.
|
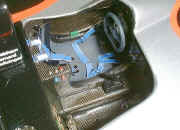
Halfway through building I decided that I would use carbon fibre/kevlar in the cockpit and other places (originally I was going to replicate this with spraying through a mesh).
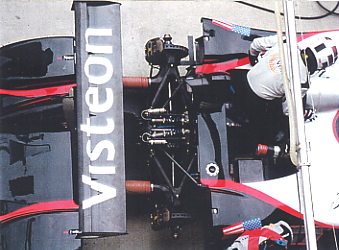
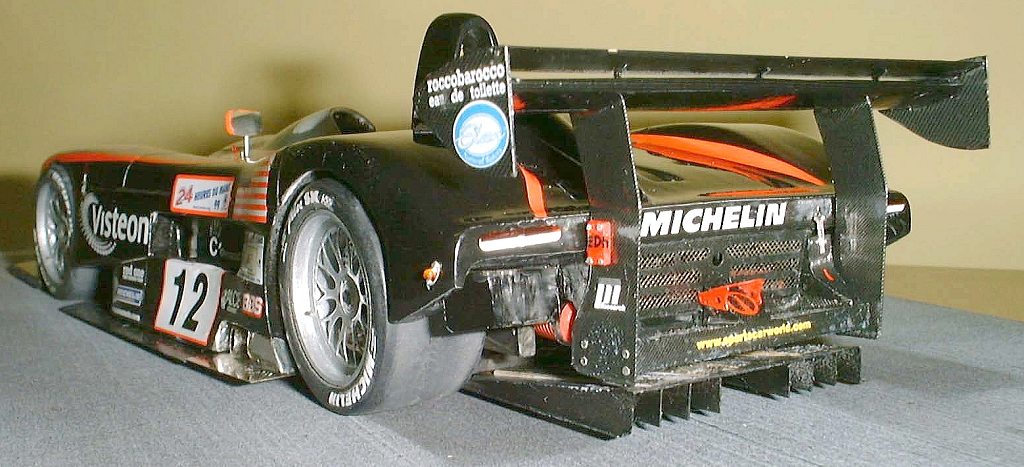
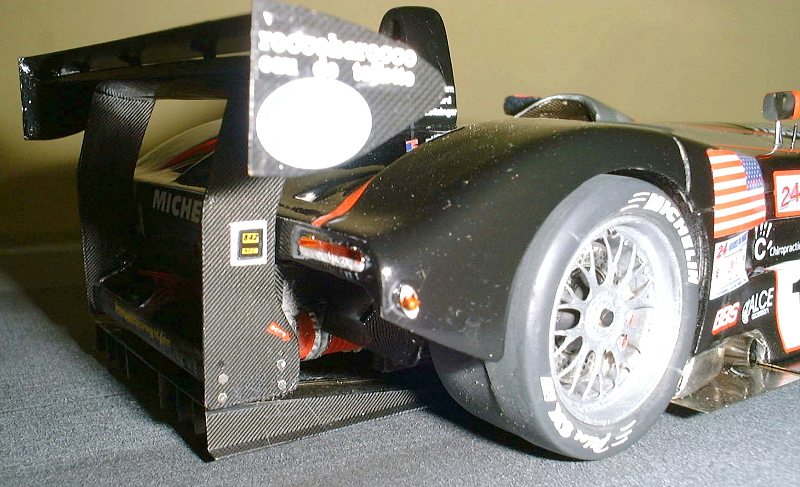
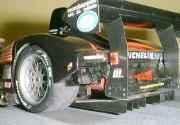
I far prefer the Scale motor sports (SMS) composite decals as they, for me seem to be superior, the only exception to this was the rear wing and endplates that appeared in all my references to be blacker and shinier and a slightly different weave, so I used the Modellers CF horizontal pattern, the effect works very well up against the SMS CF wing struts.
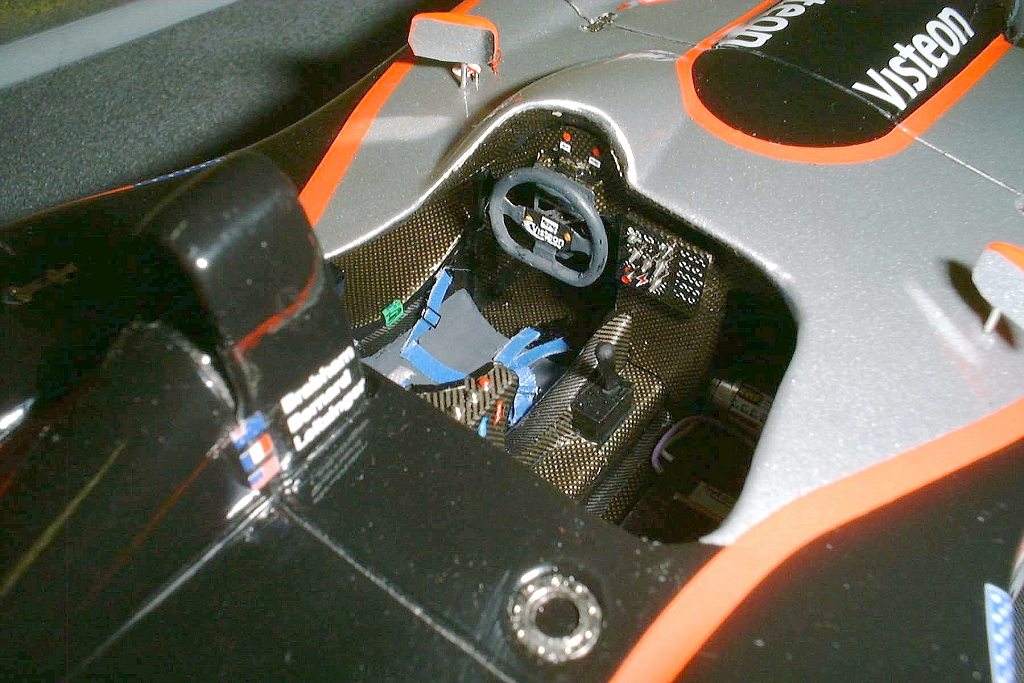
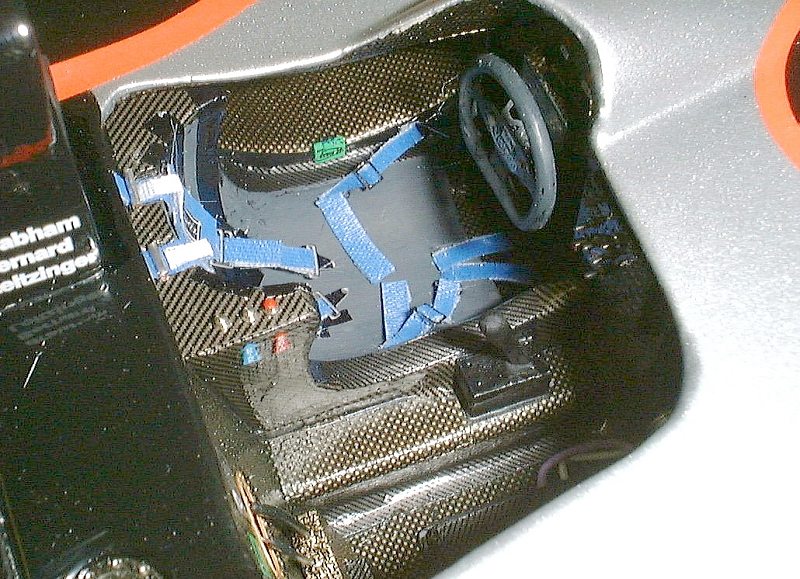
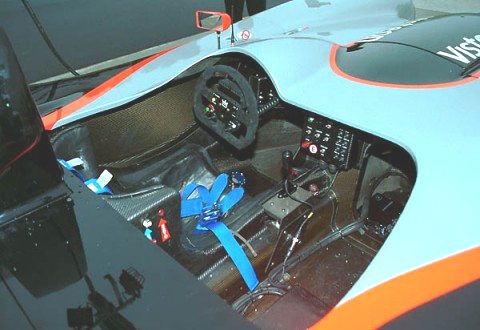
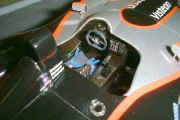
The thought of having to get the steering wheel shaped from a photo etch piece with epoxy glue, did not appeal to me, fortunately I had a spare Hakkinen wheel from a Tamiya 1/20th MP4/8 as I was going to be modelling Senna's car I utilized the wheel rim from that and the hub from the photo etch set, once the relevant pieces were removed the two parts were joined with CA (thick) glue and left to dry. Although the scales are different it looks just right in the cockpit of the Panoz.
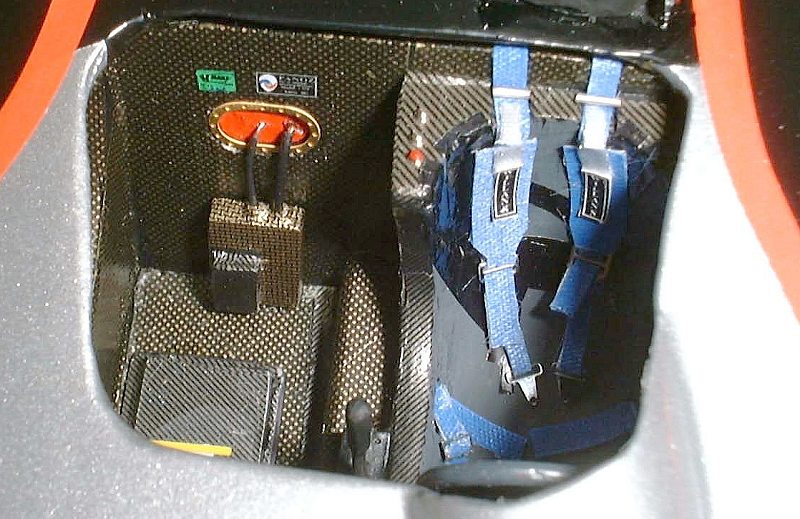
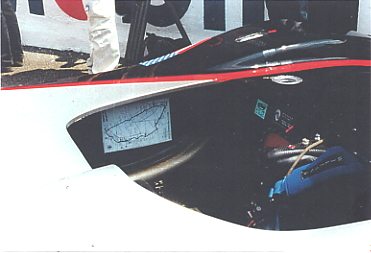
I decided to add some Sakatsu toggle switches, push buttons and warning lights to the centre console and to the rear of the drivers seat, these certainly add extra impact and are far better than the decal provided. I wish the seat had been separate as adding the harness was quite fiddly due to the lack of space, I used a combination of the kits and studio27's hardware with the webbing coming from Modellers excellent seatbelt set, extra electronics boxes were added in the way of cast metal ones supplied by MRM International, and a Meri kit turned aluminium extinguisher and cradle also from MRM.
I felt that the kits brake disks were insufficient so used some from a 962 Studio27 etched set; technically these are not right as they are drilled and I am pretty sure the car actually ran with carbon, also the callipers were changed to some lovely white metal ones from Fujimi, although again this is incorrect as they are Brembo and the car had AP racing, having said that I feel that they add more to the kit than detract. (1/24th AP racing callipers are available but are very detailed and although technically correct I feel would be wasted on a curbside model). I added some Sakatsu tyre valves.
|
|
|
|
|
|
|
|
|

|
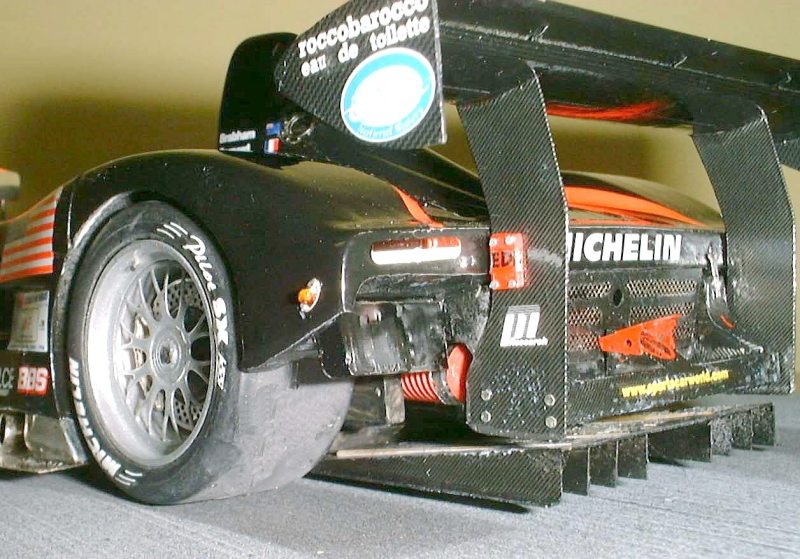
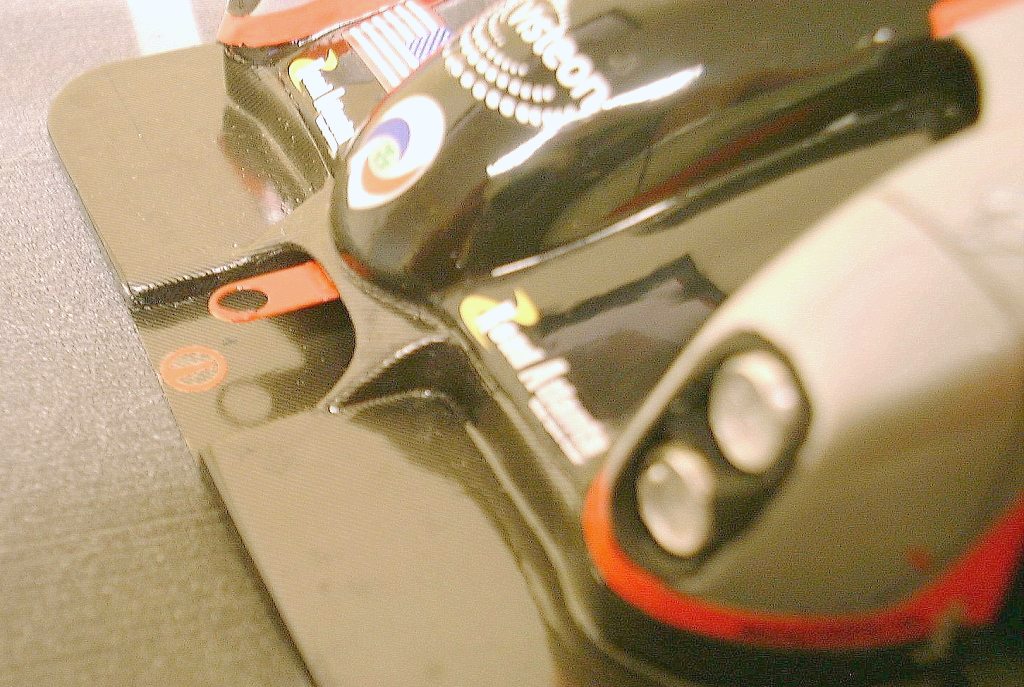
The reference material that I had showed two small boxes on either wing strut and the decal sheet had a decal for one of them so I decided to scratch build from plastic stock card these two boxes, once in place they add something that a decal just would not do.
Extruded aluminium mirror was cut to shape and used in the wing mirrors and gives a perfect result that using bare metal, the supplied photo etched parts or painting could never do. This is available from MRM.
I threw away the kit supplied (well in the spares box really) indicators and replaced with some Sakatsu door number lights, which had a more authentic look to them, at least against the reference material I had.
The turned headlight rims are really nice and I added some ultra bright bare metal foil to the inside to act as reflectors and then placed Tamiya clear in it as lenses, which looked really good, until it dried and then it did not, so I used some Grief lenses from PDI Supplies which really do add a very realistic detail, one which I will be using whenever I can from now on.
|
Conclusion
All in all a lovely kit that builds up really well, and although it is not from a mainline manufacturer I felt that at times went together better and offers quite easy assembly for a garage kit, although it is not intended for beginners this would be a good kit to perhaps start a garage collection with, this was my first resin kit, but it will definitely not be my last.
I hope that you have as much fun as I did if you decide to build one of these American muscle cars.
|
|
Available Kits
|
Le Mans 1999
Works Team
Renaissance 1/24th REN-12
Renaissance 1/43rd INT057
|
|
|
Le Mans 2000
Works Team
Renaissance 1/24th REN24-15
Renaissance 1/43rd INT059
Le Mans Miniatures 1/24th LMM124031
|
|
|
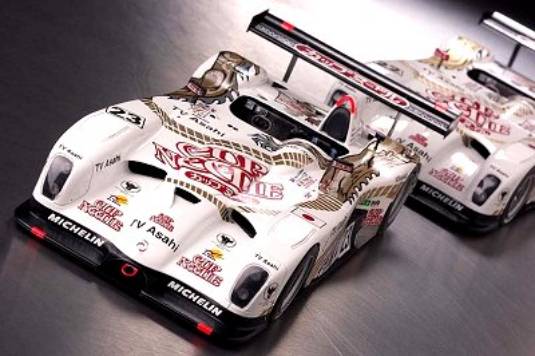
Dragon TV Asahi
Renaissance 1/24th REN24-15B
Renaissance 1/43rd INT059B
Le Mans Miniatures 1/24th LMM124032
|
|
|
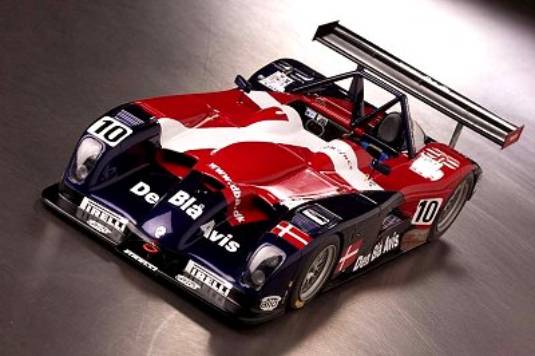
Den Bla Avis
Le Mans Miniatures LMM124033
|
|
Reference Material
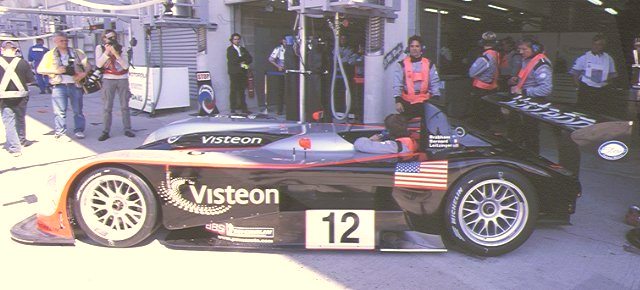
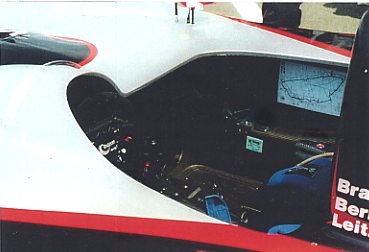
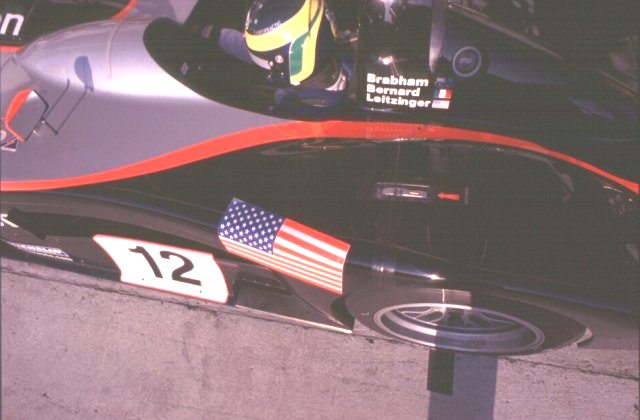
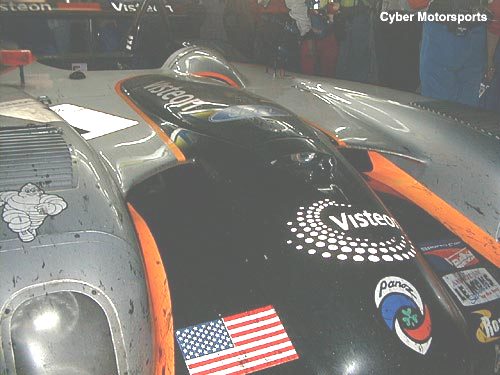
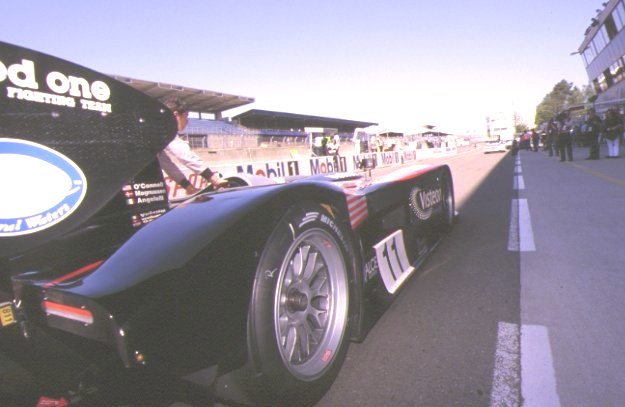
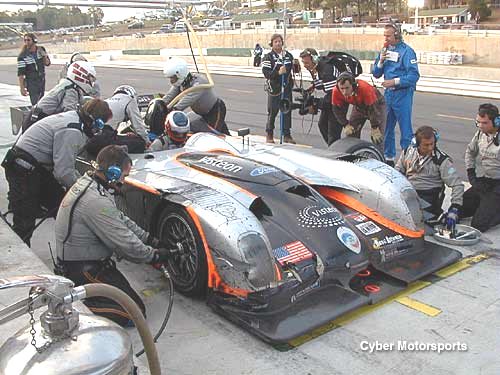
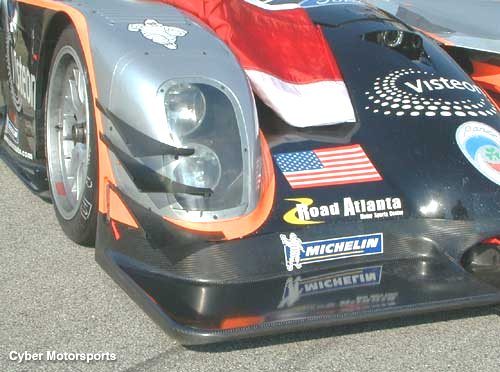
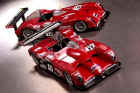
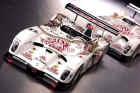
There is not much around, I have a few images gleaned from surfing the net, Panoz themselves although very helpful and thanks must go to Paul Ryan for this do not hold any archive photos of the works car for 1999 or GTR cars, which is a shame. Talking with Paul they do have a gallery for the 2001 car, which he assures me from now on will hold lots of images. Below are all the images I could find, these will hopefully help you in detailing this open topped racer
Links
www.panozmotorsports.com
|