|
After waiting for several years for an Out-of-the-box kit of the A4-C Skyhawk, Hobbycraft issued their kit two year after their first announcement. Of course, the old Monogram kit could be converted using the KMC resin kit, but at a much higher price. So when my usual hobby shop bought 12 A4-Bs and 12 Cs from HobbyCraft, they run out of stock in a matter of days. Regretfully, Hasegawa has issued their own Charlie these days, so much of the work I'll explain below could have been saved!
|
Historical Background
By 1975, and taking into account the good results the Argentine Air Force was getting from the A4-Bs (P for USA), it was decided to purchase 25 planes. These were stored in a base in USA and were bought "as is", that is to say, without any improvement and check of the systems. As a consequence, the radar APG-53 in only 6 of the planes could be used, as the others were U/S.
In 1982, during the Malvinas/Falklands war in the South Atlantic, only 14 planes were available.
By the end May it was decided that a strike against any of the British plane carriers was urgently needed, as the pressure made by the Harriers was being felt by the argentine garrison in the islands. HMS Invencible had been detected by the point of departure and return of her planes by the radar at Puerto Argentino (Port Stanley), among other electronic devices and intelligence. It was circling 180 kilometers to the east of islands, well away from the theorical reach of the land based planes. Therefore, the Argentine Navy requested the service of the KC-130s to refuel the Super Etendards on their way in. The Air Force accepted, but with the condition that 4 bombed laden Skyhawks (the Cs were chosen because of the capability of refueling and the higher oxygen capacity) were to go with the Navy attack planes. After some discussions, the plan was ready. The idea
was to confirm the hit and increment the damage done by the missile. No one thought of sinking that 19000 tons ship was possible. The idea was to put it out of action for some days.
Original date of the strike was May 29th, but some technical problems with the tankers and the Charlies made it necessary to postpone it one day.
On May 30th, the most important mission in the history of the Argentine Air Force took place. By midday (12:43 pm), the 4 Charlies and 2 SUE with the last Exocet in stock in the country took off from Rio Grande, in Tierra del Fuego island. Some time before, the two tankers had taken off in different directions to conceal their real mission (11.25 am).
After flying a couple of hours over the sea in a east bound direction, the tankers met the 6 attack planes 200 miles to the south of the islands at the right time and place. From then on, and during 200 kilometers, the planes proceeded to reload their tanks several times in strict radio silence, in order to have the fuel tanks loaded to the top at the moment of leaving the Hercules.
Once this was accomplished and flying on a point south east of the islands, the attack planes turned into the attack formation: two SUEs in the middle (the Exocet carrier slightly ahead) and two Charlies at each side. After refueling, the leader of the Skyhawks and his wingman were on the opposite side of the formation and with signs, he ordered this to be corrected...an adherence to the plan that proved to be fatal for both of them. After the separation from the tankers, the planes started their descent on a NORTH WESTERLY direction to only some meters above the surface of the sea, flying through showers and over high waves. Their windshields were marked with salt from the sea. From this point onwards, the SUEs ascended 3 times to illuminate the target with their radars. Some beeps were found at the place where they were told they would be, and finally they
launched the last Exocet at 14:24 pm at the biggest target. Radio silence was broken by the SUE leader: "Twenty miles! Right ahead!" and then they returned to their base, leaving the now for sure detected 4 Air Force planes to carry on the last part of the plan. This last leg of the inbound trip was to take 153 seconds: accelerating to their maximum speed, the Charlies followed the smoke trail left by the missile. As this was faster than them, they started loosing it.
According to the testimony of the surviving pilots, they saw the carrier on the horizon, just in time to see the flash of the impact of the missile. Now the planes were converging on the target. Approximately 10 kilometers away from Invencible, a missile that no one saw coming hit the leader's left wing (1st Lt. Vasquez).
|
The wing broke down and at the same time, the engine exploded. The still together front part of the plane and the right wing fell to the left and the pilot had no chance to eject.
Now the leader was Lt. Ureta (#3), with each wing men to his side and behind. Smoke was pouring from the side of the carrier, and anti aircraft guns of the ship were firing at the attackers. The pilots were concentrated on their last details before dropping the bombs. Only 2 kilometers away from the ship, Alferez Isaac (#4, Ureta's wing man) felt an explosion to his left. He looked in that direction and saw Castillo's (#2) plane expanding, the panels separating from each other with an orange fire below. No chance to eject here either. (The two planes on the left side of the formation had been brought down. Hadn't Vasquez given the order to take the proper positions in the formation, he and his wingmen would have survived and Ureta and Isaacs would be dead now). Looking ahead, it was time for Isaacs to fire the guns and drop his 3 250 kilos
bombs. The explosion had moved his plane out of place and aiming was difficult. Ureta, leading the attack, heared or felt nothing. His guns jammed after two shots, he aimed at the island of the ship, dropped his 3 bombs, jumped over the carrier and started making evasive maneuvers to avoid being shot down. The same thing did Isaacs. When both of them looked back, they only saw a huge mass of smoke where Invincible was. Due to the crazy aerobatics they did, they lost each other from sight, and each of them thought that he was coming back alone. Ureta´s radio had broken down and was unable to communicate with Isaac.
At 14:30 pm, the radar at Puerto Argentino/Port Stanley detected all the Harrier PACs climbing to 12.000 meters and a big move British helicopters from all over the islands going to the east, where the fleet was.
Finally, Isaacs saw a spec in the sky and believing it was a Harrier he thought: "I'm dead now, I've fired all my bullets, I'm alone and now the Harriers are after me". But as he got closer he found it was Ureta. Relieved, they found the KC-130s that were circling alone in the sky waiting for them. They passed they preliminary report ("two planes shot down on final leg of attack to the carrier"), refueled and returned to their base where they were immediately separated from each other and interrogated by Naval and Air Force intelligence officers.
Great Britain denies that HMS Invencible was hit. First version of the attack issued by the British government was that what the Argentine planes had hit was the burnt out hull of the Atlantic Conveyor, striked by Excocets on May 25th and that one plane had been shot down. But when it was found that this ship had been at the North East of the islands, and that had already sunk two days earlier (on the 28th), the version of the attack was changed to the official following one:
The incoming raid had been detected by the radars of HMS Avenger and Exeter. The carrier was in fact, 45 NM away from Avenger, the target that the Navy pilots had mistaken for Invincible. A Sea Dart of Exeter shot down the first Skyhawk, the second one being shot down by the guns of Avenger. The missile was either confused by chaff or destroyed by the guns of Avenger. HMS Invincible continued operating unmolested (and in fact, one of it's Harriers shot down an AAF Hercules on June 1st). The Air Force pilots had lied and mistook Avenger for the carrier, due to their poor training in ships recognition.
The 4 AAF pilots were given the highest condecoration of the Argentine Congress: "la Cruz al Heróico Valor en Combate" (2 of them posthumous). Only one more of this was given to an Air Force officer: PMR Carballo and two to two non officers (sergeants).
Returning to the history of C-318, the plane flown by Isaacs on May 30th, it survived the war and kept giving service in the AAF until 1988 when it was destroyed in an accident after a mechanical failure forced the pilot to eject from the plane.
|
|

|
The HobbyCraft kit
|
Well, after waiting for so many years for a 1/48th Charlie to be issued by the kit manufacturers, it was a disappointment to see what HobbyCraft had done.
As I stated in a letter to the Forum, there are approximately 15 mistakes and/or omissions in the kit, instructions and decals.
Or course, I started with the cockpit. I painted it black and they drybrushed the panels on the side of the cockpit in green, to pick up the cockpit side cushions. The instruments panel was painted in black, drybrushed in silver and the glasses where made with tiny drops of varnish.
The quite simple ejector seat was replaced by the Pavla one, made in resin, and painted. I used the lower ejection handle supplied by HC. Pedals, stick and details on the consoles were painted and glued in place. Some trimming of the lower part of the seat had to be done in order to permit a better fit of the canopy. Both sides of the fuselage were glued together, with the tricky placing of the nose wheel well and cockpit taking quite a time to be achieved in the proper way.
|

|
|

|
The instructions don't mention the use of weight on the nose to avoid having a tail sitter. I didn't put any weight inside the two nose halves, and as a result I got a "tail sitter". More of this and how I solved it in a latter stage...
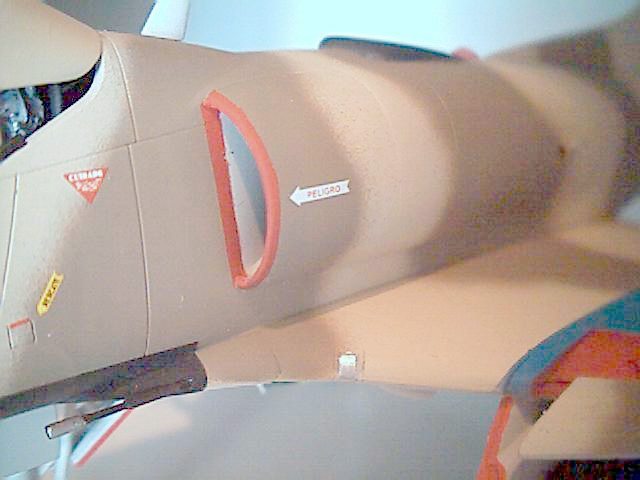
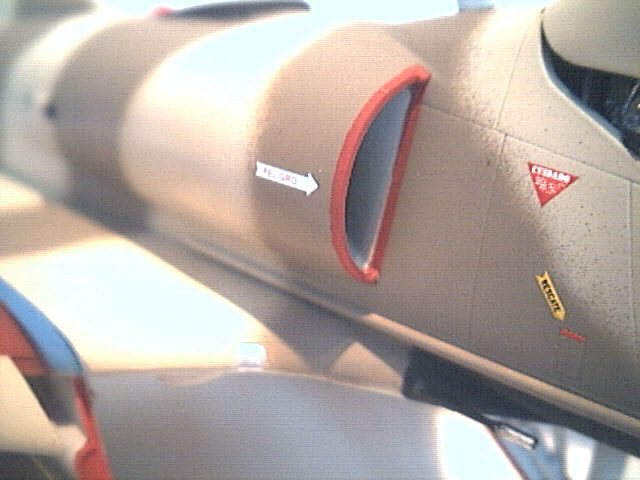
Some putty and sanding took place along the joints. On the kit there is a triangular hole on the left side of the fuselage, below the cockpit that did not exist in the Charlies of the AAF, so it was covered with putty and sanded to oblivion!!! The next thing was to make the APX-6 radome below the tail of the plane. Using Richard Caruana's plans in Sept 99 SAMI, I scratch built it, glued it in place and used some putty to cover the joint to the fuselage.
|
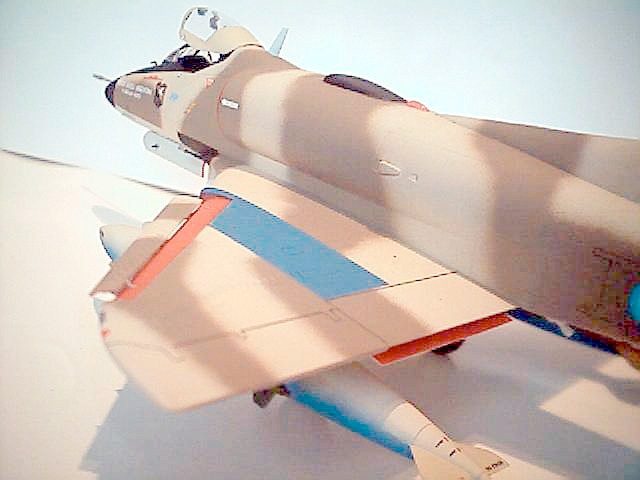
Now, for the dorsal radome!!! The kit supplied one is completely wrong for the A4-Cs in use in the AAF. It should be almost rectangular, with the lower end almost merging with the fuselage. I used the radome that has no light, and again, using R. Caruana's drawings, cut it and filed it until I got what I wanted. Putty was used to smooth the lines and union with the fuselage.
The lower wings were glued in place after some trimming. The higher parts were dry fitted and found that the part that contacts the fuselage has not the right curvature, so very carefully I retouched it until it fit correctly.
|
|
|
|
In the instructions it also omitted the use of the piece that represent one of the position lights below the housing of left main landing gear. The hole in the lower wing is too big for the piece, so after it was glued and left to dry, putty was used to cover the huge gap.
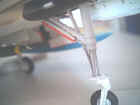
The refueling probe was glued in place and the cockpit was masked using tissue paper. Another omission of the kit is a little rectangular antenna on the lower left side of the nose, which was made using my always handy plastic Pasta Tray as where the two little fillets behind the tail (after breaking them off twice during construction and painting, I left them aside and glued them at the very last step).
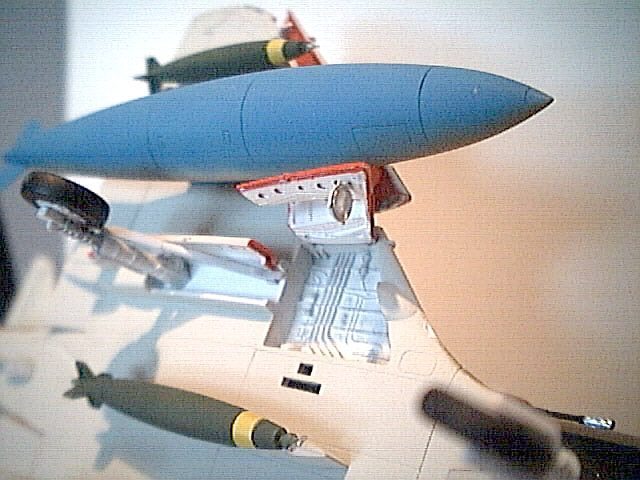
The two outer wing stations (omitted in the instructions for the AAF) and the fuselage one were glued in place. The external fuel tanks were glued and made ready for painting.
Painting steps
The instructions on the kit are right for the top colors, but completely wrong for the lower ones. The bottom of fuselage was given a coat of light gray, which was also sprayed around the suspicious joints. Some more putty and sanding was required to get a better nose/fuselage joint. Then, all the undersurfaces were masked except for the wheel wells and the AXP-6 radome. White paint was used for these places, the wheel hubs and arms, the arresting hook and for the interior of the air intakes. Black was brushed where the engine should be, at the end of the intakes.
To mask the arresting hook and get the white/black lines, I measured the width of the lines with a ruler, marked them on masking tape, cut them with a scissor (but not completely) and then presented to the hook. Once in place, the tape was stuck to the hook except for the part that had to be exposed to be painted in black. These parts of the tape were left out (like fingers) and now completely cut out.
Once dry, the interior part of the intakes was masked and a little line was left ready for the red paint that would come later. With the masking tape in place, the intakes where glued in place, taking care for the glue not to touch the tape. The bulk of the intakes was filled with tissue paper.
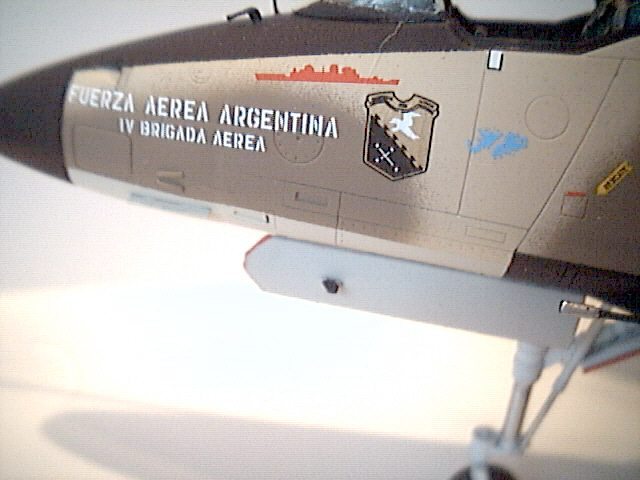
Now came the controversial top colors of the plane: after some discussion, exchange of photographs and debate with some friends who didn't trust HC scheme, it was agreed that light sand (Humbrol 121) and brown (Humbrol 110 + 113) were the right ones. (Light grey and green were applied AFTER the war).
Then, the plane was masked to paint with:
Black
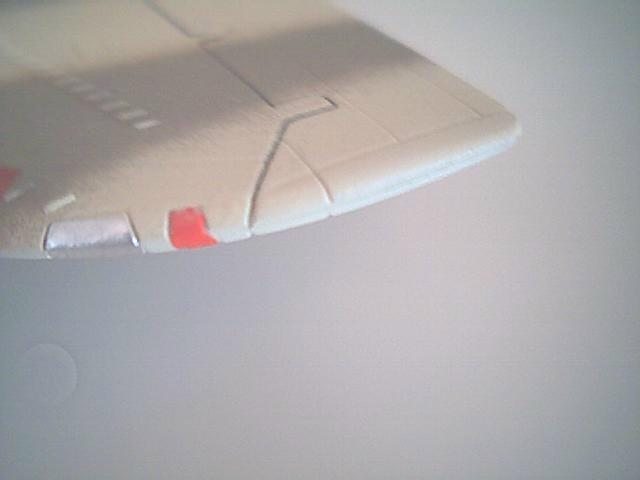
The nose and antireflection panel, the wheels, the rectangular zone around the 20 mm guns (I consider that the rectangular panel straight ahead of the cannons below of the cockpit is too short in height) and the dorsal radome. Also in black I painted the interior frames of the canopy and windshield. A spray with sand finished the frames.
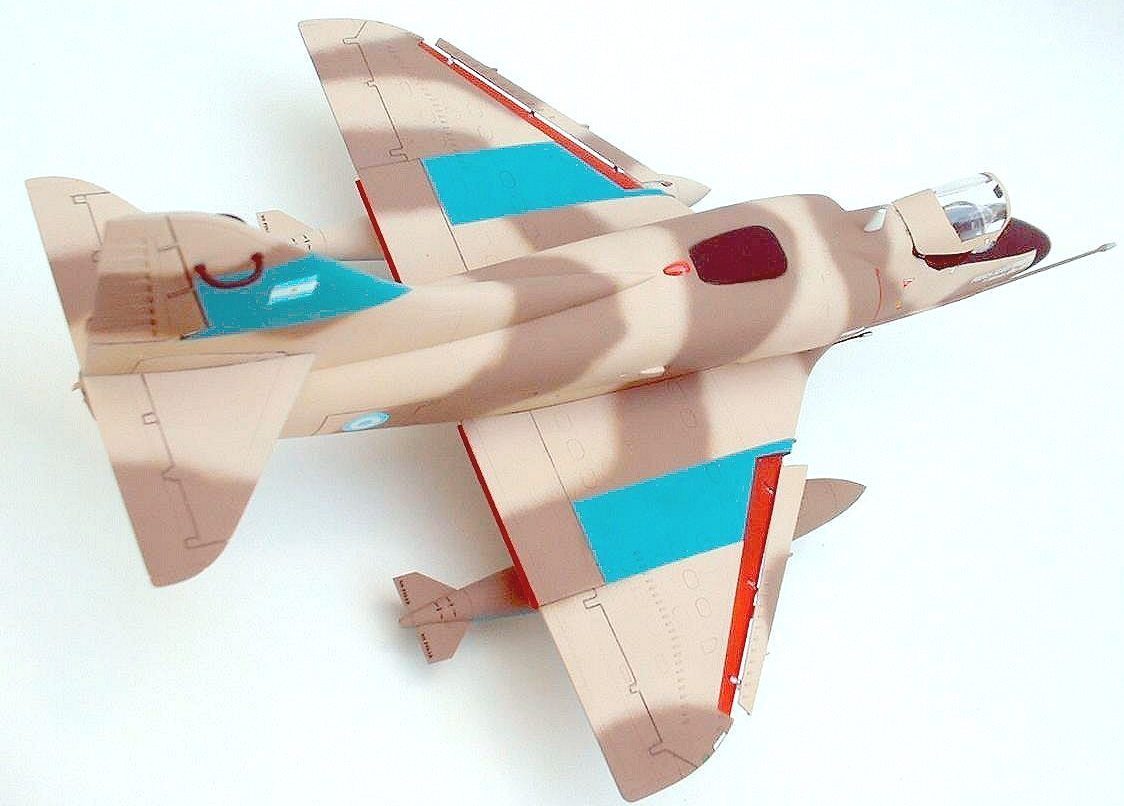
Turquoise (Humbrol 48)
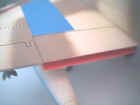
The identification bands carried by the Charlies during the second part of the war, lower part of the external fuel tanks and stations 2 and 4.
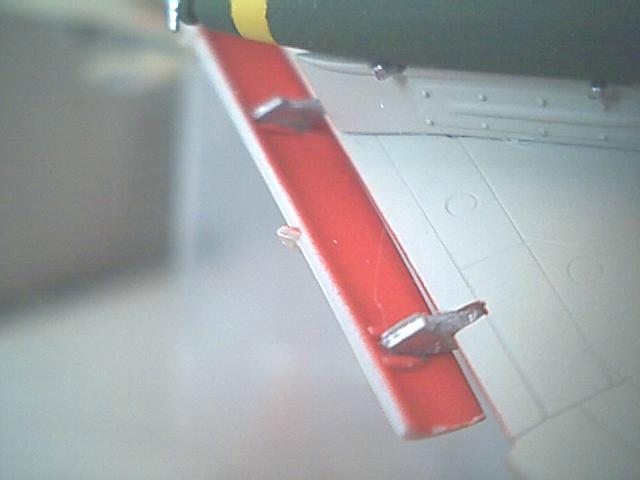
Red: inner surfaces for the slats and flaps, air intake lips (with the fuselage masked, leaving only a little line to be painted) and borders of the landing gear doors.
Colors were applied in the following order
Turquoise, black, red.
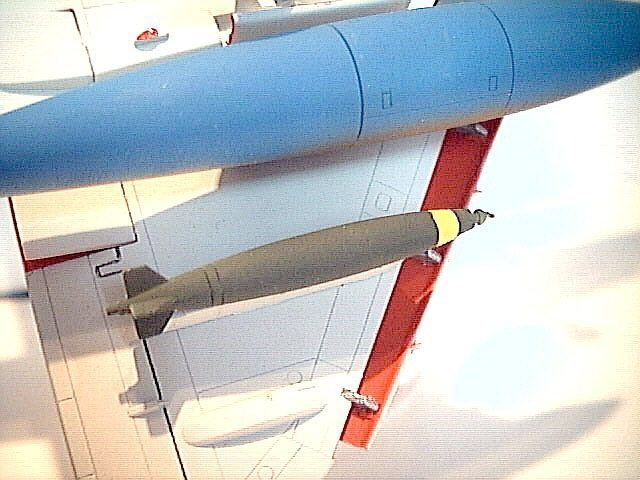
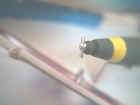
Green was used for the bombs, that were then masked and given yellow noses.
With a very sharpened pencil, I highlighted all the moveable surfaces (ailerons, moveable base of the horizontal tail surfaces, rudder, air brakes).
When everything was ready, I sprayed clear varnish to put the decals later.
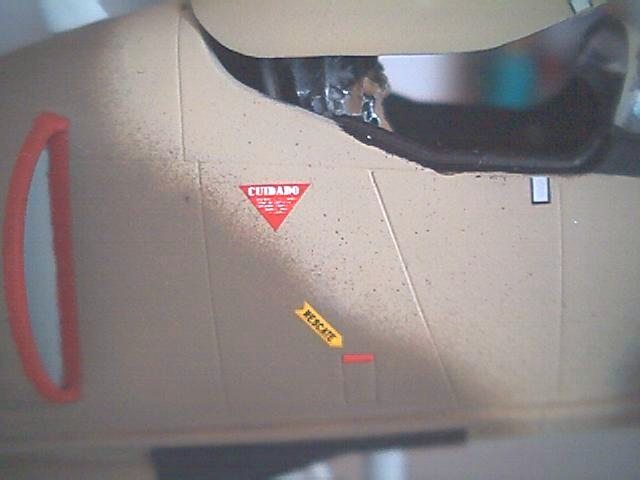
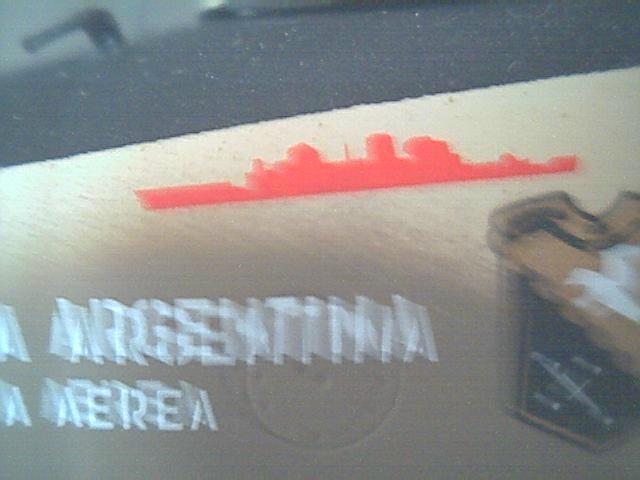
Decals
Images with details
With everything in place, the plane was sprayed with matt varnish.
Final Details and assembly
The little antenna in the nose door was made using one of the unused ones of the HC sprues, and painted black.
Stations # 2 and 4 were glued in place, as were the Omega antennas, the horizontal surfaces of the tail, both 20 mm cannons, the flaps, the arresting hook, the too thick exhaust tube and the landing gear...
And whoops, surprise!! I got a tail sitter. First I thought of placing the arresting hook in a down position to keep the tail up, but I believe it's too fragile to stand the weight. Therefore, I asked a friend of mine (who also took the pictures) to lend me the smallest buckshot (he is a hunter) he had in stock. Using a dentist 45 degree pliers and keeping the plane nose down, one by one they were given a drop of superglue and dropped inside the nose through the space between the instrument panel and the cockpit floor. After this operation was repeated around 15 times, the Charlie was no longer a tail sitter!
The nose landing gear door on the back is 1 mm too long, so I had to trim it to make it fit. All the doors were put in their places. The landing light of the right hand side landing door was painted silver first, and then given a hand of light grey.
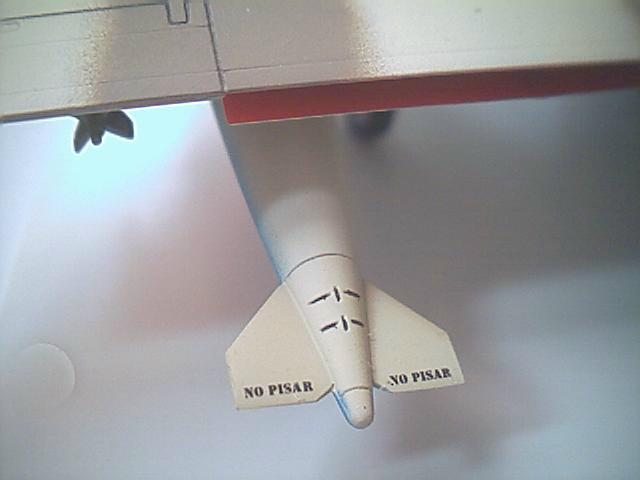
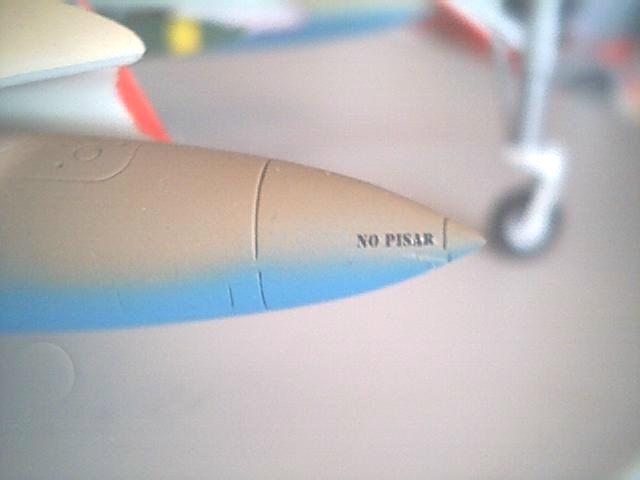
More details
|
|
|
|
|
Tail detail
|
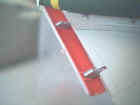
Hook
|
Flap opened
|
Spoiler and flap
|
|
|

|
|
|
Slat
|
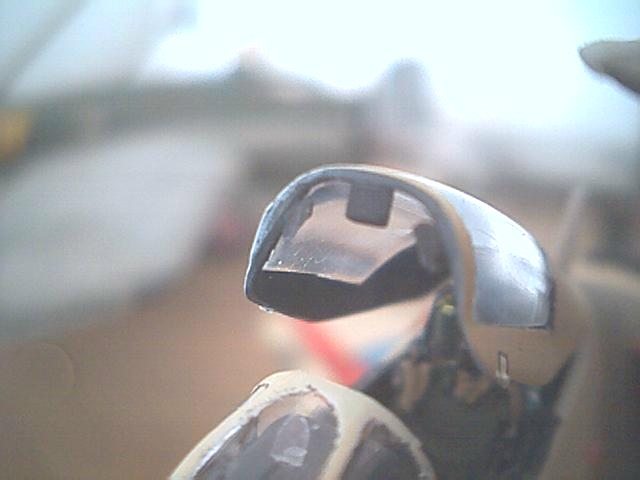
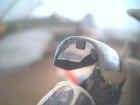
Scope and rear views
|
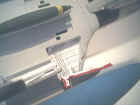
Bomb
|
Wheel well
|
|
|
|

|
|
Air brake
|
Under red light
|
Main landing light
|
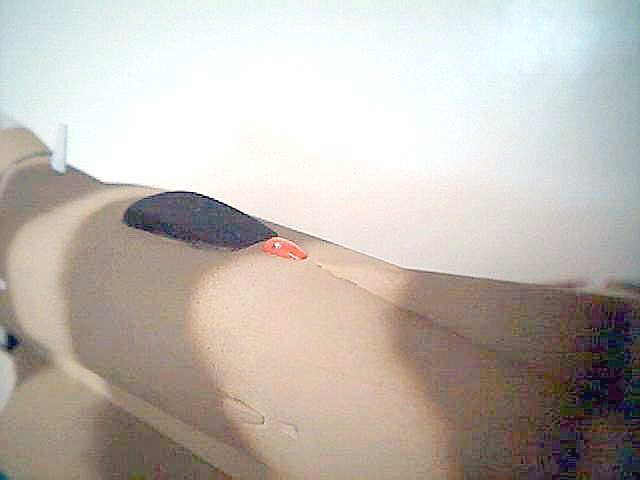
Left wing light
|
|
|
|
|
Nose's antenna
|
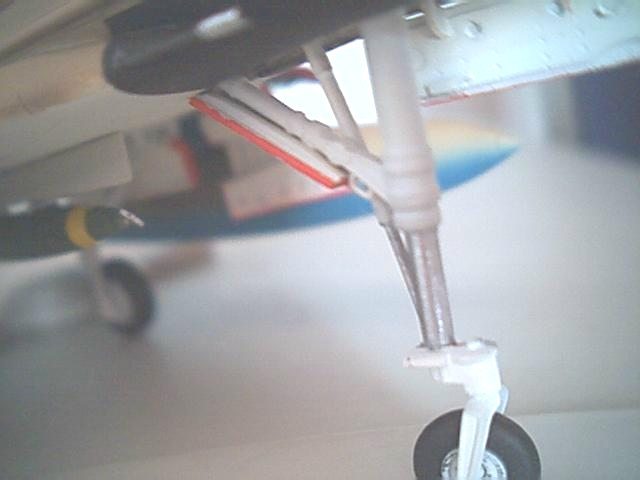
Front landing gear
|
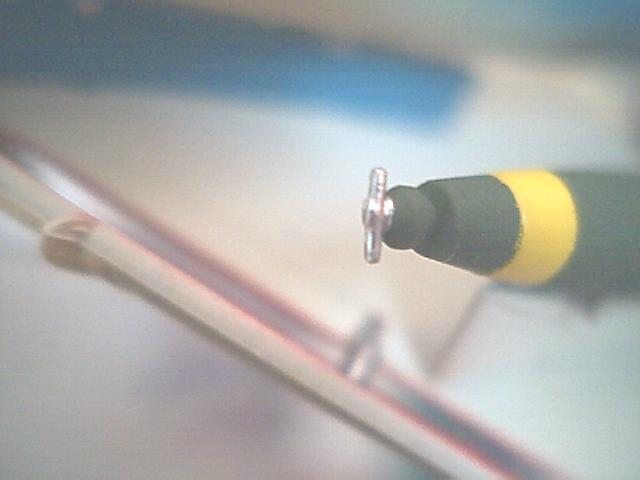
Bomb fuse
|
Conclusions
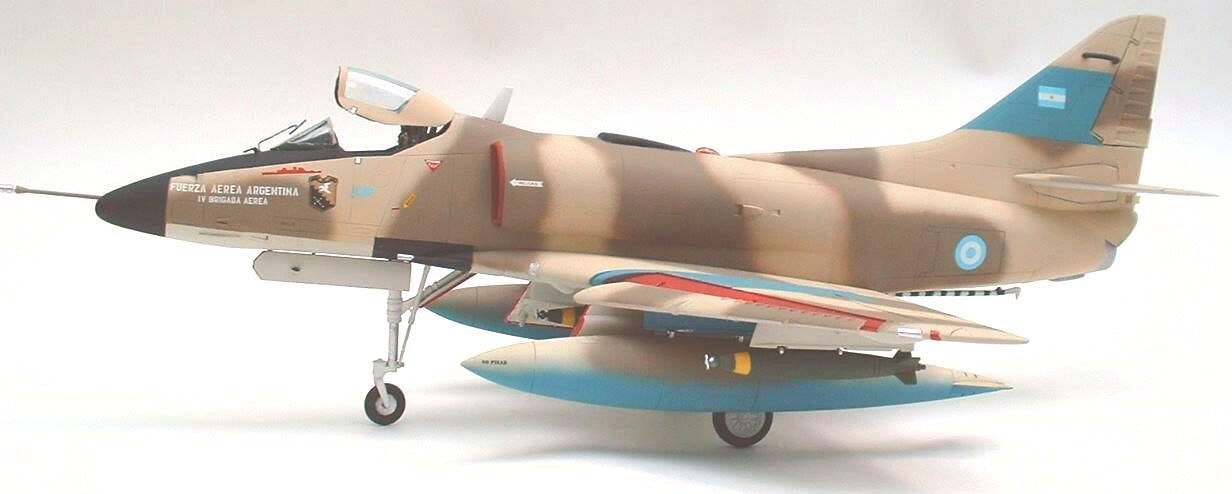
Well, I believe that with all the extra work the HC kit can be converted into an acceptable representation of the A4-C. I'm very glad with the final result and it's my tribute to these men who gave their lives and flew over the cold sea in single engine planes without a chance of being rescued if they had to bale out, to the chore of the enemy fleet, in a mission that took them to a distance that was twice the range of their planes.
Acknowledgments
Juan Carlos Ostolaza, Fabian Nevarez and Steve Mazzarelli.
Sources
 Historia Oficial de la Fuerza Aérea Argentina, Volumen 6, Tomos 1 y 2 (this is the ultimate and official version of the argentine view of the war, issued by the AAF). Historia Oficial de la Fuerza Aérea Argentina, Volumen 6, Tomos 1 y 2 (this is the ultimate and official version of the argentine view of the war, issued by the AAF).
La guerra Inaudita - Rubén Moro
La batalla Aérea de Nuestras Islas Malvinas - Pío Matassi
Dios y los Halcones - Capt. Pablo Marcos Rafael Carballo
Halcones sobre Malvinas - Capt. Pablo Marcos Rafael Carballo
Especial Alas Skyhawk - several authors
A4-P/C - Núñez Padín and others
No vencidos - Horacio A. Mayorga (Argentine Navy)
Aeroespacio - Interview to 1st Leutenant Ureta
Lecture given by 3 AAF veterans that I assisted to in 1997 (Isaac gave a speech there and told his story)
Air War South Atlantic - J. Ethel & A. Price
Sea Harrier over the Falklands - Commander S. Ward
|