|
|
||||||||||
|
Motorcycles |
|
|||||||||
|
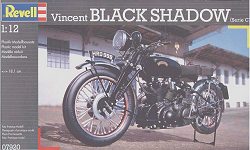
Revell Black Shadow 1:12 scale |
||||||||||
|
by Martin Swire |
||||||||||
|
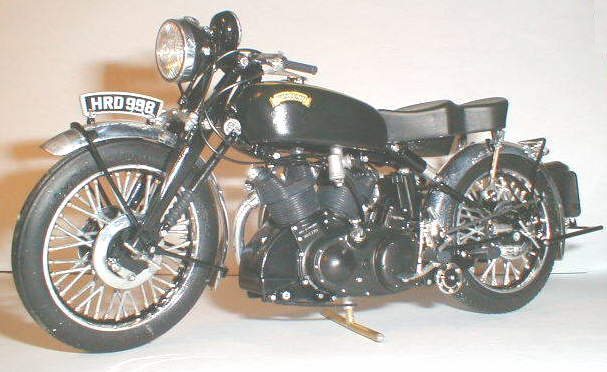
Early last month I returned from my local model shop with the Revell re-issue of the Vincent Black Shadow only to log onto this site and see the beautiful job that Alex ....... had done of the RAE version of the white metal kit of this machine. At that point I was tempted to take the kit back to the shop and exchange it for something else. Then I realized, after some thought, that this is not a competition and we should not really be trying to compare kits of widely different qualities and price. After all the RAE kit is white metal, 1/8the scale and nearly £100 in this country whilst the Revell is plastic, 1/12th, and £20. The history of the Black Shadow was well documented in the April issue of MS and I remembered how I had wanted one of these machines in my youth when a nice one was for sale locally for about £45 - my father had vetoed that idea in no uncertain terms, saying that I would kill myself in less than a week on a Black Shadow.
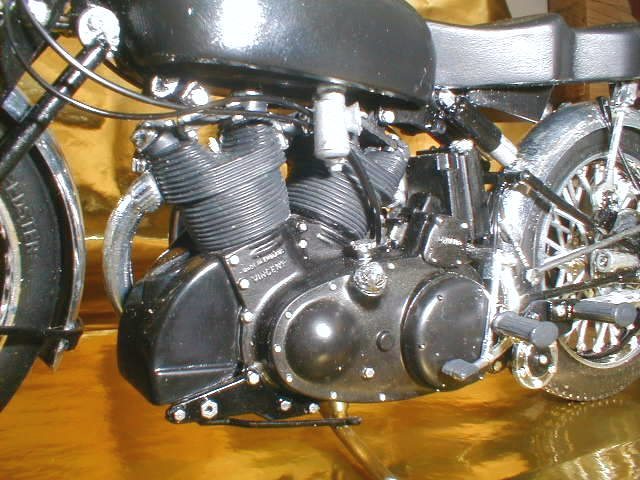
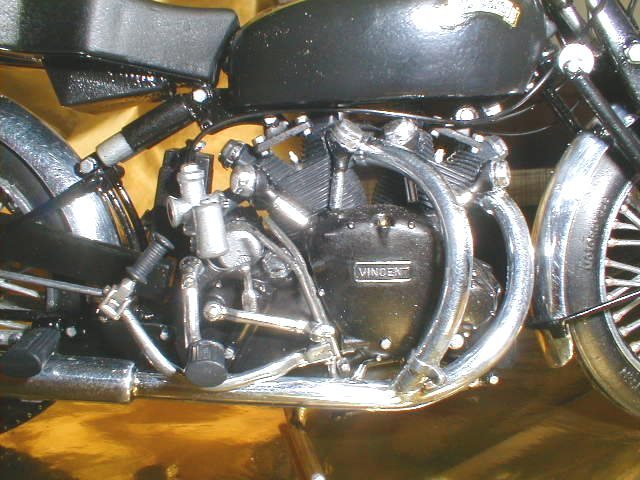
The Kit Revell label this kit as in their 'very difficult' range (5). It comes in the usual box which proclaims that it contains 'chrome filigree wheel spokes' and is of about 152 pieces in four sprues - two black and two chrome. The first 16 steps relate to building various ancillary equipment and the engine block, and then the front forks are made up, which include the headlamp support bracket, the front brake assemblies, speedo and handlebars.
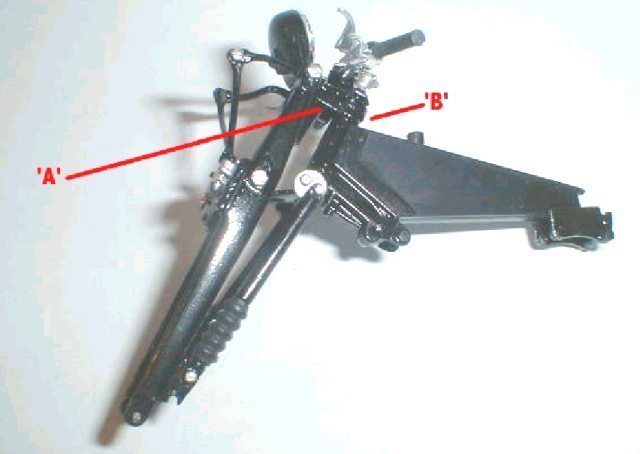
The top headlamp support is basically an 'H' which supports the headlamp at one end and the handlebars at the other. The crossbar of the 'H' fits as a spacer for the top of both forks on either side. It was only after completing this step, and moving onto the next to fit the handlebars, that I realized that the handlebar supports were too long and were in fact alongside the shock absorber adjustment knob and not in front of it. The only explanation was that I had made a mistake but after checking and re-checking it seemed that the only thing to do was take the assembly apart and cut about 3mm out of the middle of the offending part on both sides.
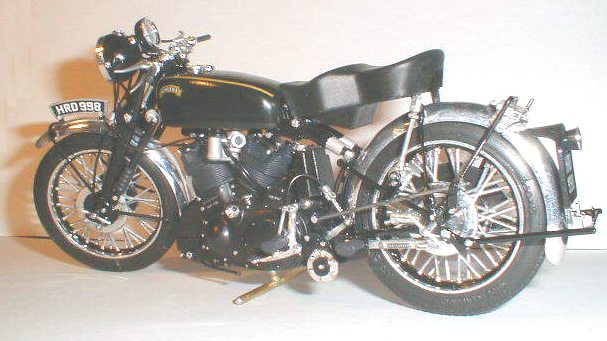
For instance Revell recommend the front and rear mudguard supports are fitted and then the mudguards assembled onto the frame before fitting the wheels. Doing it that way makes it very difficult to align everything properly and I found it easier to fit the wheels and then fit the support brackets and fit the mudguards onto these later.
The 'filigree' wheel spokes are very thick and I sanded each spoke down to about half its original thickness and repainted with chrome silver. They are still too thick but the wheels were getting so fragile that I worried about them breaking when fitted to the tyres which are a very tight fit. The mudguards and exhausts, along with headlight and speedometer surrounds, are fitted to the sprues in such a way that removal shows the damage to the chrome to maximum effect when the parts are fitted. With Alclad II and an airbrush this would not be a problem but as I don't have either I tried to repair chrome damage with silver leaf where necessary but it is still noticeable on close inspection. When I mentioned this to Revell in my first email their reply was that they could not re-tool an old kit! So now we know - bang out an old kit at today's prices and make a nice profit! Apart from the above criticisms the rest of the kit went together reasonable well but as many parts are butt jointed I think it would be very hard using poly cement only. What did we do before CA glue?
|
||||||||||