|
|
|||||||||||||||||||||||||||||||||||||||||||||||||
|
Sci-Fi |
|
||||||||||||||||||||||||||||||||||||||||||||||||
|
Building the Bandai Star Wars AT-ST 1/48 scale |
|||||||||||||||||||||||||||||||||||||||||||||||||
|
by David Guardia González © Modeler Site |
|||||||||||||||||||||||||||||||||||||||||||||||||
|
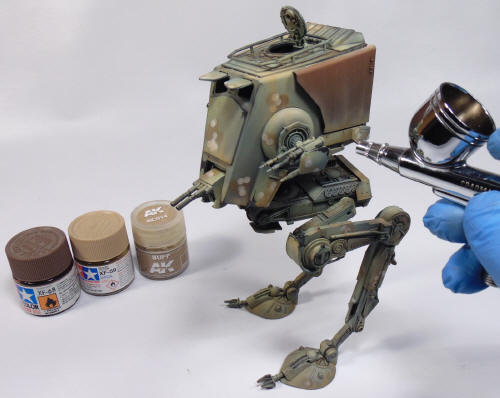
Legal Notice No material from Modeler Site any Web site may be copied, reproduced, republished, uploaded, posted, transmitted, or distributed in any way, except that you may download one copy of the materials on any single computer for your personal, non-commercial home use only, provided you keep intact all copyright and other proprietary notices. Modification of the materials or use of the materials for any other purpose is a violation of copyright and other proprietary rights. Read More here > Legal notice The idea of assembling and painting this model was swirling around in my head since some time ago. It’s one of the vehicles of the saga I like best and besides, Bandai, the brand that introduced it on the market, is a very recognized one for manufacturing excellent models with “snap” perfect fit without the need of glue and highly detailed.
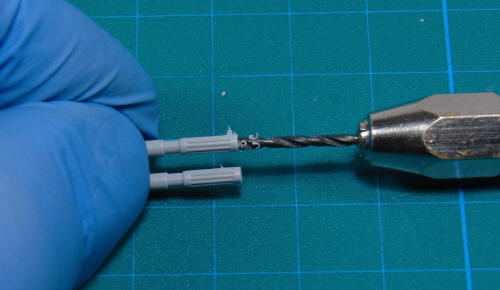
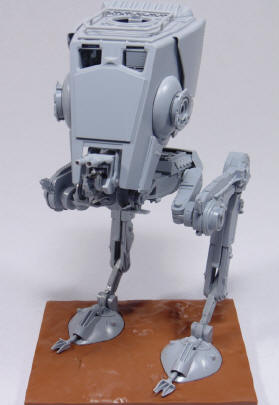
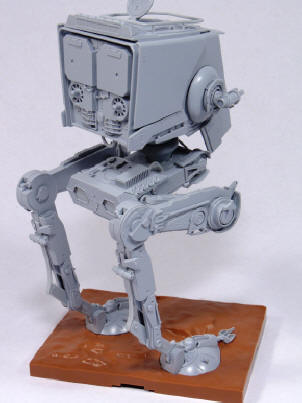
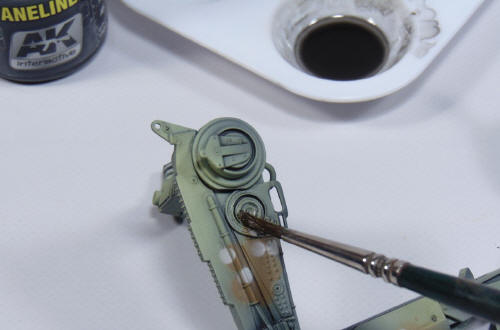
If my project had been delayed, it was by the absence of colourful schemes. Or I painted it grey or grey, and the web was full of them. But one day, a friend of mine sent me a lot of profiles with a large amount of very colourful camouflages. They were not based in any of films and were imagined by its author. So suddenly I realized that being a Sci Fi thing model; I could paint it to my liking! It would not be difficult to imagine a AT-ST abandoned by the Galactic empire and used by the rebels for its cause and thus decorated in some colourful way... The camouflage represented here, is based in one of this profiles, and the paint, besides was thought to show the Gamers who use this scale, that, with little work, may get a colourful piece that stands out from the rest on their tabletop. Construction As I told you, assembly doesn’t offer more difficulty than to carefully follow the instructions and join the parts together just by exerting some pressure. This doesn’t mean it’s a toy and in fact, going “back”, this means to dissemble the part is a hard work due to the precision everything fits. There are a couple of steps that concerns to creature legs you should pay a special attention to so as not to assemble them wrongly, but furthermore, in one session, you can leave it ready for paint. I only have achieved a couple of “improvements” for instance perforating the laser cannons. Though they come supplied with an own hole. I thought that it was aesthetically better.
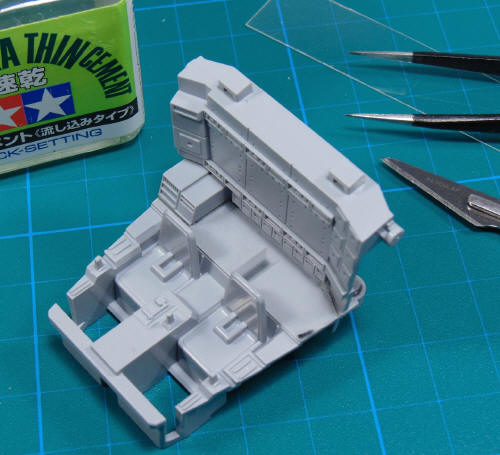
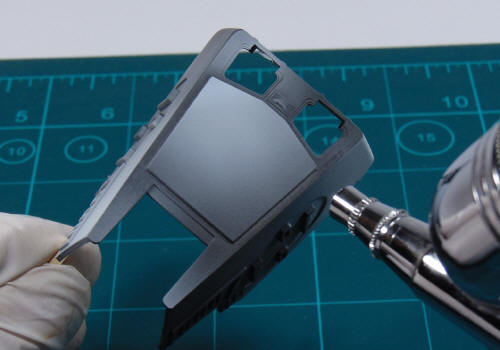
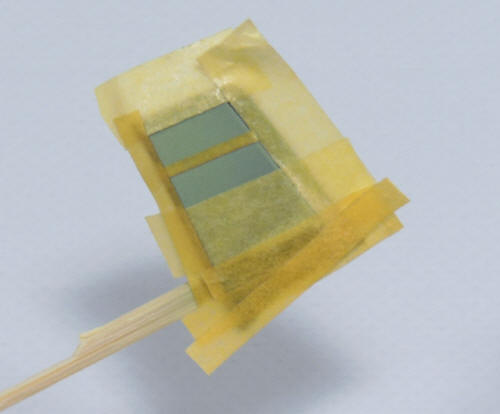
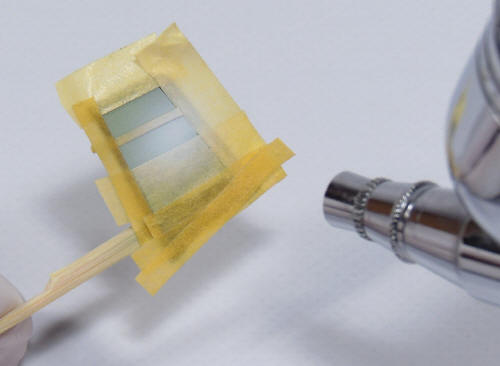
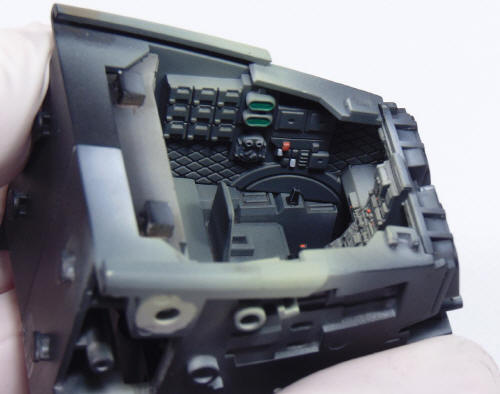
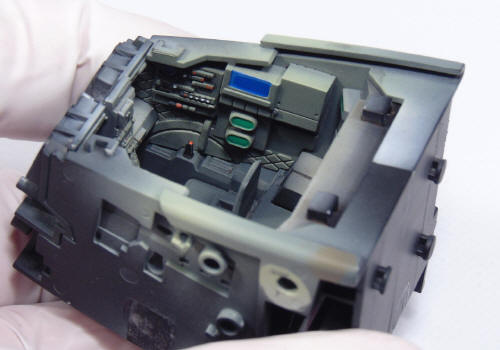
In the interior, there’s room to place a Chewbacca figure, ideal to give your mascot (if you have one) to play with, since contrary to the kit, it’s really bad… I used a piece of clear plastic to cover all the opening in such a way that the interior will not be visible from outside. The fact that it was clear plastic helped at the time of tracing the shape and cutting.
The parts that comprise the interior were left without snapping completely to be able to remove them easily and paint them with more comfort.
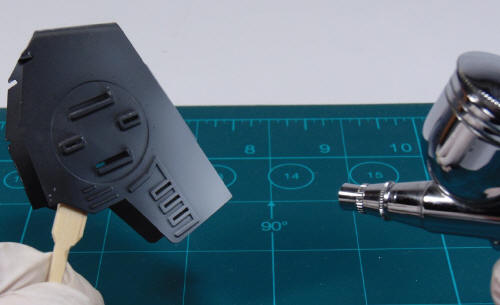
Once the priming cured, it was time to give the parts highlights using pure white. This is not an effect which I looked for to highlight as if light came from the top, but from all the parts, giving light tones and shades. I tired to make degraded white starting from an edge, with much white and finishing in the black base.
In the panel lines areas, you may use masking tape to get an interesting effect.
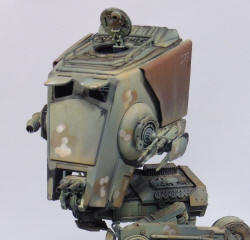
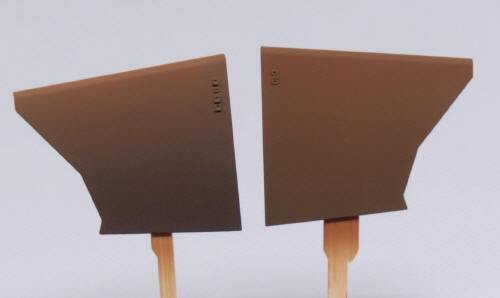
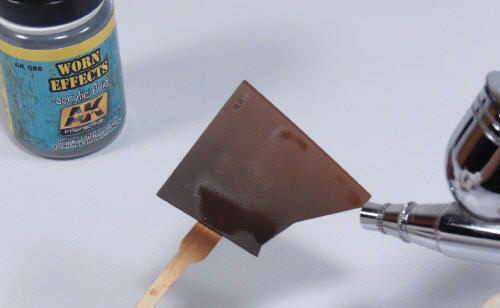
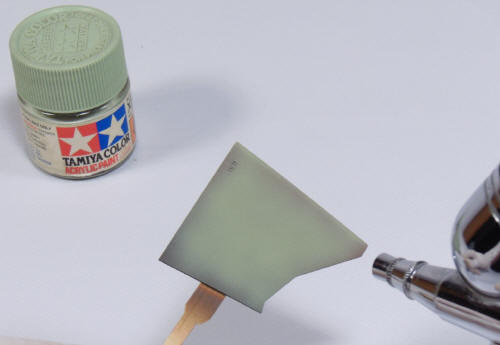
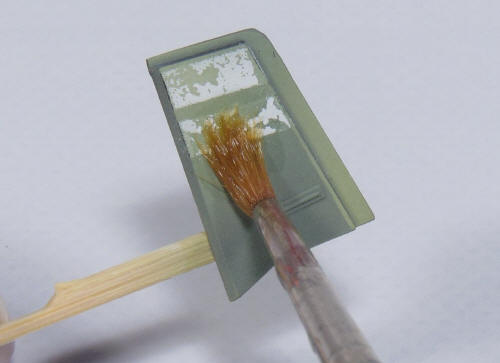
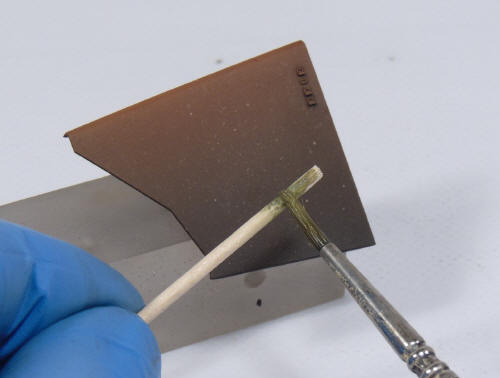
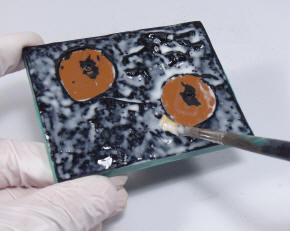
It was time to apply the base colors. There are two lateral plates of the ATST which were painted, unlike the rest, imitating a rusty surface. One of them, also received chipped paint using the hair spray technique. In both cases you should give first the orange color.
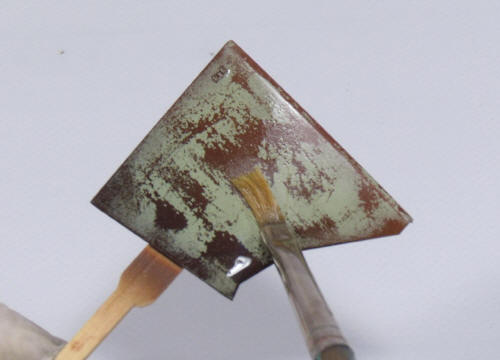
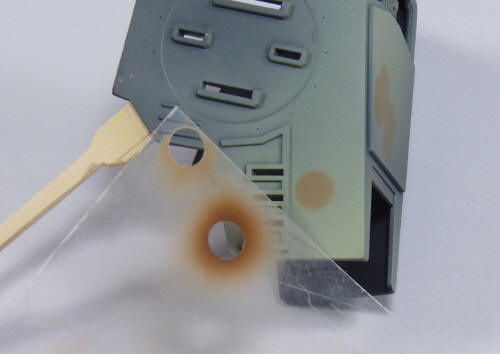
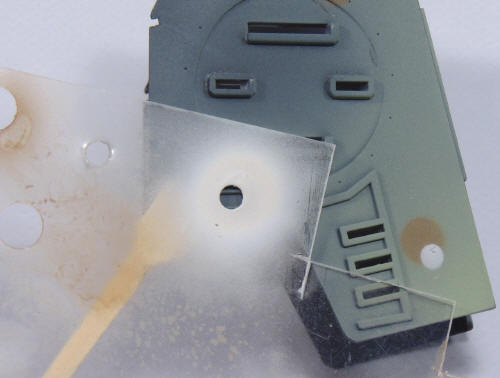
In the following image you may appreciate what happens when a great amount of paint is applied. On the left the paint correctly applied reveals the shades. On the right the paint has covered the effect completely. Though I have made this for you to see it; if happens, you may use black very diluted and shade the area you need again.
I put some marks like white lines to identify the unit. After masking, I followed the same steps for chipping but this time, I chose to hide the lines almost completely.
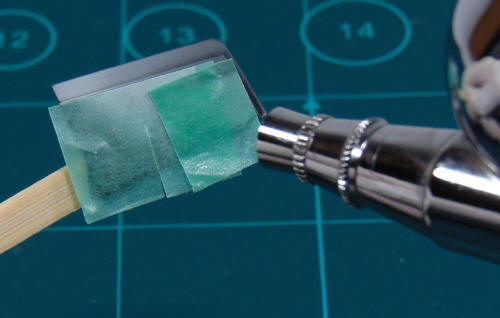
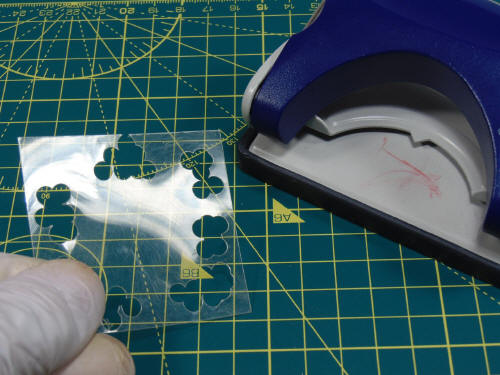
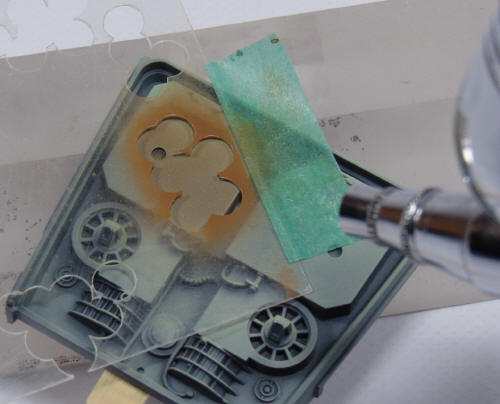
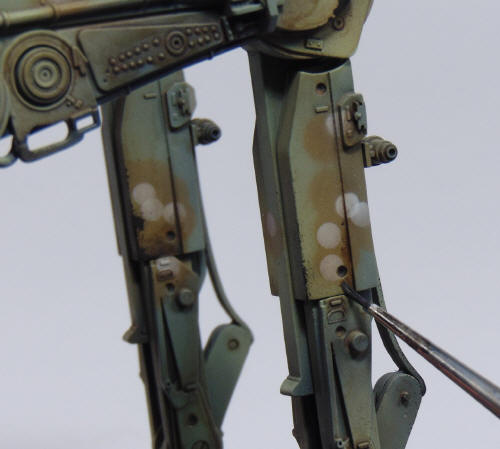
For the camouflage, I’ve perforated a template with help of a paper punch. Once again the used of clear plastic will be a good help at the time of applying the camouflage.
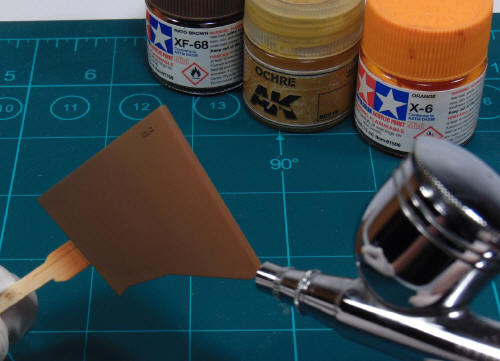
Once I chose the place where the stain would be applied, I keep it with a piece of tape and airbrush with a slight coat of red brown without overloading, trying the shades are still visible.
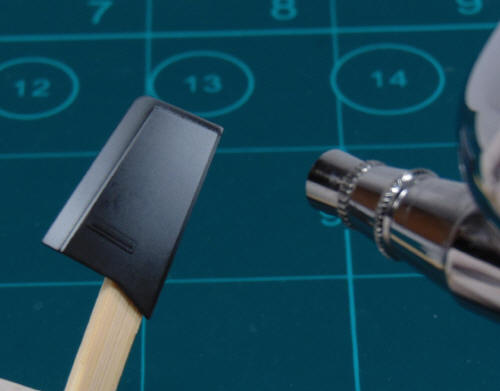
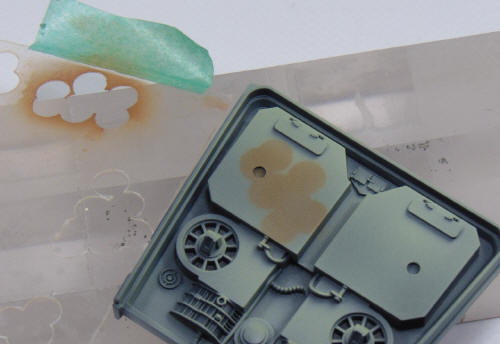
For the white stains, I made another hole of less diameter. You may use the drill you want, the round point of a solder or a punch of the proper size, if you have.
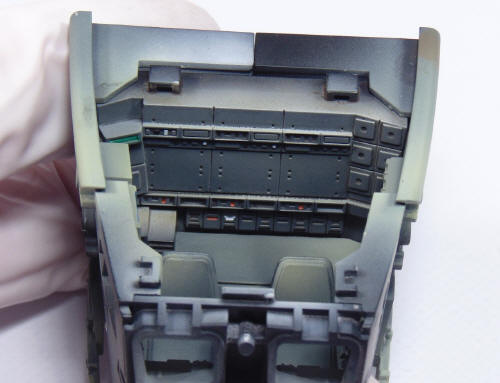
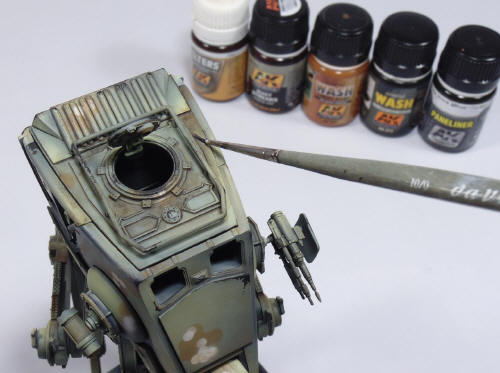
The interiors were painted in the right way. I mean here each one may express to his liking up to reaching a grade of painting that goes from a very basic to a great work. In my case, that don’t like to paint interiors too much, I’ve decorated some details so that if you look from the hatch, it may appreciate that al least some detailing was achieved . Have in mind that the intention was to create a showy piece with little work.
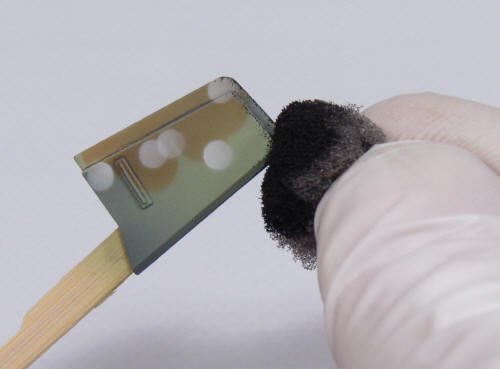
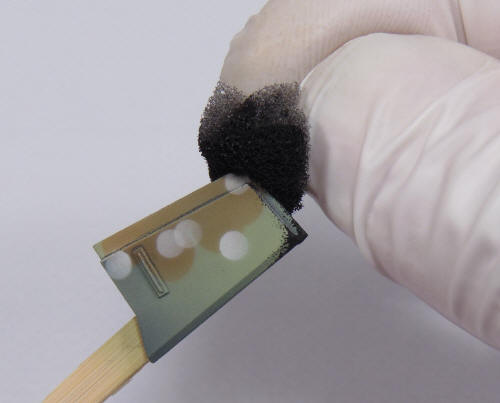
Some chips were created using a sponge and brush. I catch a small amount of the paint chosen on a piece of sponge (in this case a mix of burnt sienna and a bit of black), and after tapping lightly in order to get rid of excess paint, it is applied on the corners by touches . It’s a very simple technique but at times it is somewhat “addictive” and may ruin our model. So, proceed slowly and choosing very well where to achieve chips and go adding them.
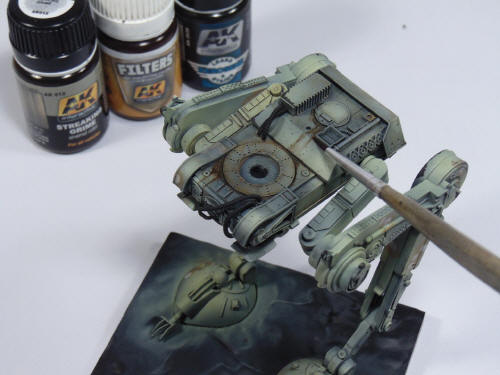
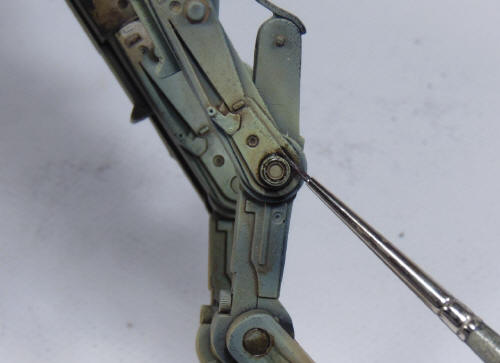
The weathering started in the area I thought should have to be more dirty. So in the area, I can decide which tones can be proper for the rest. There are many products and brands, any of them are valid. It’s a question of adding effects without fear, but on the condition that not loading the brush with the product and paste the entire model. The point is to go slowly, giving an effect here and there on certain areas and trying to get in this way something colourful to avoid monotony.
In the following images you may appreciate three examples of application. See how I tried not to overdo but stand certain areas out by applying different tones. It’s a very quick process, since it’s not necessary to allow drying between colors.
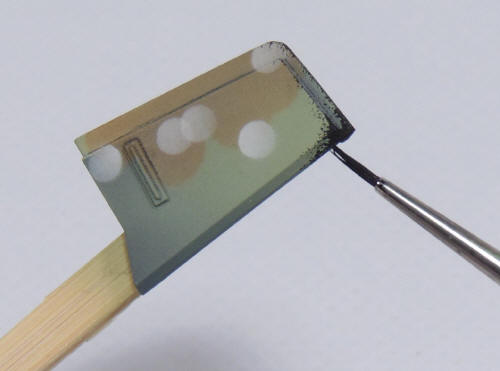
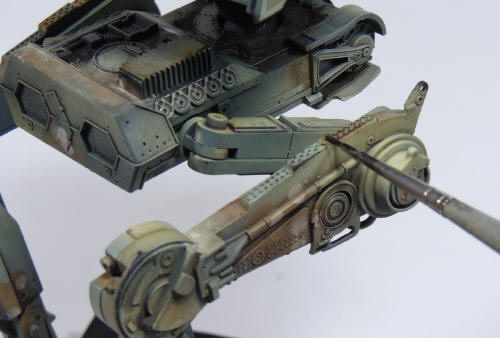
Splashes increase the sensation of weathering. A simple way to do them is using a brush and very thinned acrylic paint and after removing the excess on a piece of paper with the help of toothpick, then sprinkle all over the surface. I used green and brown tones. If you find a large drop or you’re not satisfied with the result, you may use a clean brush to remove it if you work without delay.
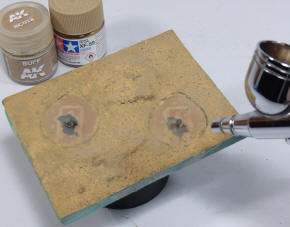
To dust, the most straightforward and simple way is to choose a couple of sand tones and airbrush them. But once again, you should avoid at all cost, to leave the model as it was in a sandstorm. I insisted on the lower and side plates of the vehicle. I tried not use dry pigments so as to be able to remove the model position without fearing to leave my fingerprints marked on it.
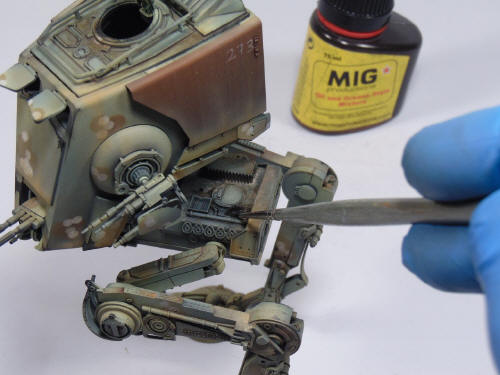
Once dusted, I added stains using fresh oil and grease. AK Mig Productions have a product called “Oíl and Grease” which is perfect for the purpose.
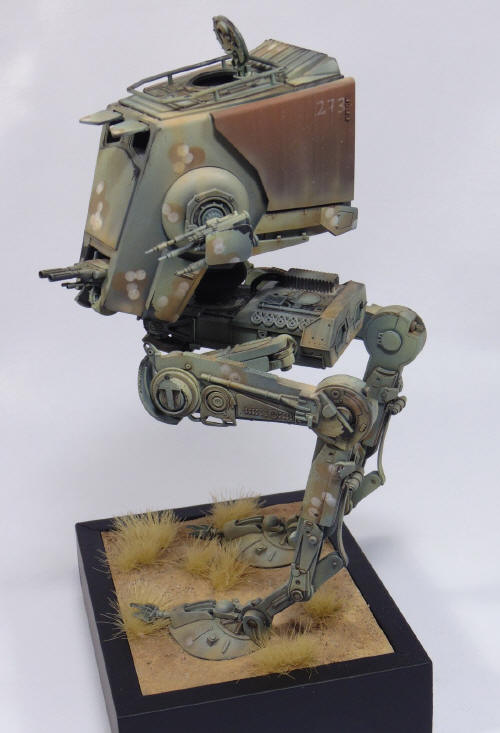
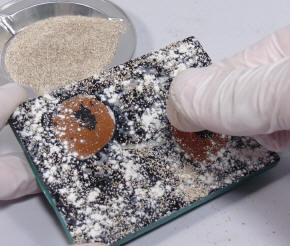
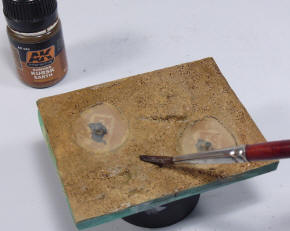
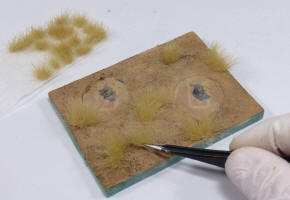
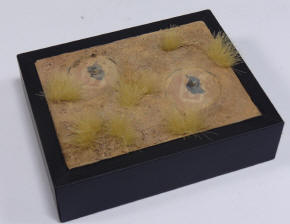
The base the kit supplies, is very good to display our model finished. I’ve masked the footmarks with clear adhesive tape and after “painting” with white glue and water, I splashed plaster powder and sand. Once dry, abundant brown filter was applied to highlight and placed with Green Stuff.
Big size photos are only available in our PDF format. Support us ordering our notes in PDF > Here |
|||||||||||||||||||||||||||||||||||||||||||||||||