|
|
||||||||||||||||||||||||||||||||||||||||||||||||||||||||||||||||||||||||||||||||||||||||||||||||||||||||||||||||||||||||||||||||||||||||||||||||||||
|
Cars |
|
|||||||||||||||||||||||||||||||||||||||||||||||||||||||||||||||||||||||||||||||||||||||||||||||||||||||||||||||||||||||||||||||||||||||||||||||||||
|
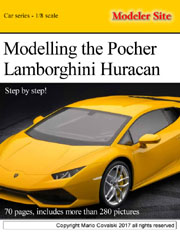
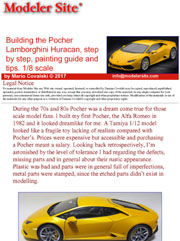
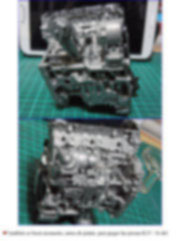
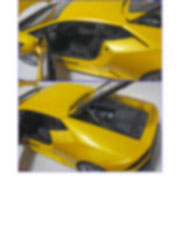
Building the Pocher Lamborghini Huracan, step by step, painting guide and tips. 1/8 scale |
||||||||||||||||||||||||||||||||||||||||||||||||||||||||||||||||||||||||||||||||||||||||||||||||||||||||||||||||||||||||||||||||||||||||||||||||||||
|
by Mario Covalski © Modeler Site |
||||||||||||||||||||||||||||||||||||||||||||||||||||||||||||||||||||||||||||||||||||||||||||||||||||||||||||||||||||||||||||||||||||||||||||||||||||
|
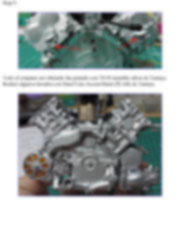
Legal Notice No material from Modeler Site any Web site may be copied, reproduced, republished, uploaded, posted, transmitted, or distributed in any way, except that you may download one copy of the materials on any single computer for your personal, non-commercial home use only, provided you keep intact all copyright and other proprietary notices. Modification of the materials or use of the materials for any other purpose is a violation of copyright and other proprietary rights. Read More here > Legal notice During the 70s and 80s Pocher was a dream come true for those scale model fans. I built my first Pocher, the Alfa Romeo in 1982 and it looked dreamlike for me. A Tamiya 1/12 model looked like a fragile toy lacking of realism compared with Pocher’s. Prices were expensive but accessible and purchasing a Pocher meant a salary. Looking back retrospectively, I’m astonished by the level of tolerance I had regarding the defects, missing parts and in general about their rustic appearance. Plastic was bad and parts were in general full of imperfections, metal parts were stamped, since the etched parts didn’t exist in modelling.
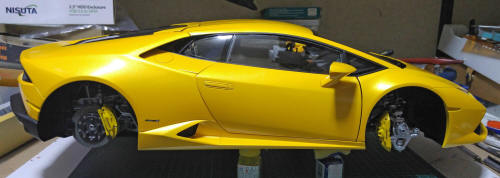
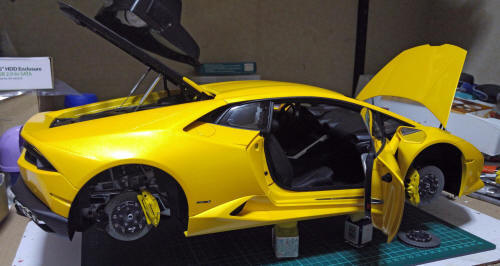
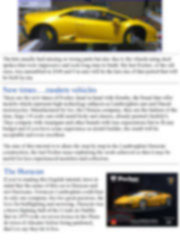
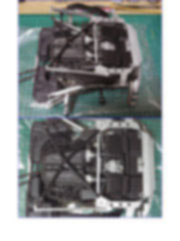
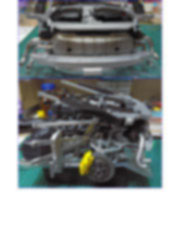
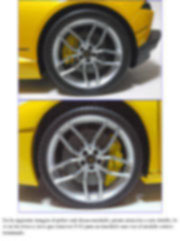
The kits usually had missing or wrong parts but also due to the wheels using steel spokes that were impressive and took long time to build. My last Pocher, of the old ones, was assembled in 2008 and I’m sure will be the last one of that period that will be built by me. New times….modern vehicles These are the new times of Pocher, hand in hand with Hornby, the brand that offer models which represent high technology subjects as Lamborghini cars and Ducati motorcycles. Manufactured by Ixo, the Chinese company, they are the fashion of the time, huge 1/8 scale cars with metal body and chassis, already painted (luckily!). They compete with Amalgam and other brands with less expectations but to fit any budget and if you have some experience as model builder, the result will be acceptable and even excellent. The aim of this tutorial is to share the step by step in the Lamborghini Huracán construction, the last Pocher issue explaining the work achieved so that it may be useful for less experienced modelers and collectors.
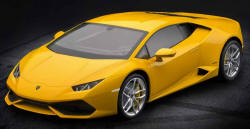
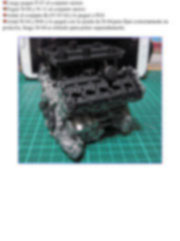
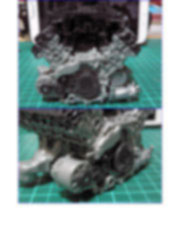
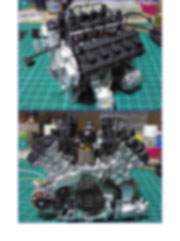
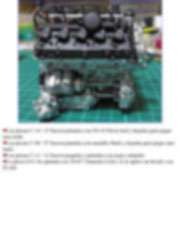
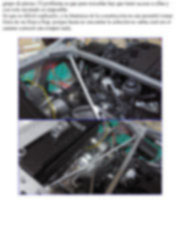
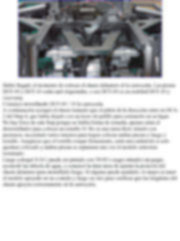
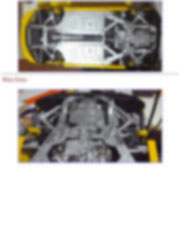
The Huracan replaced the Gallardo, the top-selling Lamborghini model of all time. It’s a car of small size and weight (compared with the Aventador for instance) with Audi V10 engine. It’s not a supercar if compared with the Aventador (Murciélago sucesor ), and perhaps a Ferrari or any other subject would have been better for modelers instead of another Lamborghini, but business is business and the main reason why Pocher went for another Lambo. Construction I’ll not describe the kit since there are a lot of “unboxing” around the web, just to mention that it’s better than the Aventador, in terms of realism and representation of parts, and even though there would be several details missing, most of them would remain hidden once the model is finished.
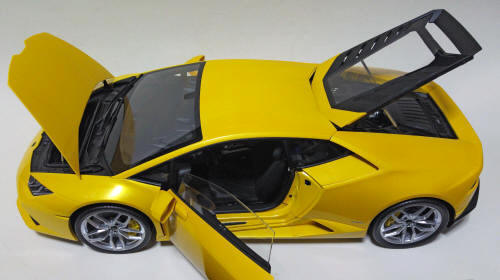
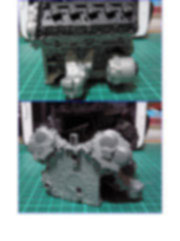
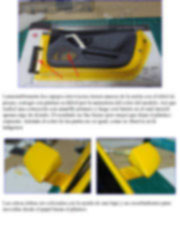
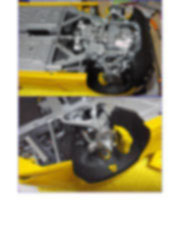
I didn’t use any aftermarket, all the details added were achieved with elements I had at home, is my philosophy, anyway this doesn’t mean that good painting details don’t give enough realism. I’ve seen many Aventador(s) built as if someone were running the builder or as if it were a race to see who finishes first, leaving all the plastic parts without painting, applying decals over plastic which will be unglued in a couple of months…etc.
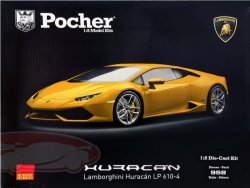
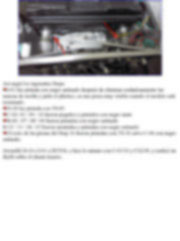
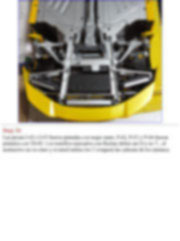
Although Pocher offer this kit as a Die-cast, The Huracan is a kit, not a 1/18 for collection and it deserves the attention like a kit, if you take more time, you’ll find out that using simple techniques, several sprays paints and patience, you’ll get something close to a museum quality model. This tutorial is offered in PDF format to be read or printed using Acrobat reader, contact our webmaster > Here Includes more than 280 pics, here we show only the text pages.
Esta Nota es ofrecida en formato PDF, el cual puede ser leído o impreso usando el Acrobat reader, contacte a nuestro webmaster > Aquí Incluye más de 280 imágenes, aquí solo mostramos las paginas de texto.
Big size photos are only available in our PDF format. Support us ordering our notes in PDF > Here |
||||||||||||||||||||||||||||||||||||||||||||||||||||||||||||||||||||||||||||||||||||||||||||||||||||||||||||||||||||||||||||||||||||||||||||||||||||