|
|
|||||||||||||||||||||||||||||||||||||||||||||||||||||||||||
|
Cars |
|
||||||||||||||||||||||||||||||||||||||||||||||||||||||||||
|
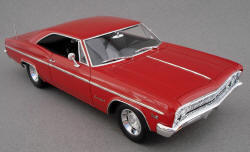
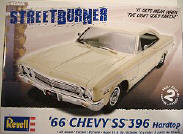
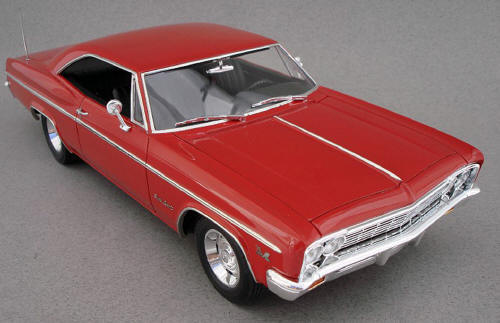
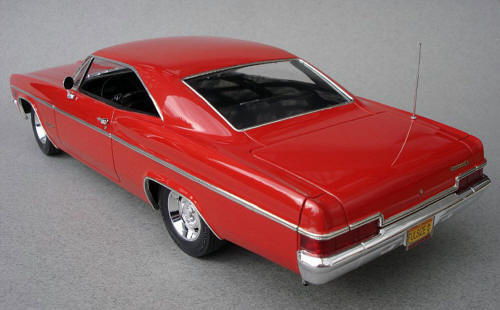
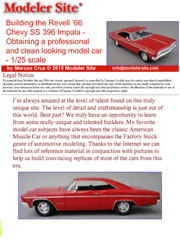
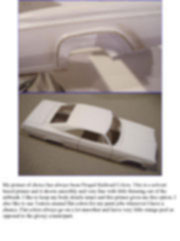
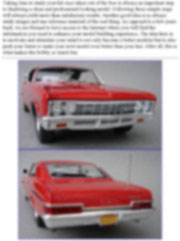
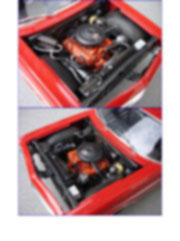
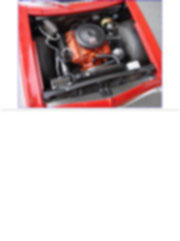
Building the Revell ’66 Chevy SS 396 Impala - Obtaining a professional and clean looking model car - 1/25 scale |
|||||||||||||||||||||||||||||||||||||||||||||||||||||||||||
|
by Marcos Cruz © Modeler Site |
|||||||||||||||||||||||||||||||||||||||||||||||||||||||||||
|
Legal Notice No material from Modeler Site any Web site may be copied, reproduced, republished, uploaded, posted, transmitted, or distributed in any way, except that you may download one copy of the materials on any single computer for your personal, non-commercial home use only, provided you keep intact all copyright and other proprietary notices. Modification of the materials or use of the materials for any other purpose is a violation of copyright and other proprietary rights. Read More here > Legal notice I’m always amazed at the level of talent found on this truly unique site. The level of detail and craftsmanship is just out of this world. Best part? We truly have an opportunity to learn from some really unique and talented builders. My favorite model car subjects have always been the classic American Muscle Car or anything that encompasses the Factory Stock genre of automotive modeling. Thanks to the Internet we can find lots of reference material in conjunction with pictures to help us build convincing replicas of most of the cars from this era.
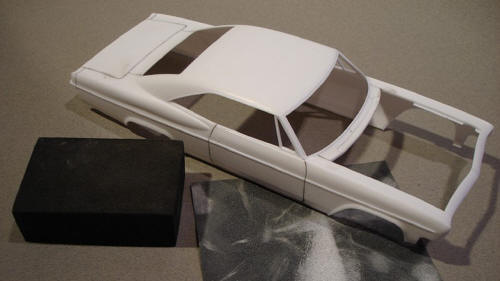
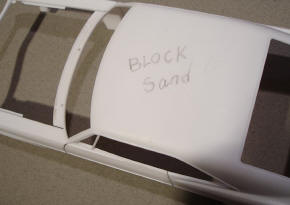
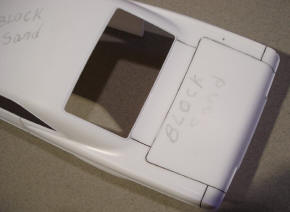
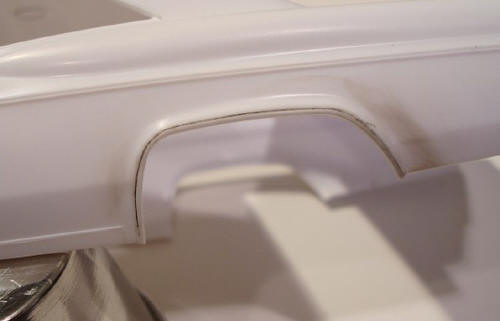
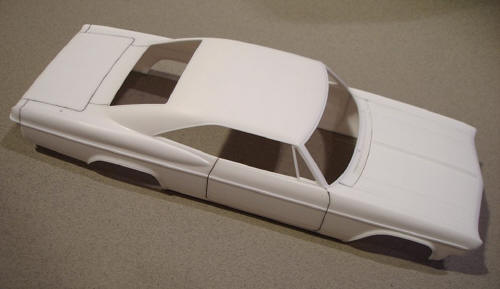
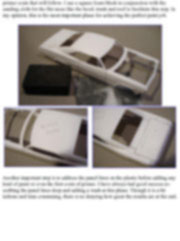
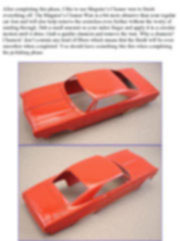
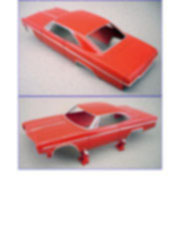
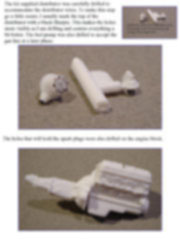
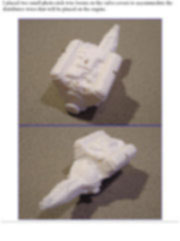
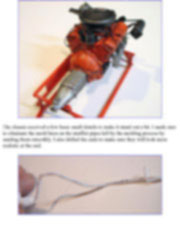
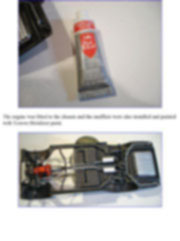
Painting and building The first thing at hand is to prepare the body for painting. I always check for any mold lines or any imperfections on the plastic and address them quickly. It’s very rare to find a perfect looking kit right out of the box so this step is always a must. Once the imperfections are found and addressed, I sand the entire body with a 3200 grit Micro Mesh sanding cloth. The idea here is to create some “tooths” for the primer coats that will follow. I use a square foam block in conjunction with the sanding cloth for the flat areas like the hood, trunk and roof to facilitate this step. In my opinion, this is the most important phase for achieving the perfect paint job.
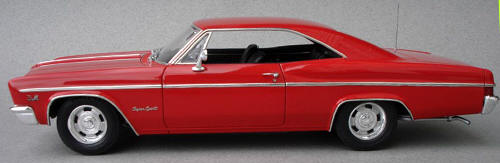
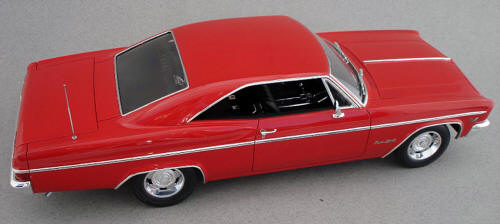
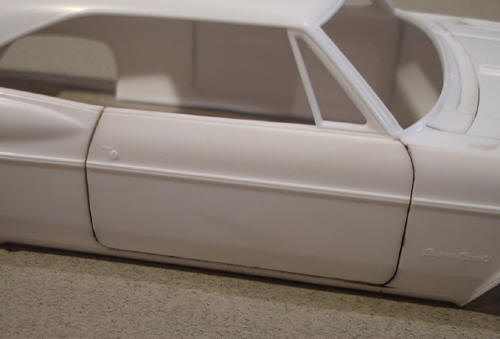
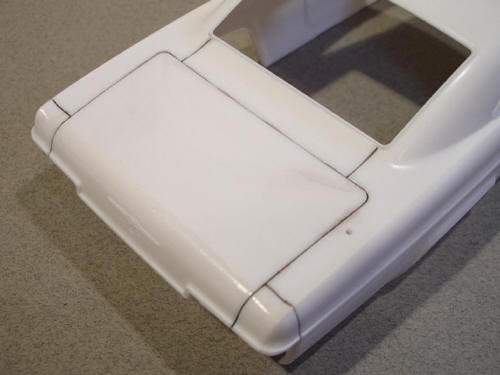
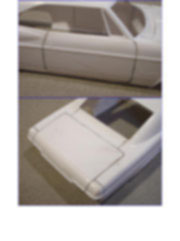
Another important step is to address the panel lines on the plastic before adding any kind of paint or even the first coats of primer. I have always had good success re-scribing the panel lines deep and adding a wash at this phase. Though it is a bit tedious and time consuming, there is no denying how great the results are at the end.
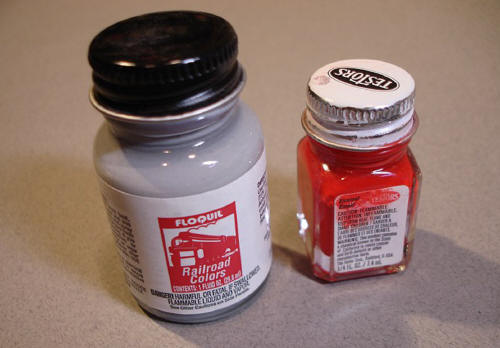
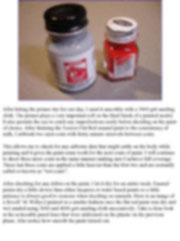
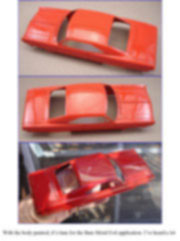
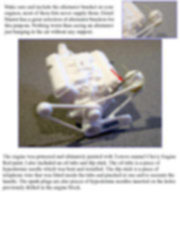
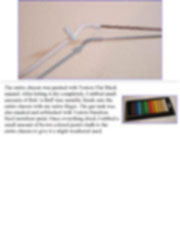
My primer of choice has always been Floquil Railroad Colors. This is a solvent based primer and it shoots smoothly and very fine with little thinning out of the airbrush. I like to keep my body details intact and this primer gives me this option. I also like to use Testors enamel flat colors for my paint jobs whenever I have a chance. Flat colors always go on a lot smoother and leave very little orange peel as opposed to the glossy counterpart.
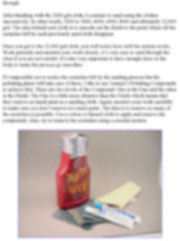
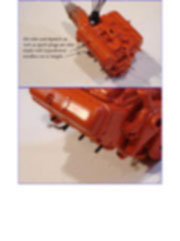
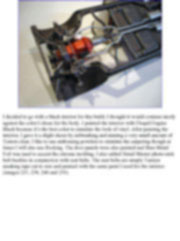
After letting the primer dry for one day, I sand it smoothly with a 3600 grit sanding cloth. The primer plays a very important roll on the final finish of a painted model. It also permits the eye to catch any imperfections easily before deciding on the paint of choice. After thinning the Testors Flat Red enamel paint to the consistency of milk, I airbrush two mist coats with thirty minute intervals between coats.
This allows me to check for any airborne dust that might settle on the body while painting and it gives the paint some tooth for the next coats of paint. I will continue to shoot three more coats in the same manner making sure I achieve full coverage. These last three coats are applied a little heavier than the first two and are normally called or known as “wet coats”.
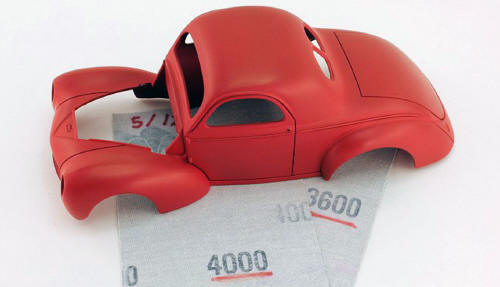
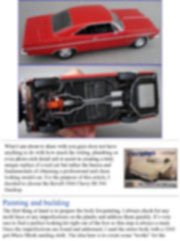
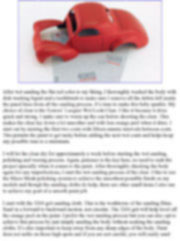
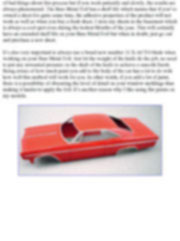
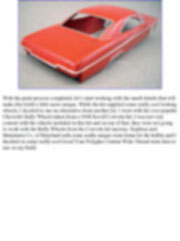
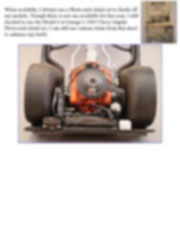
After checking for any debris on the paint, I let it dry for an entire week. Enamel paints dry a little slower than either lacquers or water based paints so a little patience is always good to exercise when deciding on enamels. Here is an image of a Revell ’41 Willys I painted in a similar fashion once the flat red paint was dry and wet sanded using 3600 and 4000 grit sanding cloth successively. Take a close look at the noticeable panel lines that were addressed on the plastic on the previous phase. Also notice how smooth the paint turned out.
This article is offered in PDF format to be read or printed using Acrobat reader, contact our webmaster > Here Includes more than 81 pics, here we show only the text pages.
Esta Nota es ofrecida en formato PDF, el cual puede ser leído o impreso usando el Acrobat reader, contacte a nuestro webmaster > Aquí Incluye más de 81 imágenes, aquí solo mostramos las paginas de texto.
Big size photos are only available in our PDF format. Support us ordering our notes in PDF > Here |
|||||||||||||||||||||||||||||||||||||||||||||||||||||||||||