|
|
|||||||||||||||||||||||||||||||||||||||||||||||
|
Motorcycles |
|
||||||||||||||||||||||||||||||||||||||||||||||
|
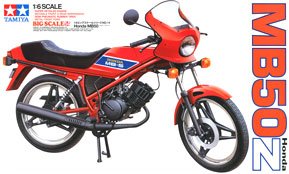
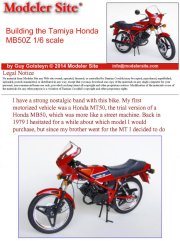
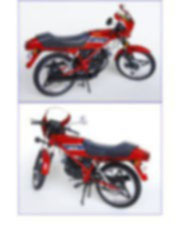
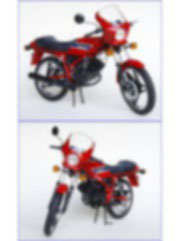
Building the Tamiya Honda MB50Z 1/6 scale |
|||||||||||||||||||||||||||||||||||||||||||||||
|
by Guy Golsteyn © Modeler Site |
|||||||||||||||||||||||||||||||||||||||||||||||
|
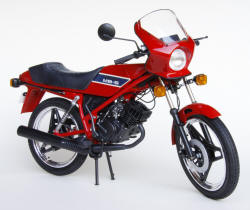
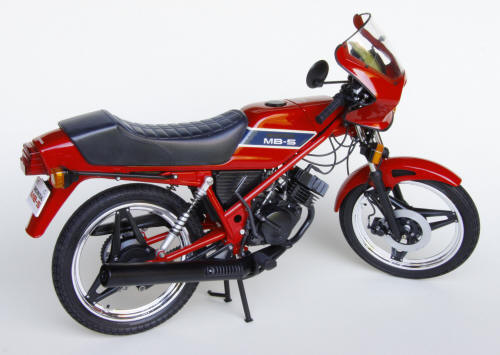
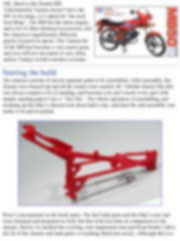
Legal Notice No material from Modeler Site any Web site owned, operated, licensed, or controlled by Damian Covalski may be copied, reproduced, republished, uploaded, posted, transmitted, or distributed in any way, except that you may download one copy of the materials on any single computer for your personal, non-commercial home use only, provided you keep intact all copyright and other proprietary notices. Modification of the materials or use of the materials for any other purpose is a violation of Damian Covalski's copyright and other proprietary rights. Read More here > Legal notice I have a strong nostalgic band with this bike. My first motorized vehicle was a Honda MT50, the trial version of a Honda MB50, which was more like a street machine. Back in 1979 I hesitated for a while about which model I would purchase, but since my brother went for the MT I decided to do the same.
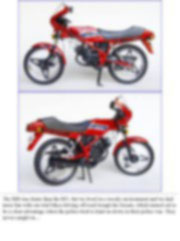
The MB was faster than the MT, but we lived in a woody environment and we had more fun with our trial bikes driving off-road trough the forests, which turned out to be a clear advantage when the police tried to hunt us down in their police van. They never caught us…
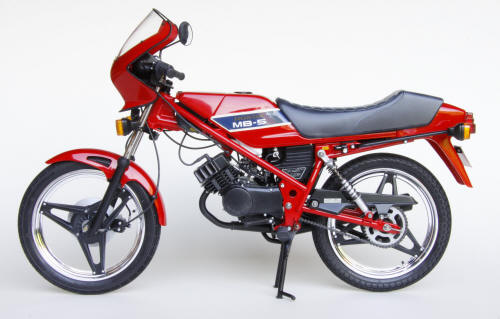
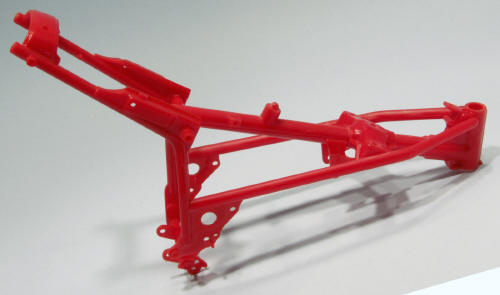
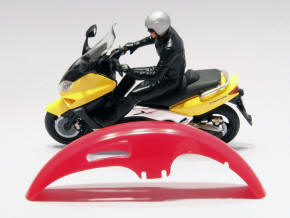
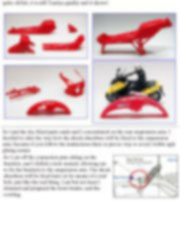
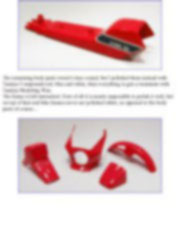
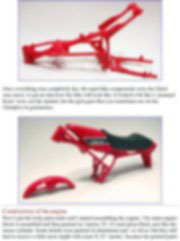
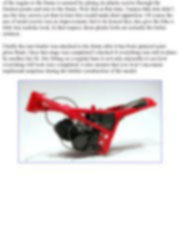
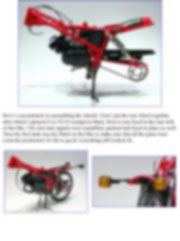
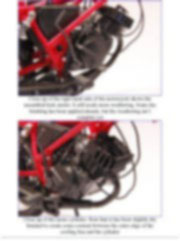
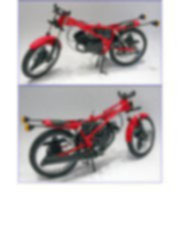
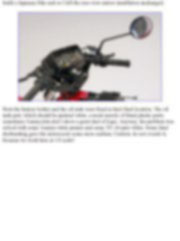
Starting the build The chassis consists of eleven separate parts to be assembled. After assembly, the chassis was cleaned up and all the seams were sanded off. Tubular chassis like this one always require a lot of sanding, and because you can’t reach every spot with simple sanding paper I use a " flex file '. The whole operation of assembling and cleaning up the bike’s chassis took about half a day, and then the sub-assembly was ready to be put in primer.
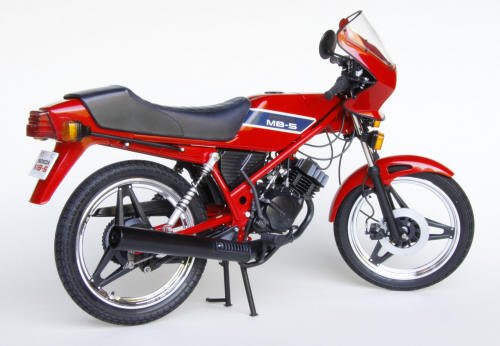
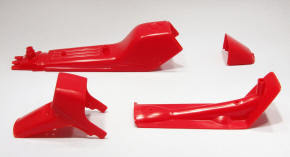
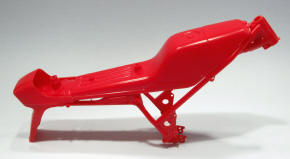
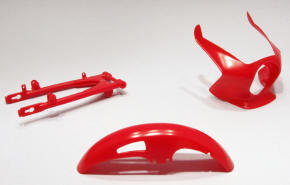
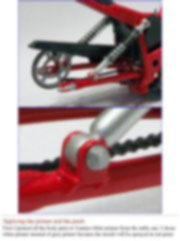
Next I concentrated on the body parts. The fuel tank parts and the bike’s rear end were trimmed and prepared as well, but this took less time in comparison to the chassis. Before we tackled the cowling, rear suspension arm and front fender I did a dry fit of the chassis and tank parts: everything fitted just nicely. Although this is a quite old kit, it is still Tamiya quality and it shows!
This note is offered in PDF format to be read or printed using Acrobat reader, contact our webmaster > Here Includes more than 71 pics, here we show only the text pages.
Esta Nota es ofrecida en formato PDF, el cual puede ser leído o impreso usando el Acrobat reader, contacte a nuestro webmaster > Aquí Incluye más de 71 imágenes, aquí solo mostramos las paginas de texto.
Big size photos are only available in our PDF format. Support us ordering our notes in PDF > Here |
|||||||||||||||||||||||||||||||||||||||||||||||