|
|
|||||||||||||||||||||||||
|
Cars |
|
||||||||||||||||||||||||
|
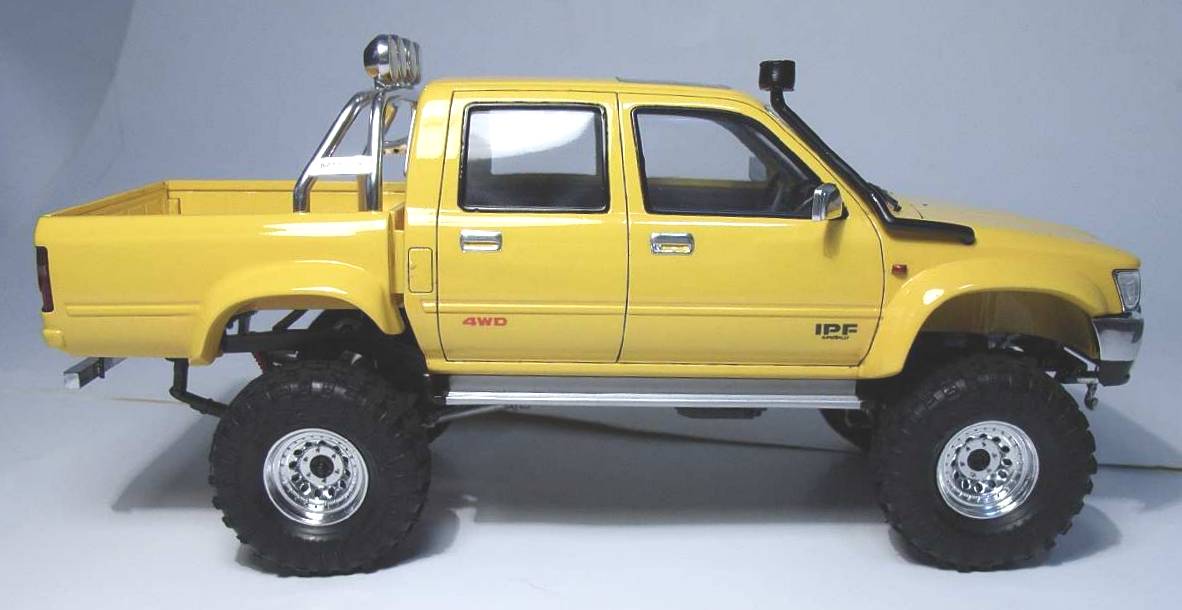
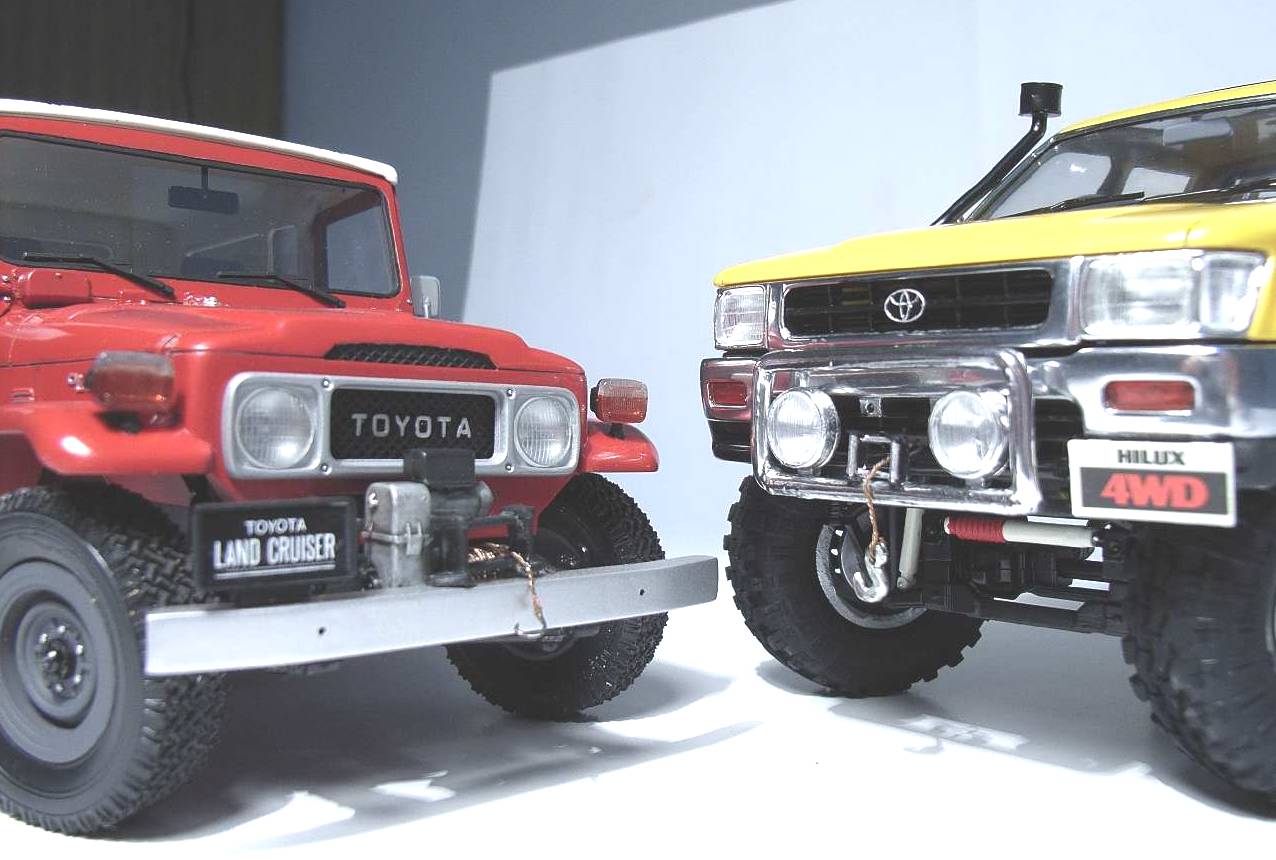
Featuring the Aoshima Toyota Hilux 1/24 scale |
|||||||||||||||||||||||||
|
by Alexander Yañez © 2006 Modeler Site |
|||||||||||||||||||||||||
|
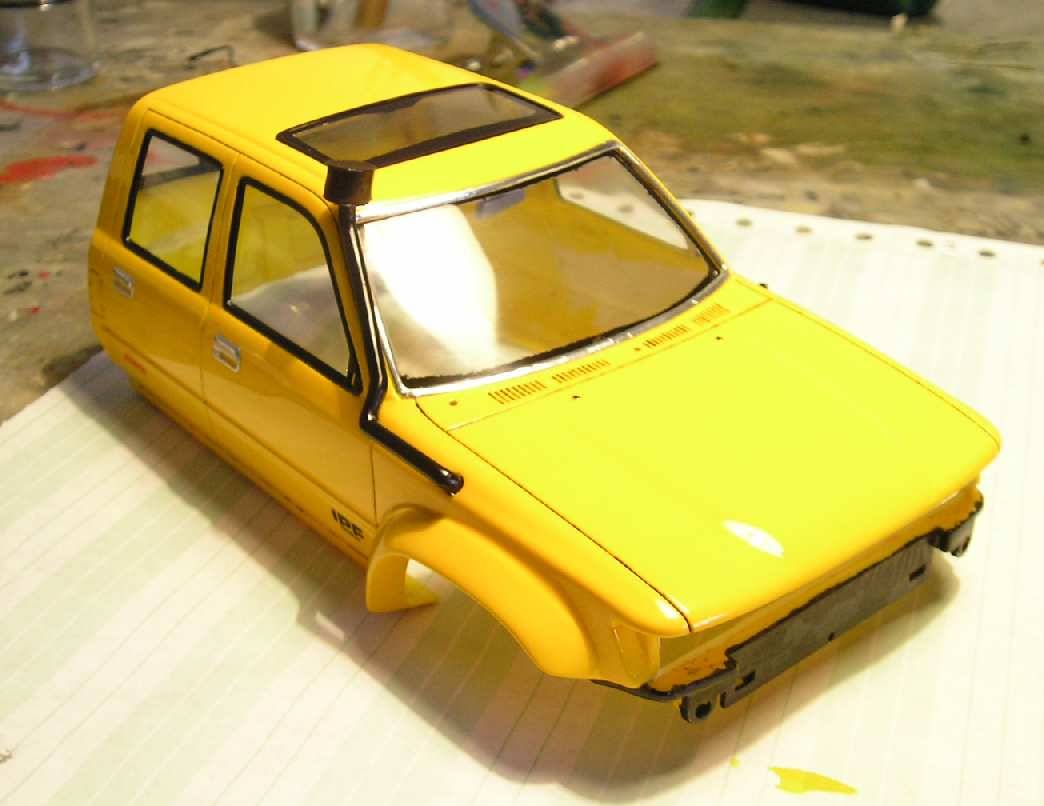
Legal Notice No material from Modeler Site any Web site owned, operated, licensed, or controlled by Damian Covalski may be copied, reproduced, republished, uploaded, posted, transmitted, or distributed in any way, except that you may download one copy of the materials on any single computer for your personal, non-commercial home use only, provided you keep intact all copyright and other proprietary notices. Modification of the materials or use of the materials for any other purpose is a violation of Damian Covalski's copyright and other proprietary rights. Read More here > Legal notice I had been keeping this 4x4 truck in my waiting list for years and before purchasing it, I had already thought that I would add some off-road accessories. I began cleaning the parts with dishwashing detergent, cutting them from the sprue as I needed. First, I set to work on the body. I used wet sand #1200 to remove flashes, mold marks, and to get a better adherence of paint. I sanded with wet sandpaper until getting a matt body.
In this way, I was sure that the putty would stick to the body without problems and this would allow me to sand the excesses without worrying about detaching the fenders. Sanding the putty needed much time and patience to get a good finishing, actually it was a real mess, anyway everybody will agree with me that patience is precisely one of the main virtues of modelers.
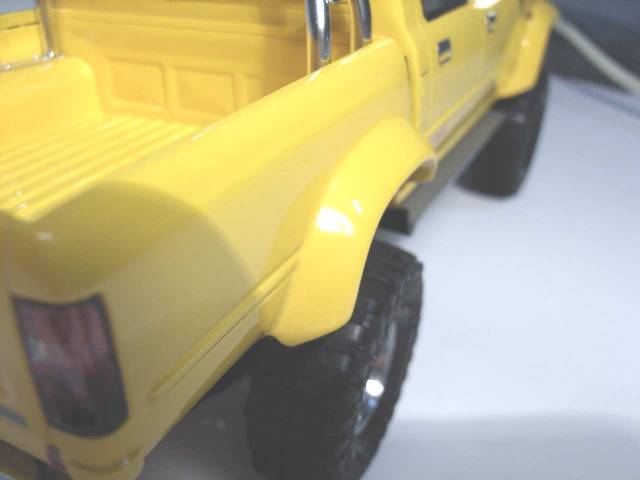
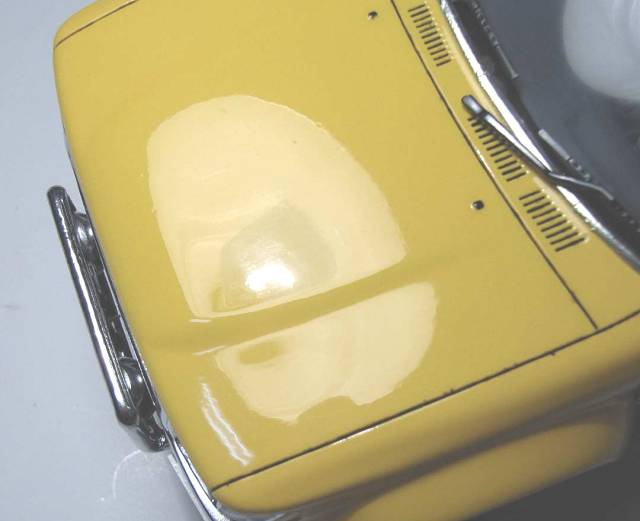
With the help of an old toothbrush I removed any rest of putty and plastic, I dried the whole with tissue paper, then, I applied two primer light coats with XF-2 Tamiya matt white. The vehicle’s floor received the same treatment. Next, it was time to start with the painting stage. Four or five Tamiya X-8 gloss yellow enamel coats were applied, leaving the body to dry for a week. Unfortunately, it was very difficult for me to achieve a good result, let’s say to get a smooth finish. So, I had to sand using the sticks sands from SMS, starting with #4000 and finishing with #12000. Unluckily, I sanded excessively some corners, that was why I had to repaint some parts of the cargo box.
I applied just a few decals and then I varnished with Tamiya enamel diluted with thinner to get a proper transparency. It was applied in the same way as the paint. Fortunately, I got a smooth finish and just some sanding with #8000 and 12000 was enough. Next, I applied two coats with Turtle Wax and rubbed the surface with an old but clean cotton undershirt. I put the body in a safe place to go on with other building stages.
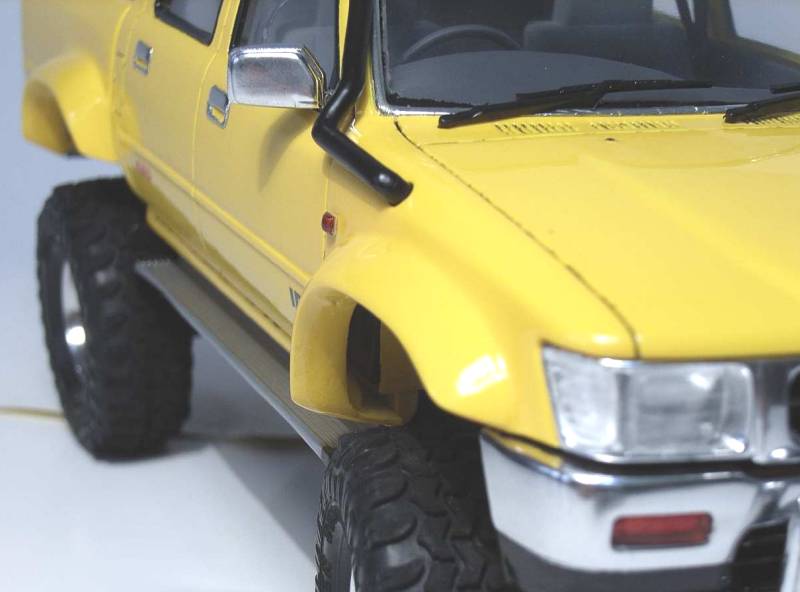
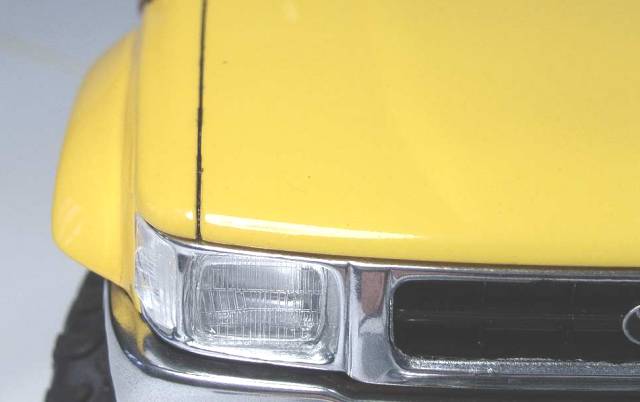
Then, I started to make a tiny hole with 1mm drill on the light’s front, changing the drill for a 1,5 mm one and so, up to drilling with one of 3 mm. In this way, I accomplished the hole. As the headlight is square, the corners were not drilled. Next, with care and patience, I had to remove those edges to get a square hole and a long sanding session to leave the hole smooth. I used pieces of quite wet # 600, 800 and 1200 sandpaper which I hold with the help of tweezers. It took me long to smooth. the part.
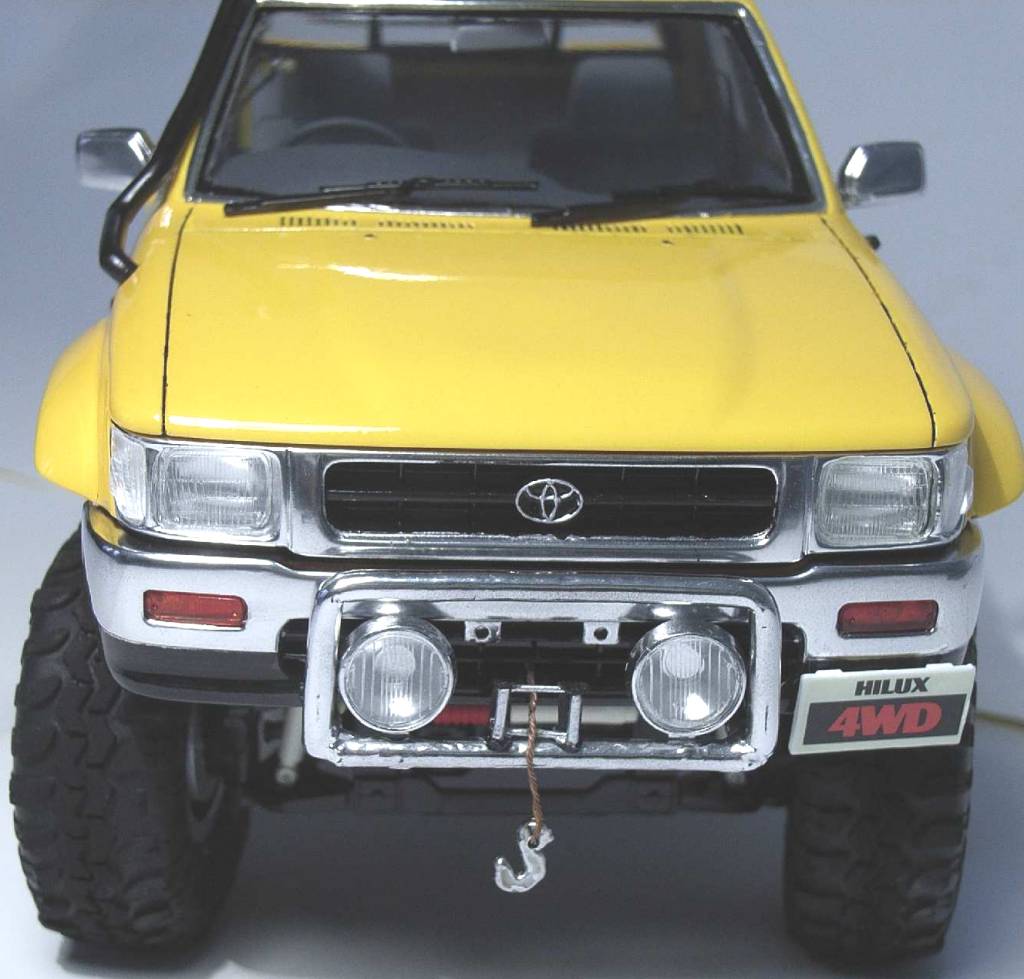
For the chromium- plated pieces, I used Alclad II cromo. It was not so difficult once I had got the knack. I applied Alclad over an enamel black base which had to be very polished (using fine sandpapers up to #12000 if necessary). Any defect on the black base will be visible later. I airbrushed two thin coats close to the part from 12-15 psi, letting dry for several minutes between each other. When painting with Alclad, I put a great amount of paint in the bottle, and shook it in order that the particles got mixed. I was easier to chrome another parts such as the doors’ handles and the front windshield’s frame, due to their shape. There, I used metal foil from Modeler’s.
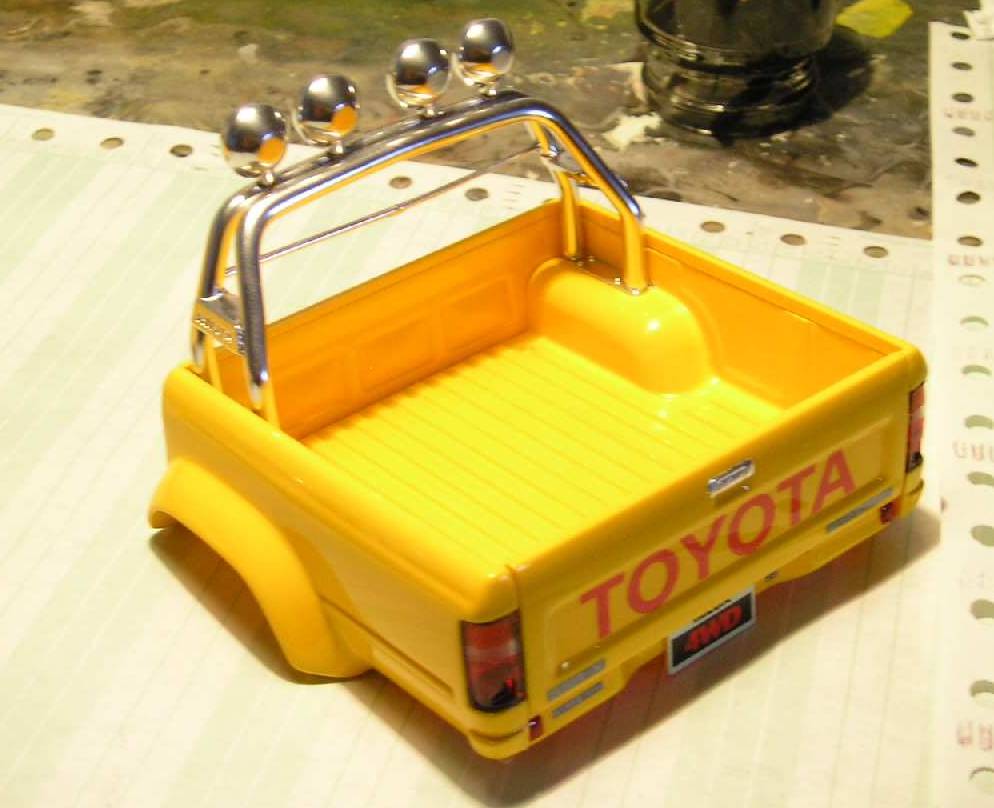
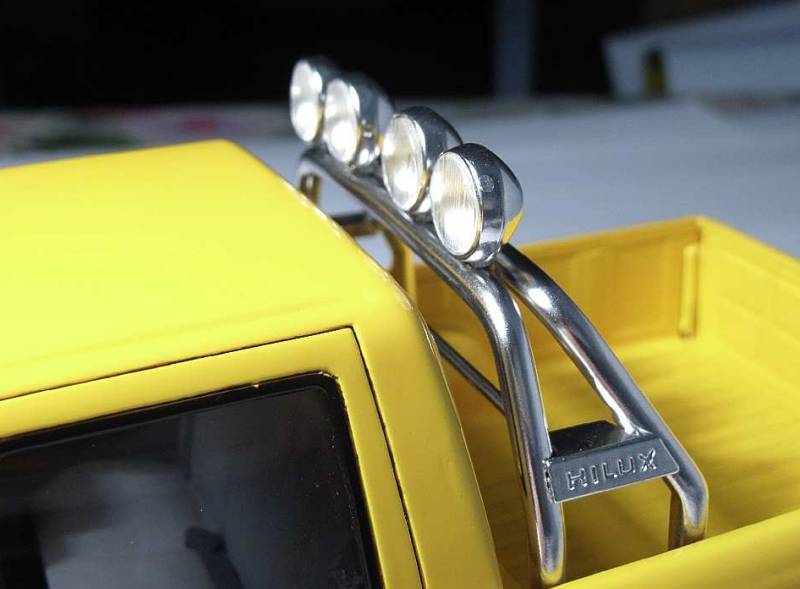
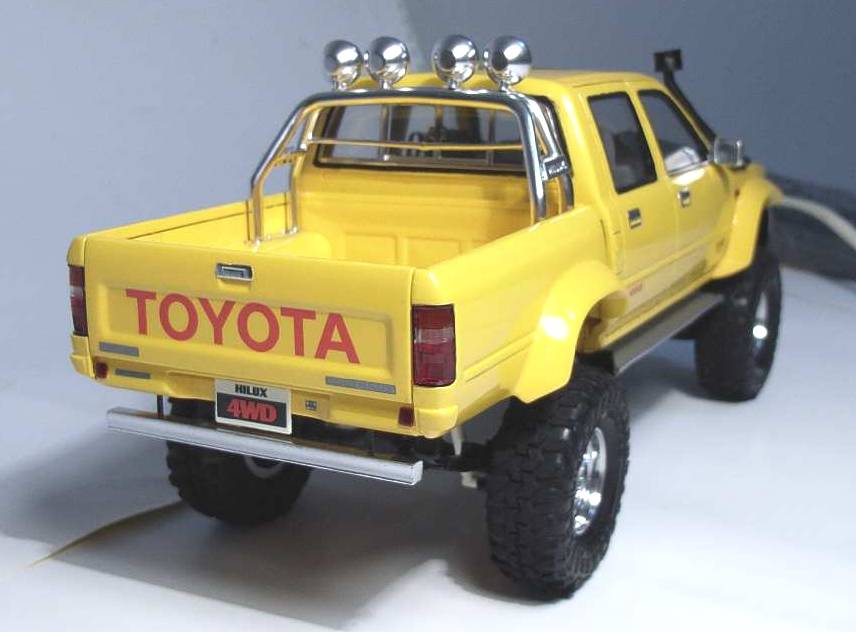
The front and rear bumpers, snorkel, winch and hook with the steel wire were made from scratch. I had to scratchbuild two snorkels until being satisfied with the result. The same happened with the front bumper. Making the rollers ruined my nerves since I had to cyano glue pieces of different gauge of hypodermic needles. The hook was shaped with nothing more than epoxy putty. The roll bar did not come with any hole to place the lights, so I had to drill them on it. Luckily, time ago, I had the great idea of cutting a piece of wood to A4 size, gluing over it a graph paper sheet to take as base to measure the distances, making then small marks which I would drill later. If you put it like that, it sounds easy, but you’ll have to be accurate so that the 4 lights are symmetrically placed . The lights and clear parts were glued with Kristal Klear.
The tyres were sanded with #400 to remove the central flash.
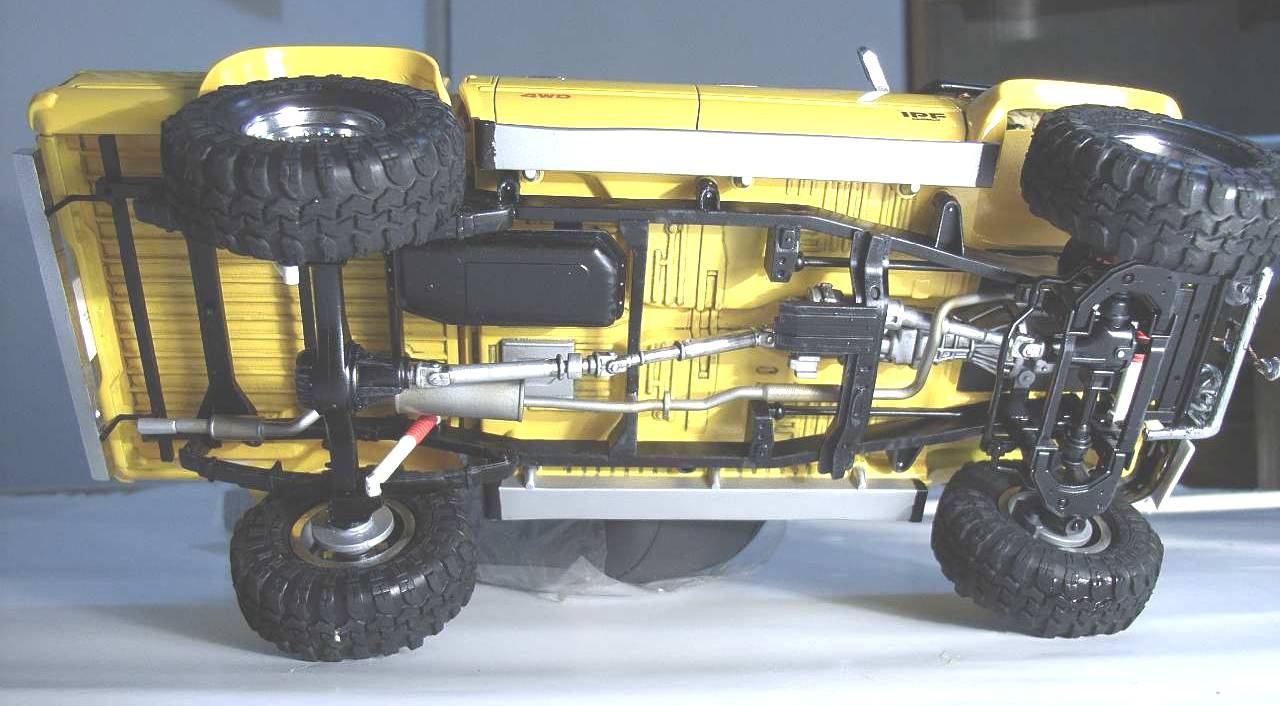
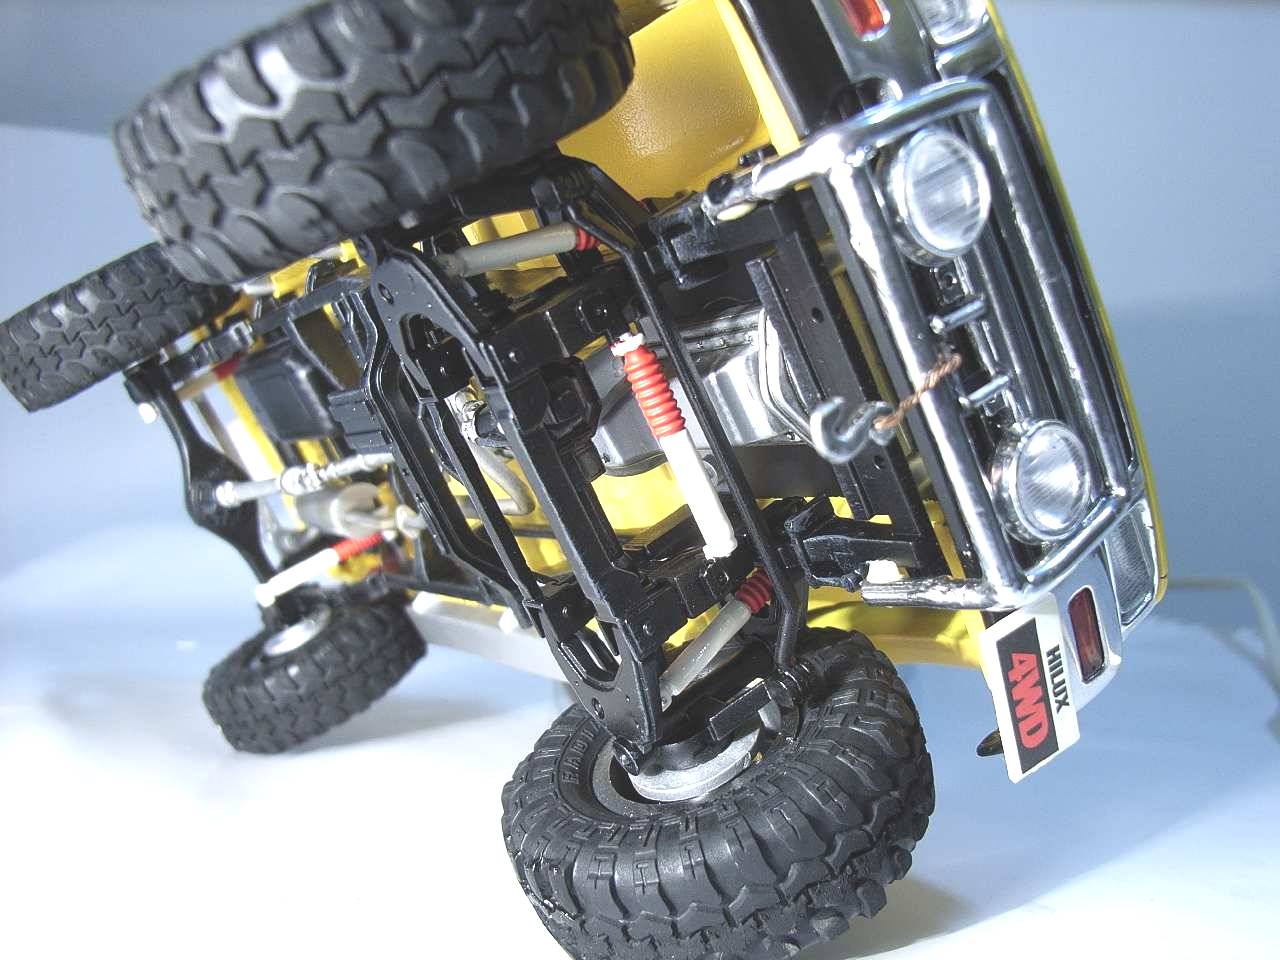
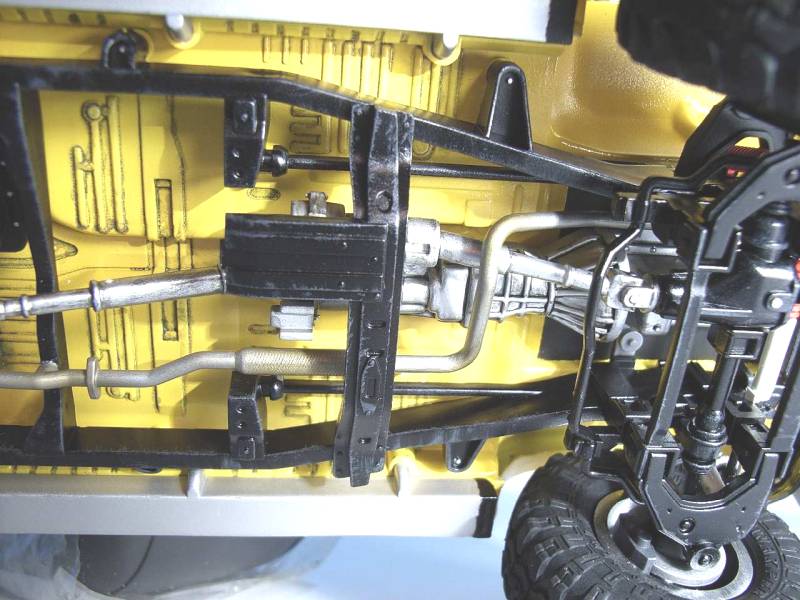
The floor and engine lower area received washes with matt black acrylic. Then, the edges of the chassis, stabilizer bar and half-shaft were drybrushed grey color. I used a flat brush, then dipped it into the paint and brushed off almost all the paint from it onto a paper napkin to go on giving quick strokes to the corners of the parts until seeing that they turn worn out and scratched.
After painting the exhaust tube in silver, I airbrushed orange to some of its areas at short distance, with lower pressure and setting the paint nozzle closed enough, the intention was not to paint it orange but, to give certain orange-colored tone so as to make it look overheated. Sometimes, I use to apply over the orange, smoke color to leave it darker, but this time I decided not to do so.
My overall impression about this brand was satisfying. My kit supplied quite a lot of parts and well molded. Just a comment, perhaps the cargo box doesn’t fit 100% even, this is lesser of two evils, is only visible if you look at it very attentively; as to the detail of the two headlights, actually, they would not have looked so real without my effort, but fortunately, I could resolve this failure.
Support us ordering our notes in PDF > Here |
|||||||||||||||||||||||||