|
|
|||||||||||||||||||||||||||||||||||||||||||
|
Formula one |
|
||||||||||||||||||||||||||||||||||||||||||
|
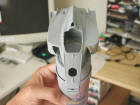
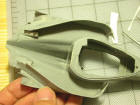
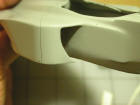
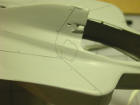
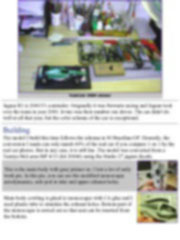
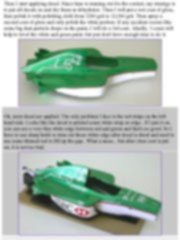
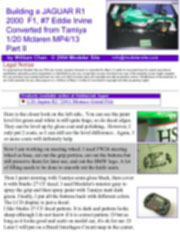
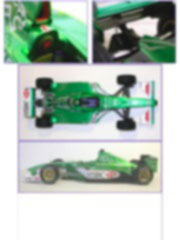
Building the Jaguar R1 2000 F1, #7 Eddie Irvine Converted from the Tamiya 1/20 Mclaren MP4/13 |
|||||||||||||||||||||||||||||||||||||||||||
|
by William Chan © 2004 - 2013 Modeler Site |
|||||||||||||||||||||||||||||||||||||||||||
|
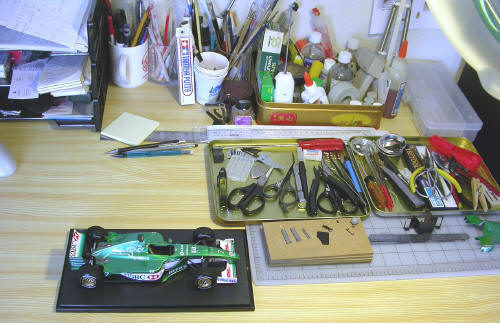
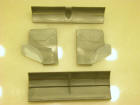
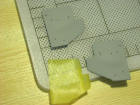
Legal Notice No material from Modeler Site any Web site owned, operated, licensed, or controlled by Mario Covalski & Associated may be copied, reproduced, republished, uploaded, posted, transmitted, or distributed in any way, except that you may download one copy of the materials on any single computer for your personal, non-commercial home use only, provided you keep intact all copyright and other proprietary notices. Modification of the materials or use of the materials for any other purpose is a violation of Mario Covalski & Associated's copyright and other proprietary rights. Read More here > Legal notice This is my first attempt to convert a Tamiya 1/20 F1 model into another F1 car. This Jaguar R1 project is totally inspired by Alex Kung's R1 project that he did several years ago. Originally I was thinking to build a super-detail 1/20 Ferrari F189 for 2004 Tamiya/Con. Unfortunately, I was too aggressive on the monocoque and has to give up. I started this R1 project couple years ago and then I set it aside. After I know I cannot finish the F189, I decide to bring back the R1 project and build a curbside conversion. It is proven to be a fun project after previous tries on super detailed project.
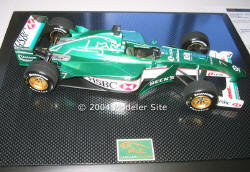
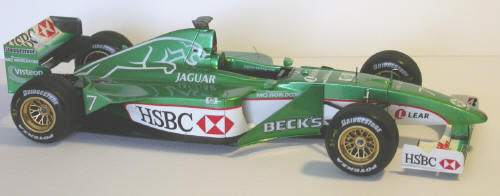
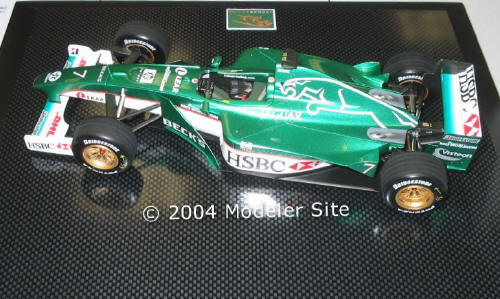
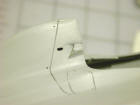
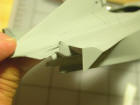
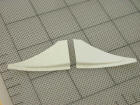
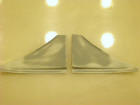
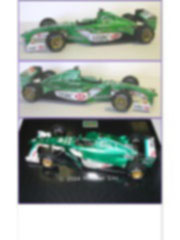
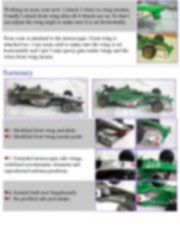
Jaguar R1 is 2000 F1 contender. Originally it was Stewarts racing and Jaguar took over the team in year 2000. Irvine was their number one driver. The car didn't do well at all that year, but the color schema of the car is exceptional. Building The model I build this time follows the schema in 00 Brazilian GP. Honestly, the conversion I made can only match 60% of the real car if you compare 1 on 1 by the real car photos. But in any case, it is still fun. The model was converted from a Tamiya McLaren MP 4/13 (kit 20046) using the Studio 27 jaguar decals.
This note is offered in PDF format to be read or printed using Acrobat reader, contact our webmaster > Here Includes more than 100 pics, here we show only the text pages.
Esta Nota es ofrecida en formato PDF, el cual puede ser leído o impreso usando el Acrobat reader, contacte a nuestro webmaster > Aquí Incluye más de 100 imágenes, aquí solo mostramos las paginas de texto.
Big size photos are only available in our PDF format. Support us ordering our notes in PDF > Here |
|||||||||||||||||||||||||||||||||||||||||||