|
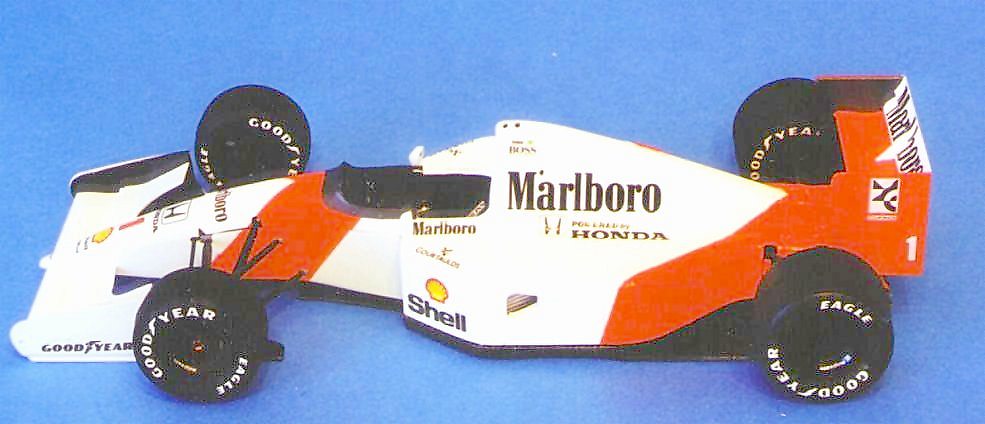
Details made on this model
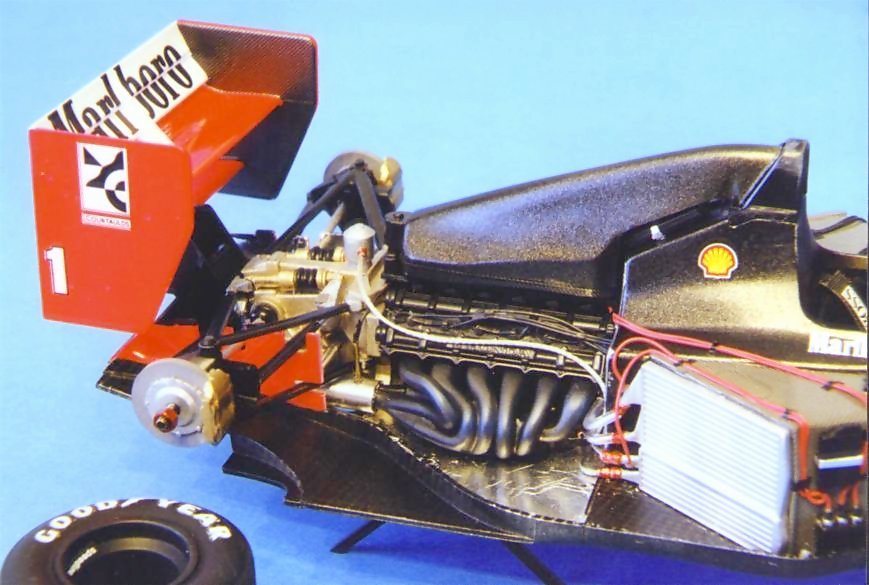
 The wing was took off from the Tamiya MP4/8 kit to make a "high down force" version. The wing was took off from the Tamiya MP4/8 kit to make a "high down force" version.
Marlboro logos were added.
Seat Belt photoetch hardware was added.
Seat Belt material came from Modelers 1/20th seat belt kit.
Carbon fiber decals are a mix of Scale Motorsports and Modelers. I used Microsol and Microset on the Scale Motorsports and Mr.Soft Marker for the Modelers, which are more brittle and better for large flat areas.
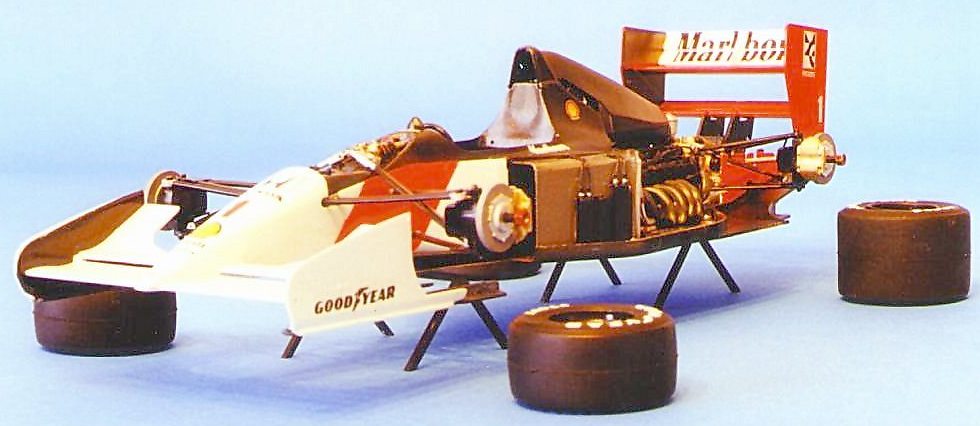
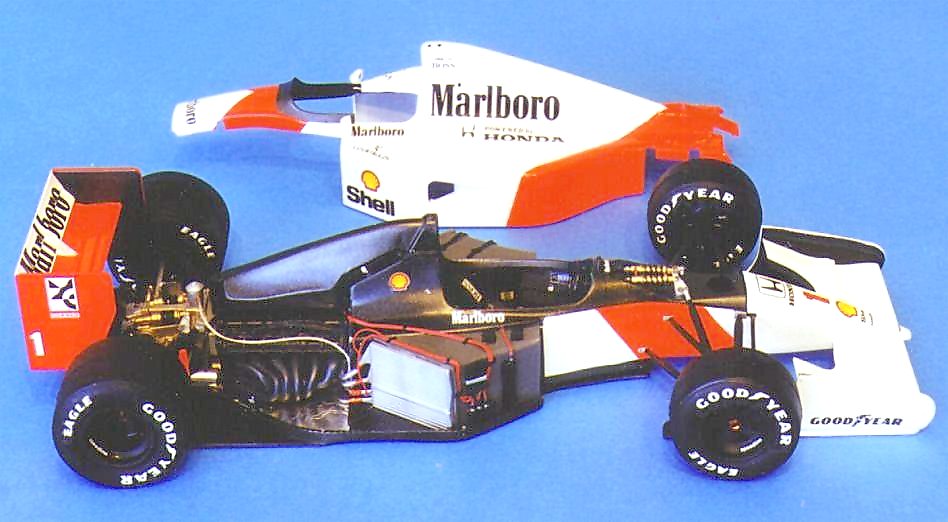
Carbon fiber look, on the under tray, was done with Tamiya paint. I painted the under tray with white primer, then took a piece of textile mesh fabric, stretched it over the under tray and fogged the parts with a mixture of Tamiya Semi-gloss black and gold (9 to 1). This left a very sharp demarcation of a black and white grid on the under tray. Next, I put my airbrush on ~10 psi and thinned the black/gold mix about 1 part paint to 3 parts thinner and lightly went over the white grid lines until they were more subtle. Almost like a wash but with an airbrush.
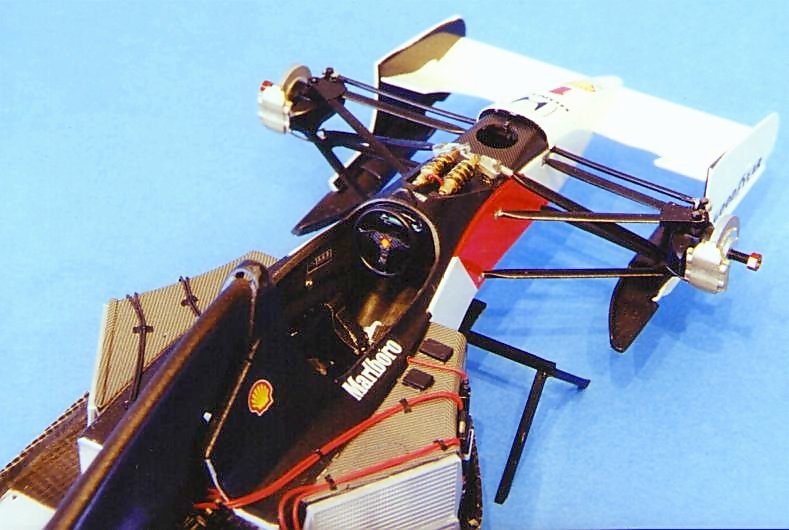
The rear shocks where cut apart, and rebuilt with the kit parts, some metal tubing, and 1mm wire wound up for the springs. It took forever and was very tedious and I got lazy and just painted the front part (up close, you can really tell the difference which may not be obvious in the photo's).
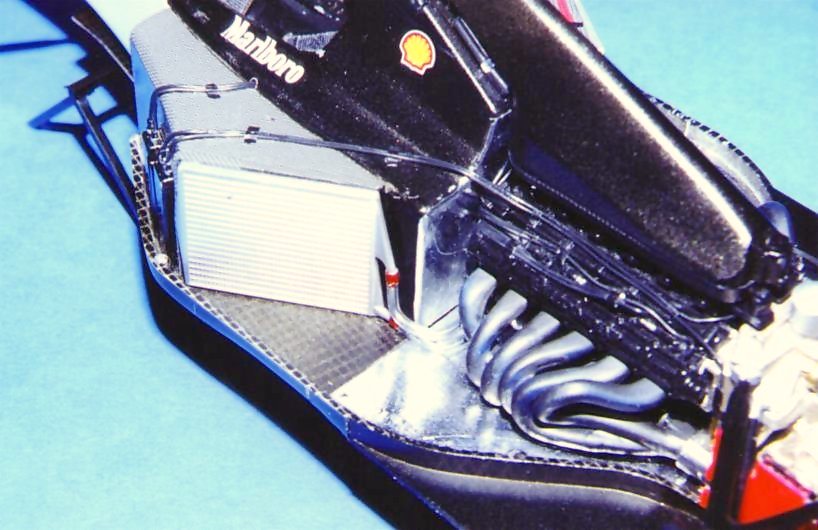
The radiator tubing is the small plastic ties found in a lot of kids toys these days that holds the toys in the boxes. This stuff is great for 1/20th scale radiator tubing. It looks like metal radiator hose used on most F1-cars from the 90's and doesn't need to be painted at all. It is easy to flex and can be cut with a #11 blade very easily.
Braided tubing, connectors, and heat shield (bare metal foil) are from Detail Master.
The stub axle, nuts and washers are from Hob-Bits (1-72 nut, washer, screw). Most Hobby Town USA's carry these bits.
Painting
Paint was accomplished with Tamiya Spray Pure White (TS-26) and Florescent Red (TS-36). Primer was Tamiya Surface Primer. I used white primer at first but then realized I had no idea what I had or hadn't primed since the kit plastic is white also (D'OH!!!). I had to sand it down lightly and re-prime with grey. The surface you paint on also must be very smooth so wet sand the primer with 1000-grit before painting your color coats. The kit was masked with Tamiya tape and clear coated with Tamiya Spray Clear (TS-13). No polishing was necessary.
Note of Caution
If you've not used the TS paints before, they are pretty powerful and will eat thru and craze most other enamel paints if you try to paint over them and they are not completely dry (as in at least a week!). Also, the fumes are very strong so paint in a well ventilated space. All my painting was done in a paint booth. The TS paints dry to the touch pretty quickly, but they are very thin and several coats are required to get good coverage. Allow 5 days drying before masking over them.
|