|
|
||||||||||||||||||||||||||||||||||||||||||||||||
|
Formula one |
|
|||||||||||||||||||||||||||||||||||||||||||||||
|
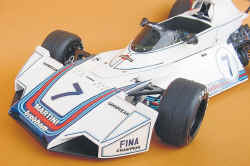
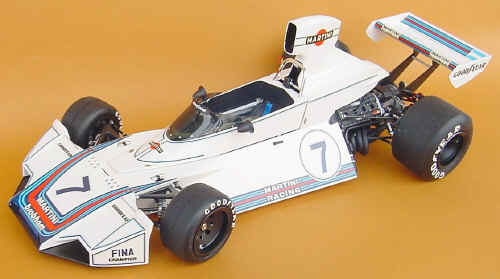
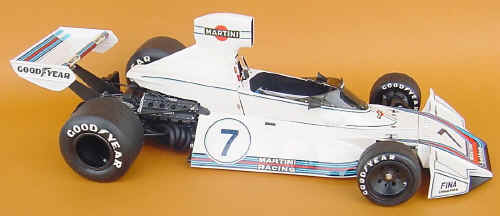
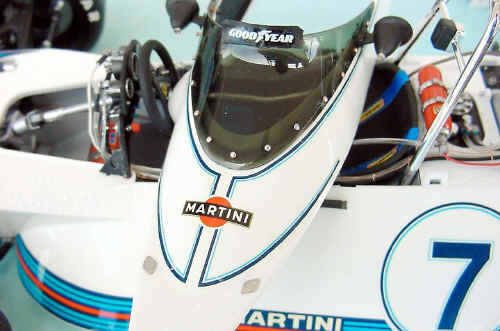
Brabham BT44, Tamiya 1/12 scale A "step by step" for newcomers |
||||||||||||||||||||||||||||||||||||||||||||||||
|
by Mario Covalski © 2003 |
||||||||||||||||||||||||||||||||||||||||||||||||
|
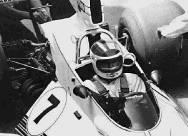
Legal Notice No material from Modeler Site any Web site owned, operated, licensed, or controlled by Mario Covalski & Associated may be copied, reproduced, republished, uploaded, posted, transmitted, or distributed in any way, except that you may download one copy of the materials on any single computer for your personal, non-commercial home use only, provided you keep intact all copyright and other proprietary notices. Modification of the materials or use of the materials for any other purpose is a violation of Mario Covalski & Associated's copyright and other proprietary rights. Read More here > Legal notice Among the articles I had in mind to write about, there was one that headed my list, and without any doubt, It was about the Brabham BT44. By the end of my youth, I saw this beautiful, simple and successful car, running in Buenos Aires, driven by Carlos Reutemann, one of the most expert F1 drivers of the last 30 years.
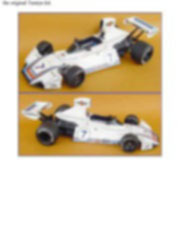
Besides, this model was the cover subject of Modeler Site in April 2000, but only with a gallery, so I was in debt not only with my remembrance but also with my model.
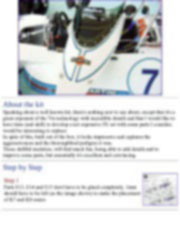
About the kit
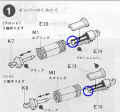
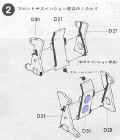
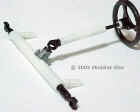
Speaking about a well known kit, there's nothing new to say about, except that it's a great exponent of the 70s technology with incredible details and that I would like to have time (and skill) to develop a not expensive PE set with some parts I consider, would be interesting to replace. Step by Step
This note is offered in PDF format to be read or printed using Acrobat reader, contact our webmaster > Here Includes more than 76 pics, here we show only the text pages.
Esta Nota es ofrecida en formato PDF, el cual puede ser leído o impreso usando el Acrobat reader, contacte a nuestro webmaster > Aquí Incluye más de 76 imágenes, aquí solo mostramos las paginas de texto.
Big size photos are only available in our PDF format. Support us ordering our notes in PDF > Here |
||||||||||||||||||||||||||||||||||||||||||||||||