|
|
|||||||||||||||||||||||||||||||||||||||||
|
Formula one |
|
||||||||||||||||||||||||||||||||||||||||
|
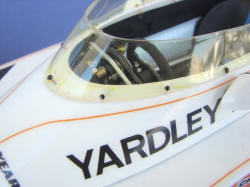
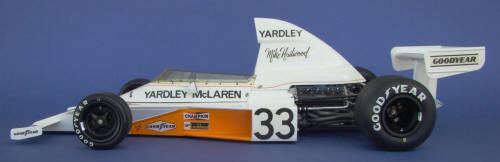
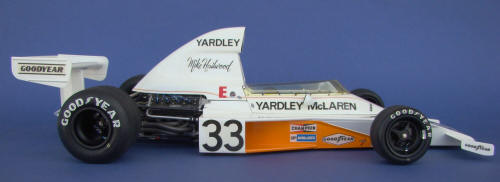
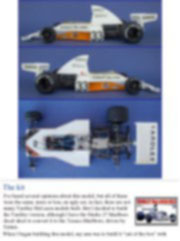
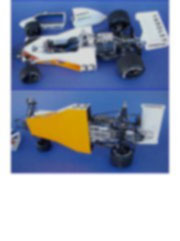
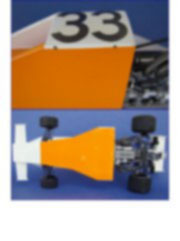
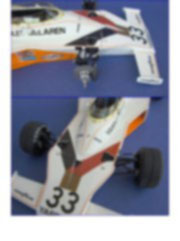
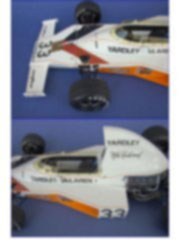
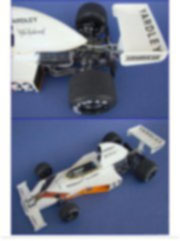
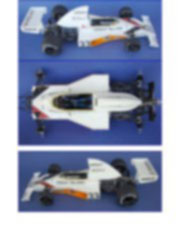
Detailing the M23 Yardley McLaren Tamiya 1/12 scale |
|||||||||||||||||||||||||||||||||||||||||
|
by Mario Covalski © 2001 - 2013 |
|||||||||||||||||||||||||||||||||||||||||
|
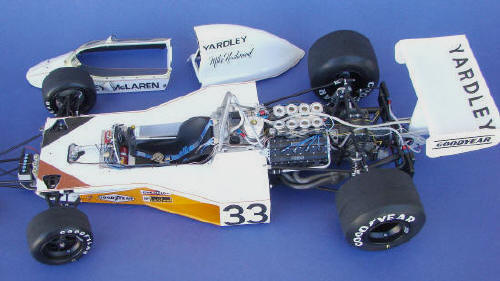
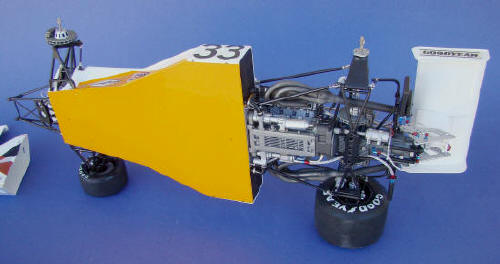
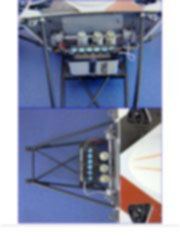
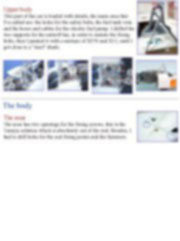
Legal Notice No material from Modeler Site any Web site owned, operated, licensed, or controlled by Mario Covalski & Associated may be copied, reproduced, republished, uploaded, posted, transmitted, or distributed in any way, except that you may download one copy of the materials on any single computer for your personal, non-commercial home use only, provided you keep intact all copyright and other proprietary notices. Modification of the materials or use of the materials for any other purpose is a violation of Mario Covalski & Associated's copyright and other proprietary rights. Read More here > Legal notice Without any doubt the 70's was the golden decade for the Formula One, the cars were very competitive and there were teams with more than two cars and two sponsors!, something unthinkable in these days; there were even independent pilots who used to buy or rent the cars to the constructors, and race them with their own sponsorship. By that time the McLaren team was one of those two sponsor teams, Texaco-Marlboro, and Yardley. The M23 model was a racing car with quite a simple design and construction, but very successful nonetheless. The chassis was an aluminum monocoque with a rectangular section (quite an achievement in those days), the Cosworth engine was "hanged" in the rear part, and the water radiators were side mounted in "tunnels" alongside the chassis. This model remained in the tracks for almost four years, with modifications to adapt it to the new tendencies. It was piloted by two world champions, Emerson Fittipaldi in 1974, and James Hunt in 1976.
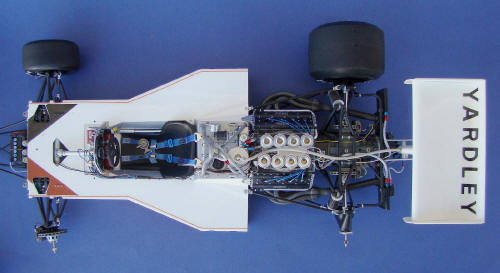
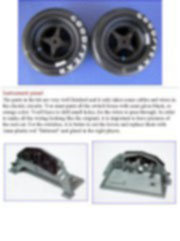
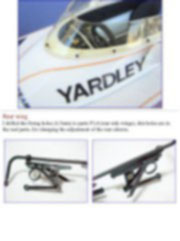
The kit
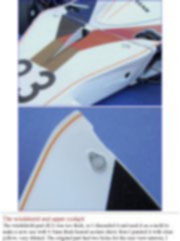
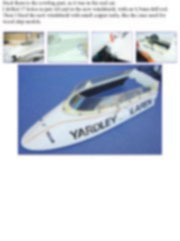
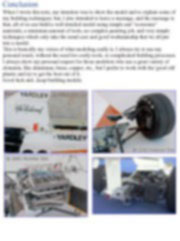
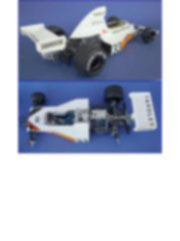
When I began building this model, my aim was to build it "out of the box" with minor and easy to do modifications, and make it look colorful. The building is quite simple, the only real problem is in the chassis. The car's body is in fact the monocoque, it is painted in white and orange colors; the challenge was, building the whole chassis with the two previously painted parts. After giving it a good thinking, I decided to paint the two body/chassis parts and build the rest in a later stage. Modifications As I said, building this model was a straightforward task, no special techniques or processes; so I focused myself in the explanation of the small modifications I've made, in order to enhance the final appearance. This article is offered in PDF format to be read or printed using Acrobat reader, contact our webmaster > Here Includes more than 100 pics, here we show only the text pages.
Esta Nota es ofrecida en formato PDF, el cual puede ser leído o impreso usando el Acrobat reader, contacte a nuestro webmaster > Aquí Incluye más de 100 imágenes, aquí solo mostramos las paginas de texto.
Big size photos are only available in our PDF format. Support us ordering our notes in PDF > Here |
|||||||||||||||||||||||||||||||||||||||||