|
|
||||||
|
Cars |
|
|||||
|
Opel GT |
||||||
|
by Jean-Paul Spa |
||||||
|
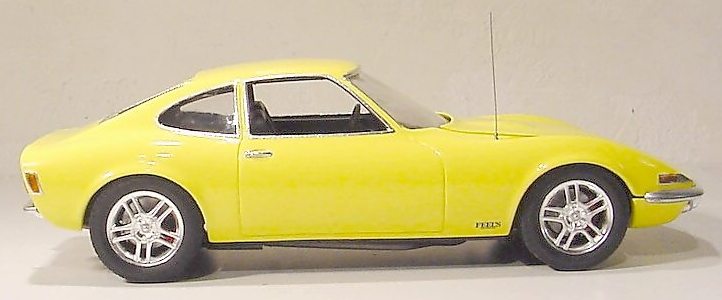
In the early seventies, when I still was a boy there was a beautiful car parked in our street I liked the shape of it very much. I didn't know what kind of car it was of what kind of engine it had I only had eyes for the body. Man what a female looks that car had. Years later when my interest for cars was more developed I know the car I always liked those days was an Opel GT. So I was very happy when I heard that AMT bring out a reissue of this kit. The choice was made very easy I must have that kit.
The kit AMT did a fine job with this kit, especially when you aware of the fact that this kit was seen the light in the mid Eighties and when the kits weren't as good and detailed as those days. The kit is very simple but very fine, the body is well captured and the interior and engine are detailed in a very simple way. Building There are two ways to build this kit, in a stock or custom version. I choose for the stock version but I used some custom parts to give the model the right look.
I had a hard decision for the right body colour. At the end when I saw a lot of pictures of the GT on the net I made up my mind, I will paint it yellow. So I go to the local car shop to buy a touch up bottle with yellow car paint. The paint I bought is Seat yellow and looks a lot like Opel's yellow. I first primed the body parts with two layers of car primer, let it dry for about two days and then I sanded it with Tamiya 1500 and 2000 sanding paper. Then I sprayed the yellow car paint on the parts in three layers. After a week of drying time I checked the parts again, they looked great, no dust, no orange peel and no paint build up's. So I was happy and sprayed two layers of clear car lacquer to the parts. I put the parts away again for about three weeks now to let it dry completely.
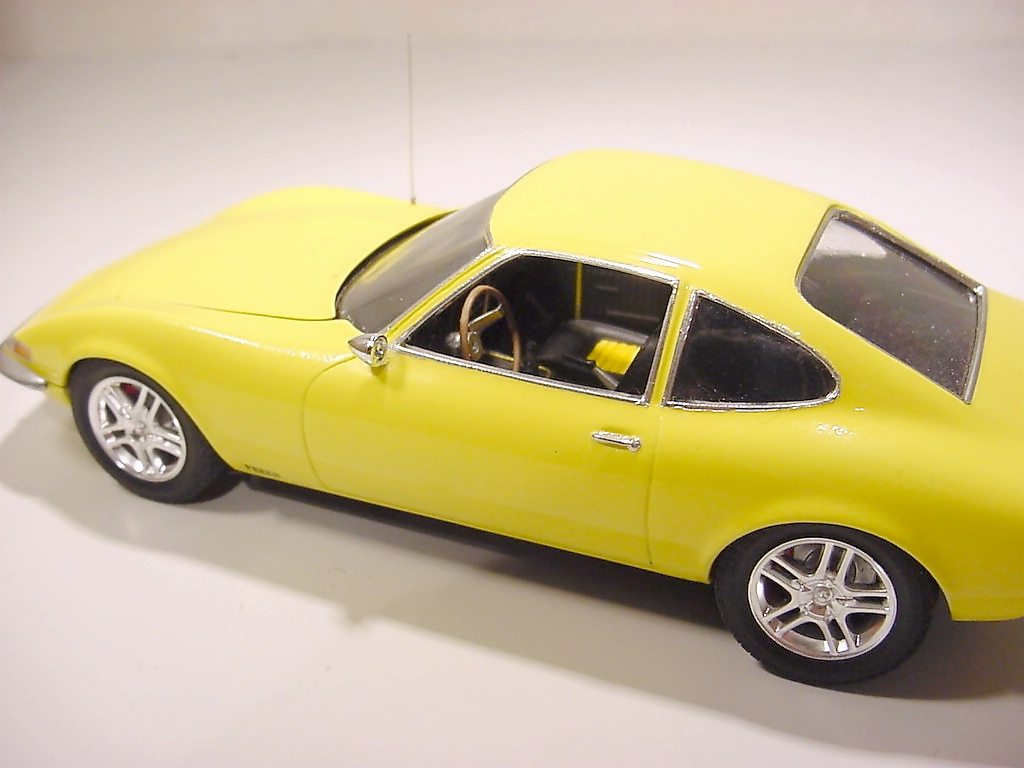
In the mean while I concentrated on the engine and interior. AMT provides two different engines. Buick V6 engine and a 1.9 liter 4 cylinder Opel engine, I choose the Opel one. The engine parts were sprayed semi gloss black and detailed it with some cables and wires. I used a real rubber radiator hose. I added an aftermarket (from The Model Car Garage) carburetor, an metal etch fan and an alternator with more detail, a battery which I had in my spare parts box, and some engine decals to the engine bay.
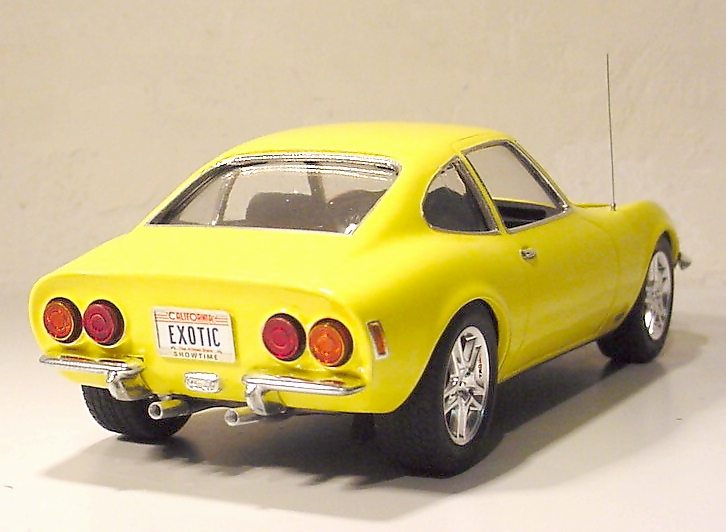
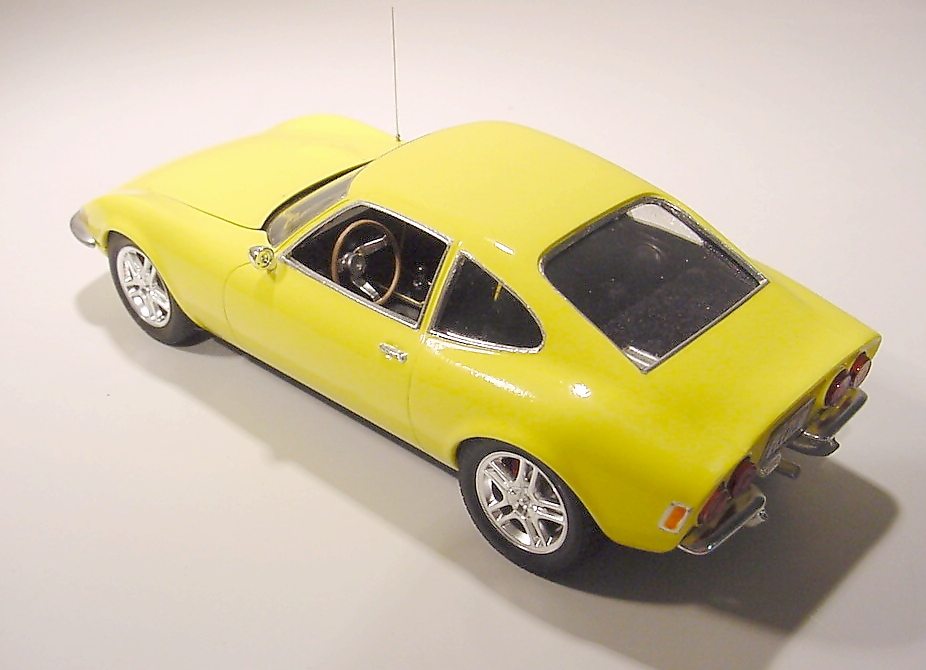
The interior is very simple but with some attention it could turn into something nice. So I did. I sprayed the interior semi gloss black and sprayed the seat and back parts of the bucket seats yellow. To give the dash something more detail I added some yellow embroidery thread along the meters and console. I also added a radio and CD player face and four speakers to give the interior a more modern style. The speed meters had some engraved detail but I choose to add decals to them to give it a better appearance. The floor and back of the interior were treated with some black flocking. At one time when I was working on the interior I was missing something and I couldn't tell what it was until I suddenly noticed that there was no mirror for looking what's going on behind you. So the mirror I added came also from my spare box. Finishing When the body was completely dry I polished it with 6000, 8000 and 12000 sanding cloth's to give it a more shiny appearance. After that I added some bare metal foil to the window trim and door handles. Before I could spray some Alclad chrome to the front and rear bumpers I first had to remove the kit chrome, this was too shiny. The stock tail lights I painted with Tamiya orange and red clear (several times), let them dry completely before I added them into the boy.
When the interior, body and chassis came together I added some custom wheels and disk brakes to the model. I didn't like the custom or stock wheels AMT provides in the kit. I used some Tamiya wheels out of my spare box, they were from a modern Toyota Celica. It gives the model a more aggressive and modern look. Finally I added an antenna, one side mirror and a decal on both side of the model called Feel's. Conclusion The model gave me a lot of fun building it, it brought back a lot of memories. I spent about 20 hours to build the model. The Netherlands May 2002 Pictures by Jan Visser
|
||||||