|
Legal Notice
No material from Modeler Site any Web site owned, operated, licensed, or controlled by Mario Covalski & Associated may be copied, reproduced, republished, uploaded, posted, transmitted, or distributed in any way, except that you may download one copy of the materials on any single computer for your personal, non-commercial home use only, provided you keep intact all copyright and other proprietary notices. Modification of the materials or use of the materials for any other purpose is a violation of Mario Covalski & Associated's copyright and other proprietary rights.
Read More here > Legal notice
Building a sci-fi model doesn't requires any special modelling knowledge. The contrary is true: many of these models are designed to simplified both the construction and the finishing of them. Companies like Bandai produce models that could be easily build without using a single drop of glue or paint. Bandai has a in it's catalogue hundreds of these models with these characteristics and different levels of complexity. Even with the simplest kits interesting results can be achieved since the detail level and the poseability are really good.
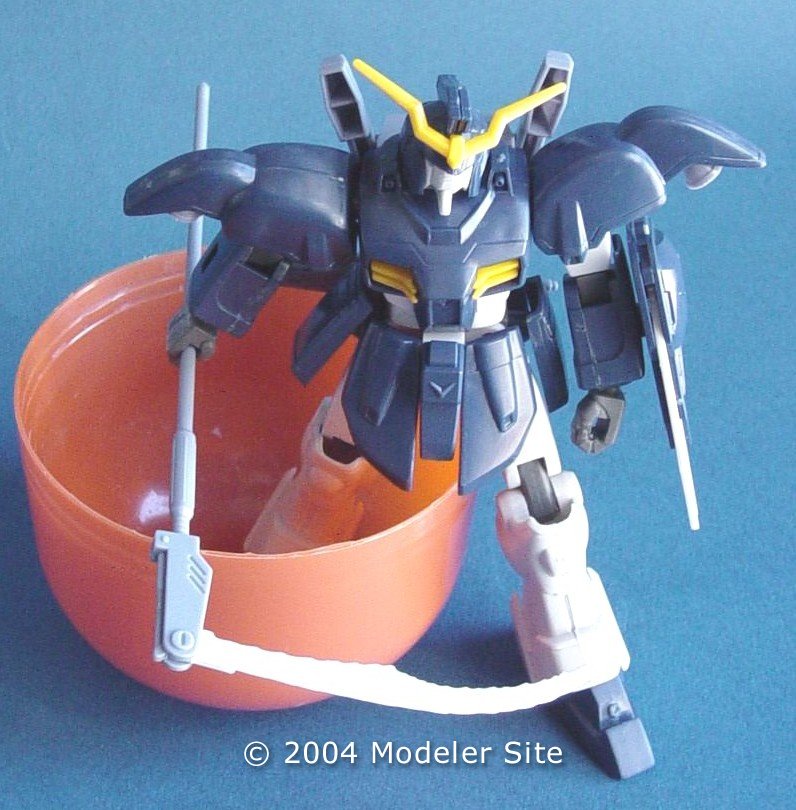
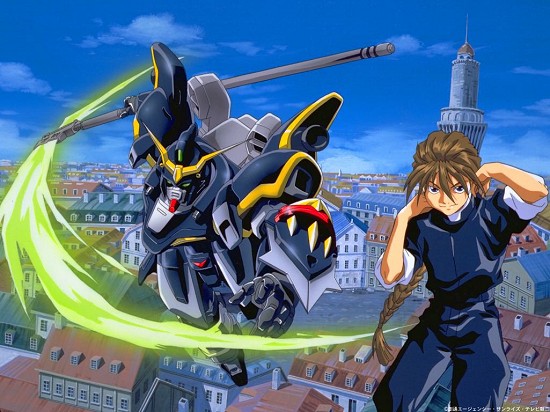
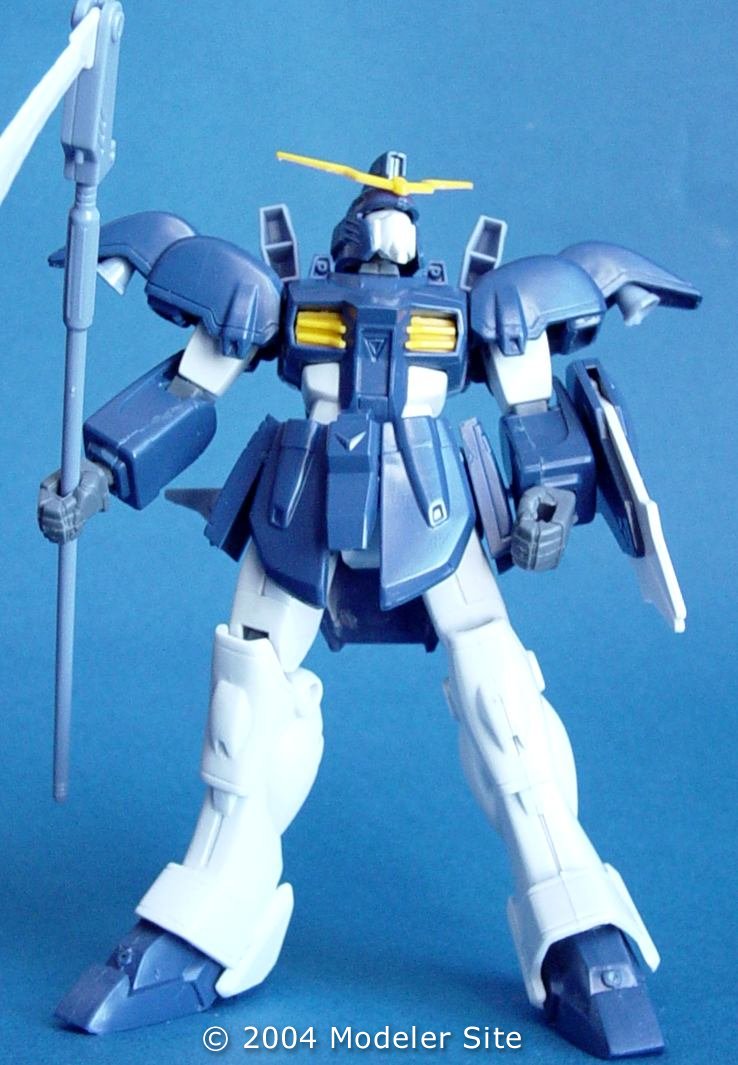
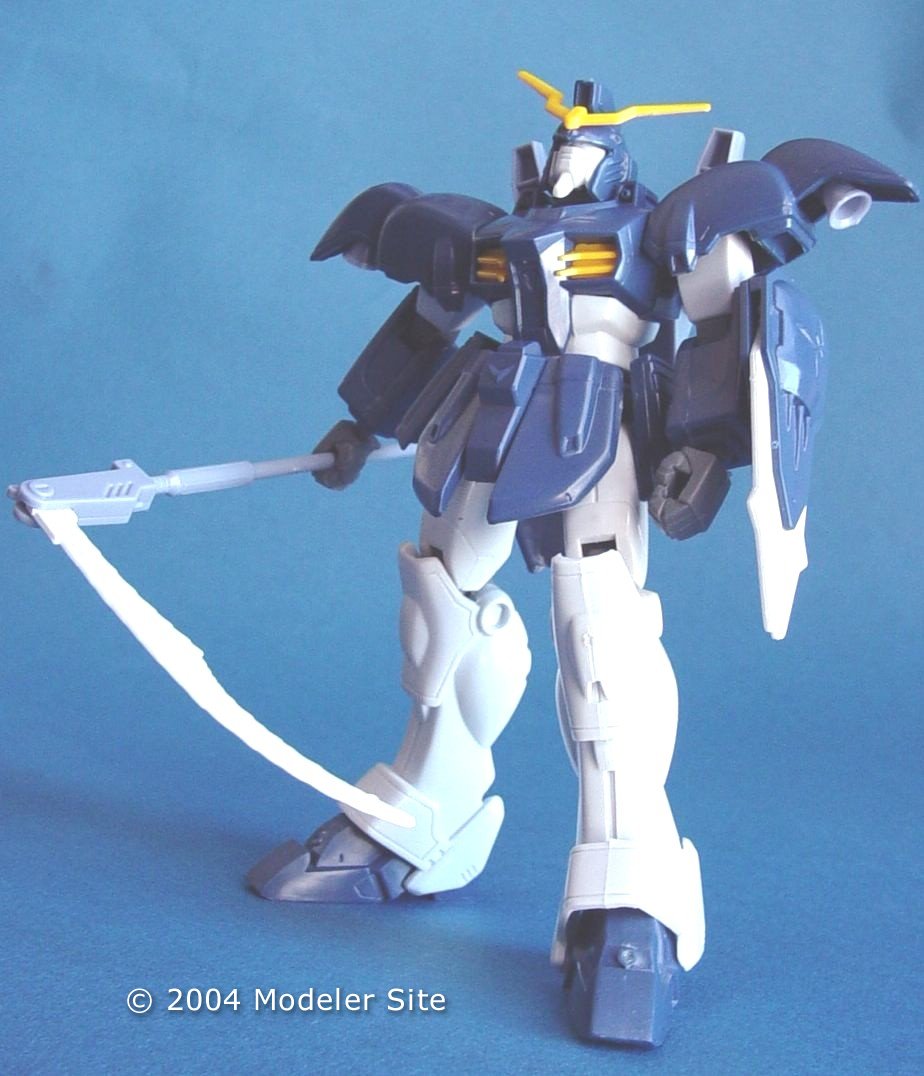
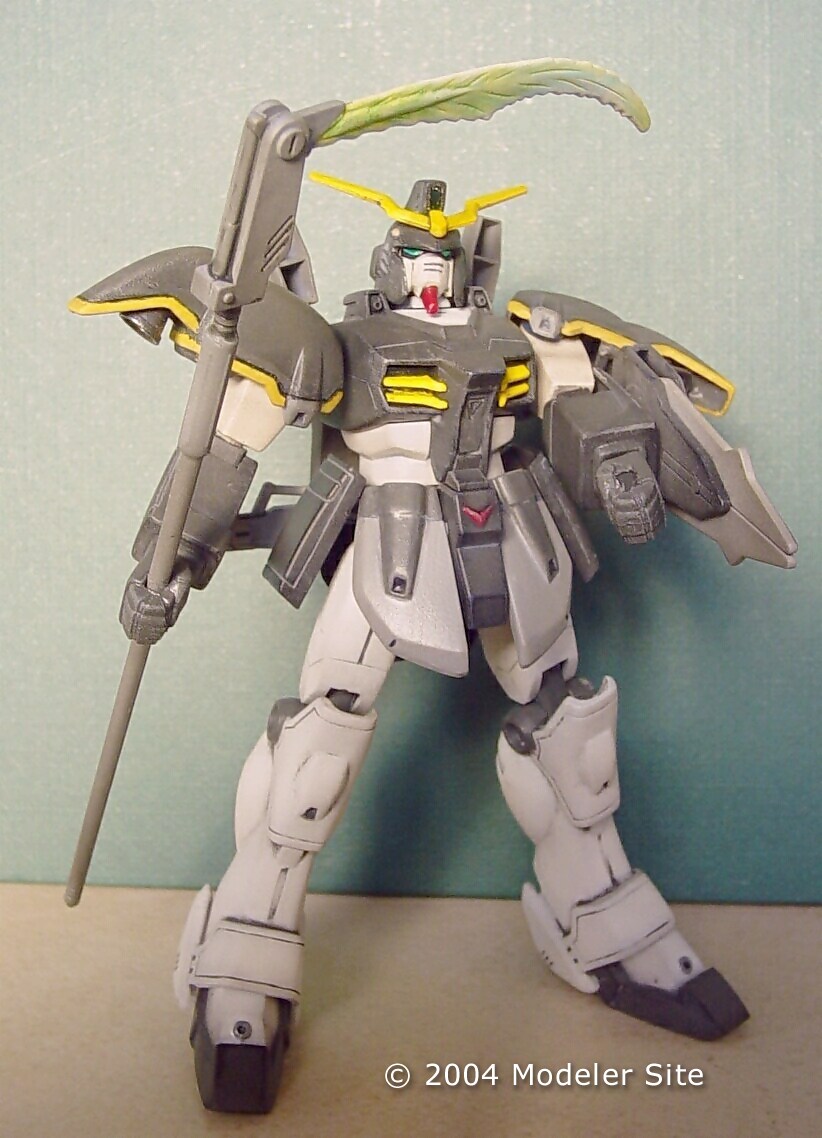
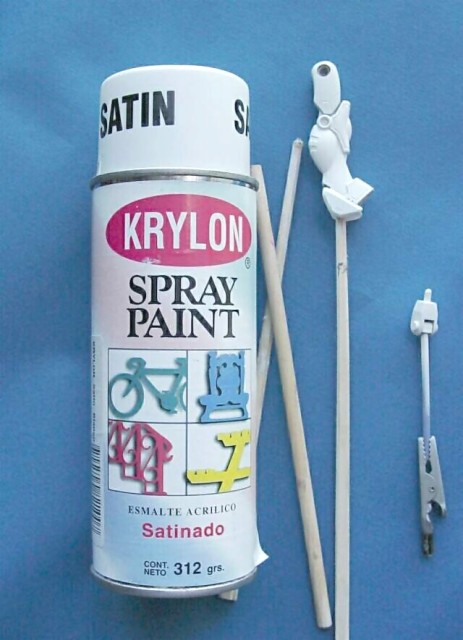
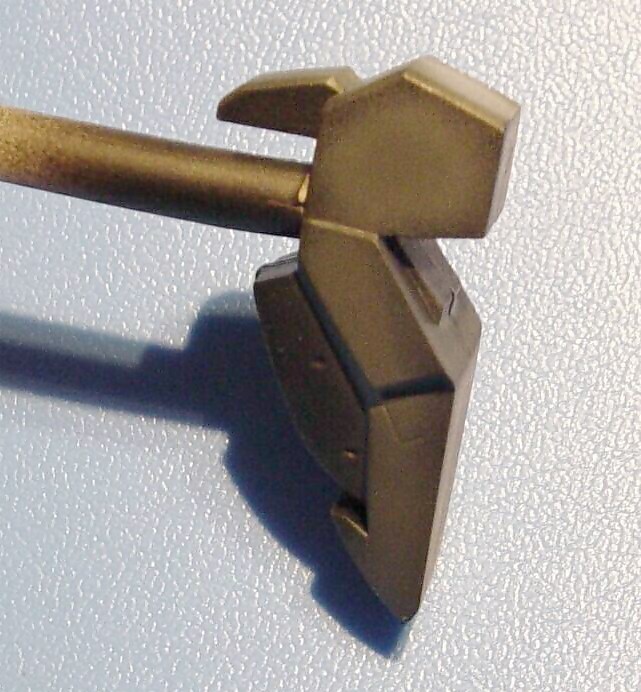
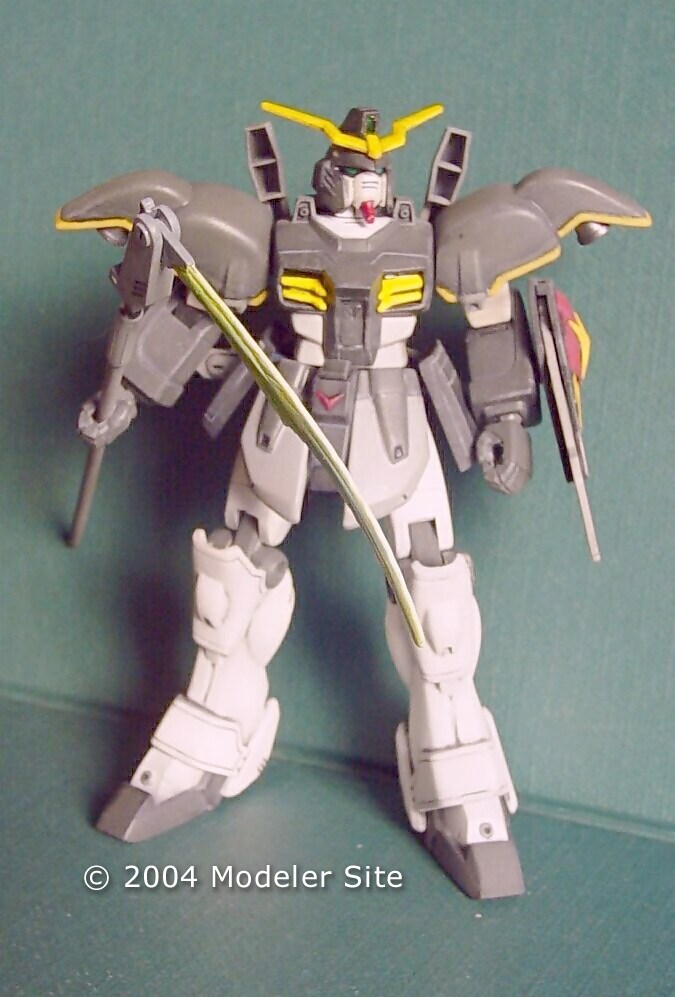
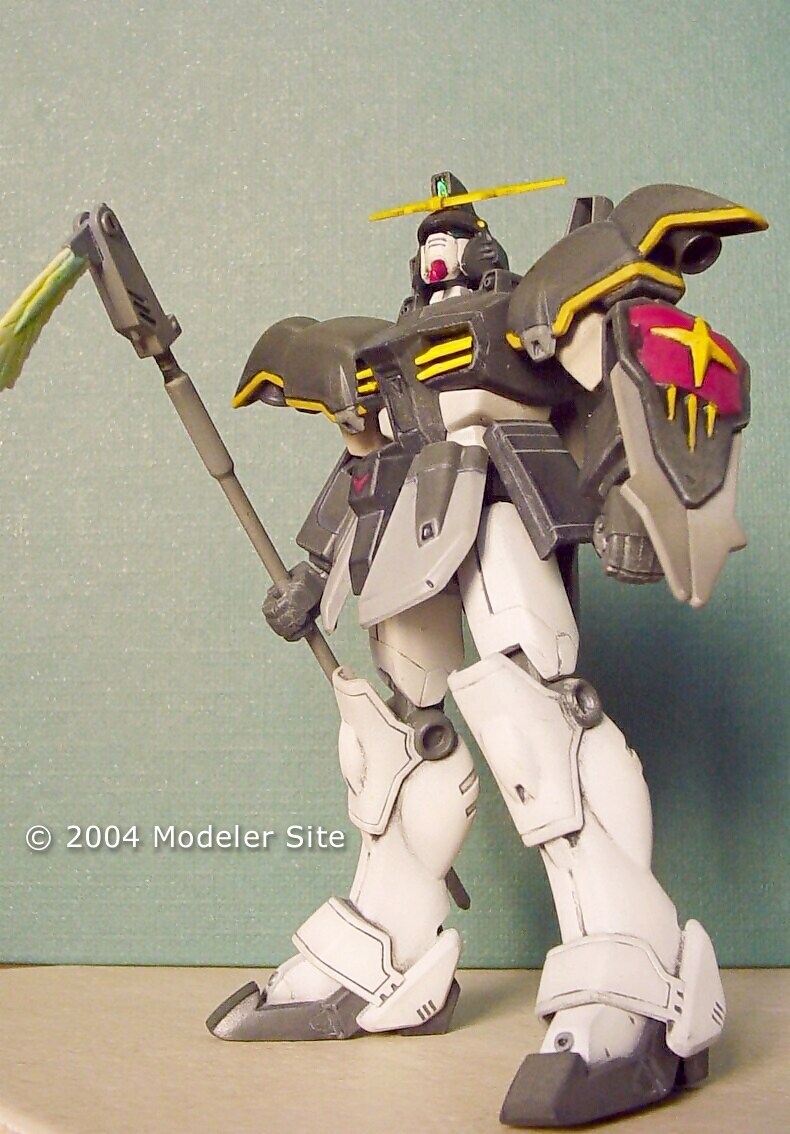
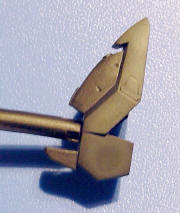
Gundam model kits are represent a big part of the vast Bandai's model catalogue. Gundam series start airing in Japan in 1979 and continues until today due to it's popularity. In the west Gundam began to be known to the general public when the american Cartoon Network channel aired these series only two years ago. The Gundam Wing TV series and the movie based on it (Endless Waltz) were the chosen ones to start the "Gundam" invasion of the west. Many Gundam kits were re-released in the US after this. The Mobil Suit Gundam Deathscythe presented in this article is one of Gundam Wing's main robots or mobil suits. The kit is one of the cheapest and simplest Gundam kits but nice though.
|
The model
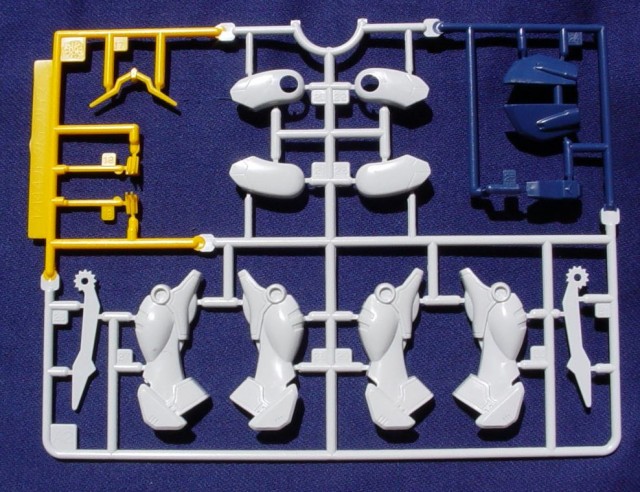
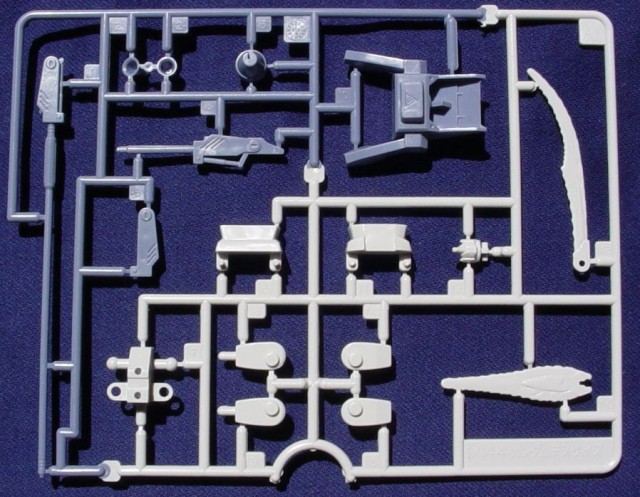
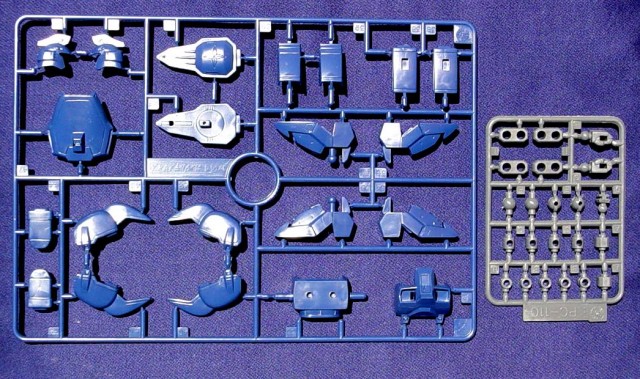
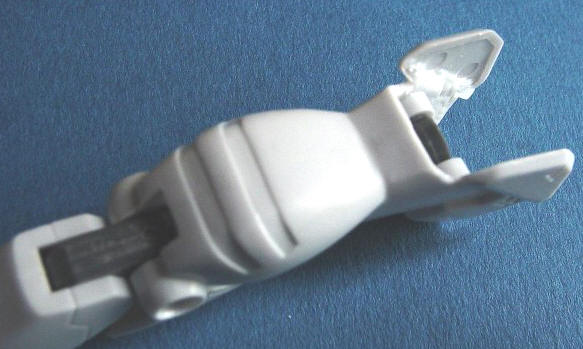
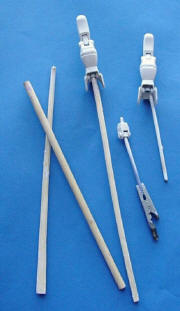
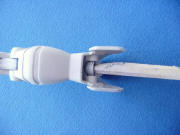
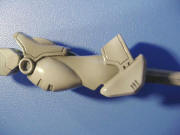
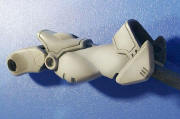
It is the typical snap-together kit from Bandai (allows you to build it without glue or paint). The parts were injected using a multicolour technique meaning that you can find up to four different colours parts in the same sprue. There are also vinyl parts for the joints that provides an excellent poseability to the finished model. The instructions sheet is in Japanese but they are clearly illustrated so you won't have problems to follow them.
There are some minor discrepancies between the model and the original design but they don't bother me so I've built the model almost straight from the box.
|
|
The model can be built in just a few minutes (it took me about fifteen minutes to complete mine!!) and it's a very pleasant experience but the final result is similar to one of those toys that comes into a chocolate egg. The kit includes some stickers that together with the coloured parts supposedly avoids the need of painting it. Since I consider myself a modeler I decided to rebuild the model in a more traditional way: gluing, filling gaps, sanding and painting.
|
Building the model
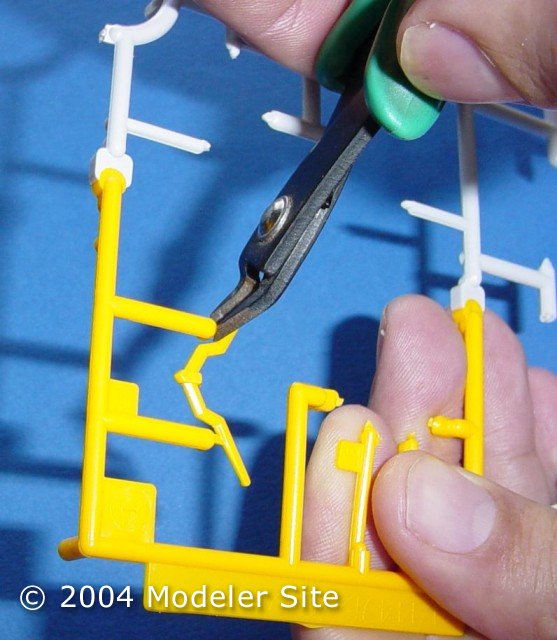
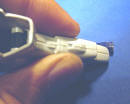
To cut the parts from the sprue I used a wire cutter originally intended for electronics. The plastic quality of this kit is really good and the parts separate cleanly from the sprue (with softer plastic a hole can be made when cutting) Though, it is recommended to leave part of the holding plastic in the part that could be easily removed later by cutting or sanding. |
|
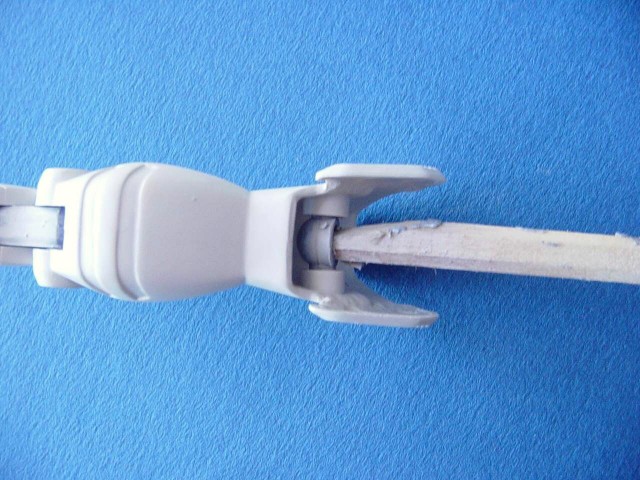
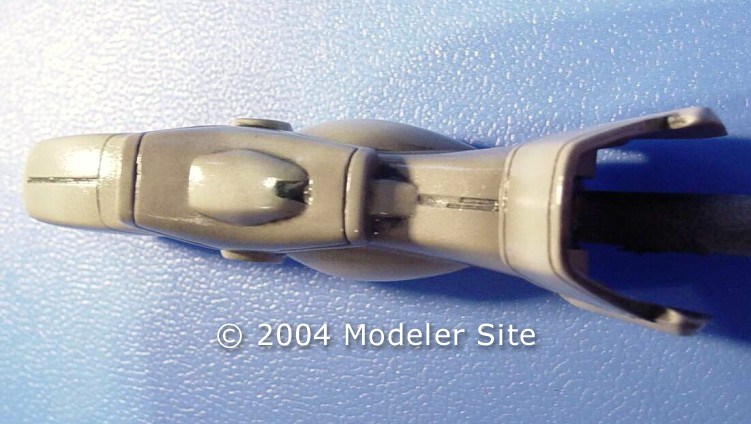
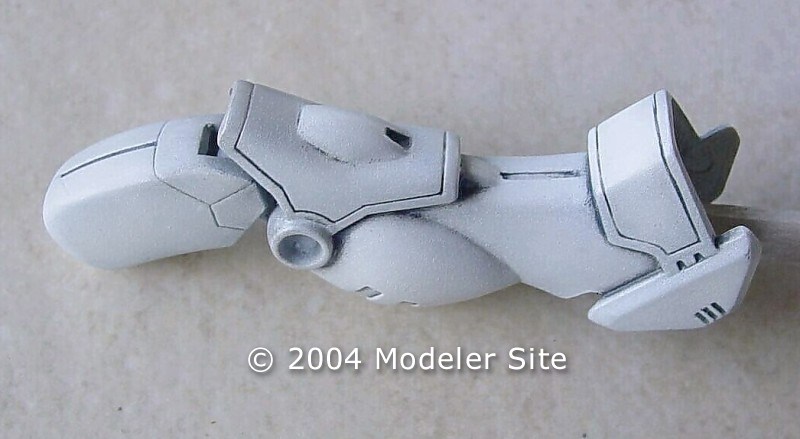
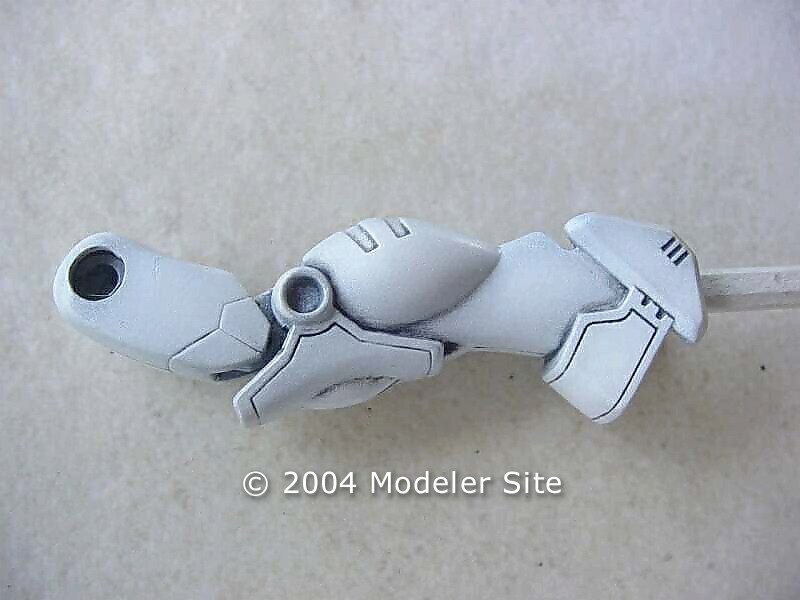
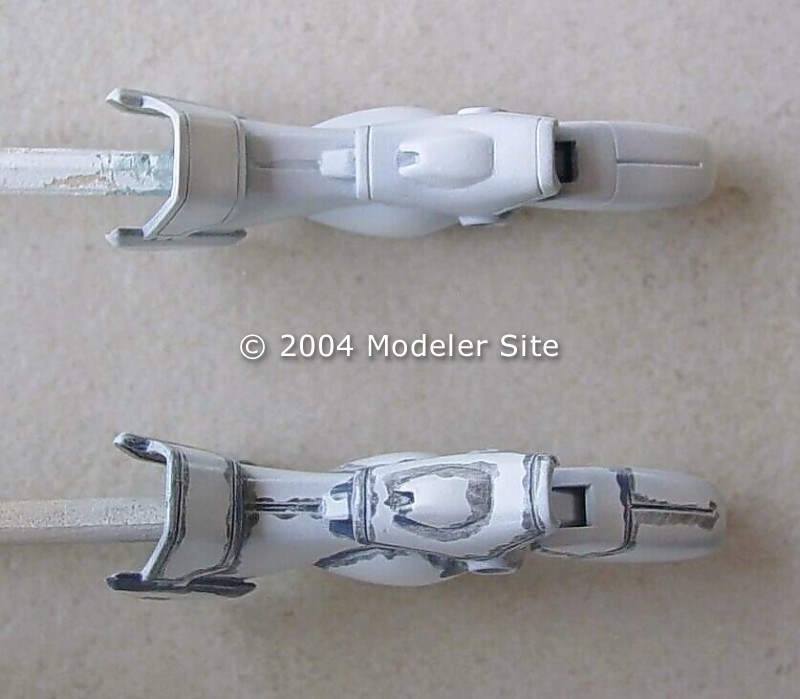
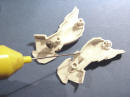
In this model the parts fit nicely except for the arms where both halves don't align properly. To obtain seamless joints between parts I used the following ancient modelling technique:
|
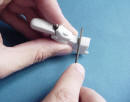
1) Put liquid cement for plastic in both surfaces to be joint allowing the cement to dissolve the plastic for some seconds. |
 |
|
2) I pressed both parts together tightly until liquid plastic emerged from the seam. The pressure between parts was maintained until the cement dried with cloth clips. |
 |
 |
|
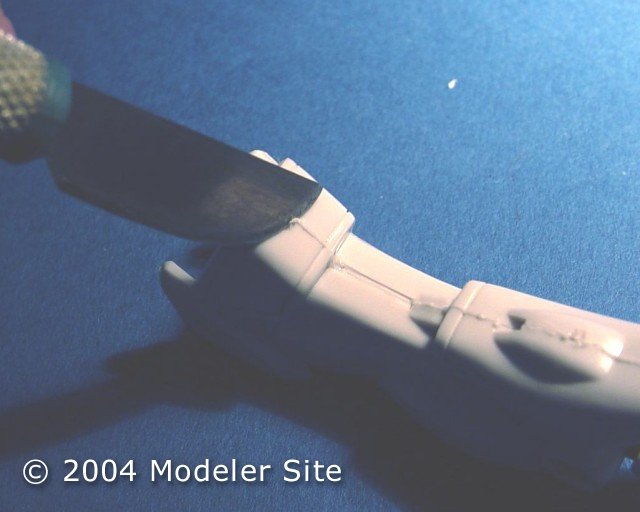
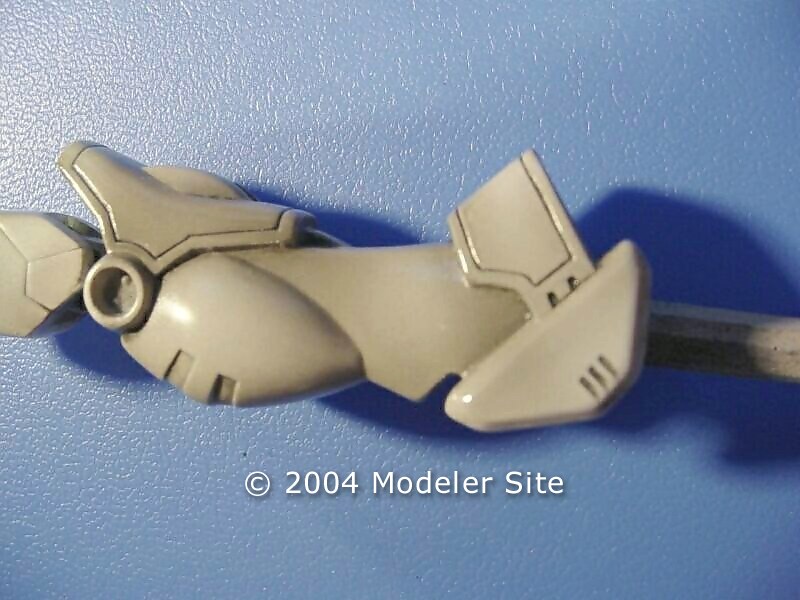
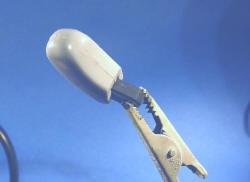
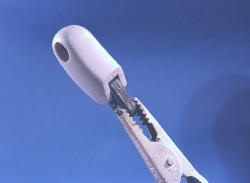
3) When the cement dried I removed the excess plastic from the seam with an X-acto knife.
|
 |
|
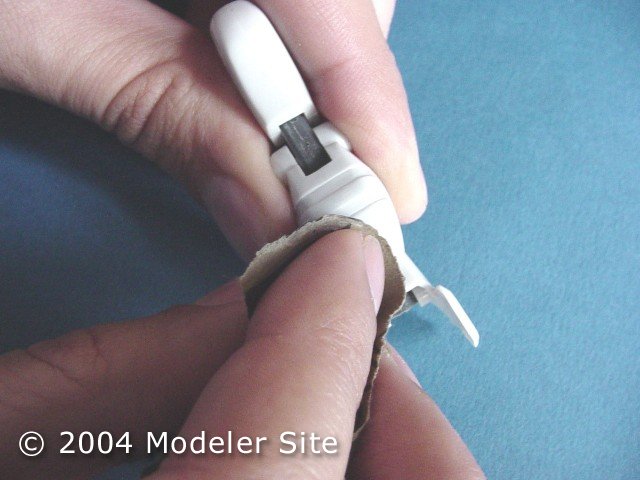
4) To finish the part I sanded the seam with a grade 600 sandpaper and for the more difficult areas I used a jeweller's file. The panel lines were re-marked with the back of an x-acto blade.
|
 |
 |
|
|
|
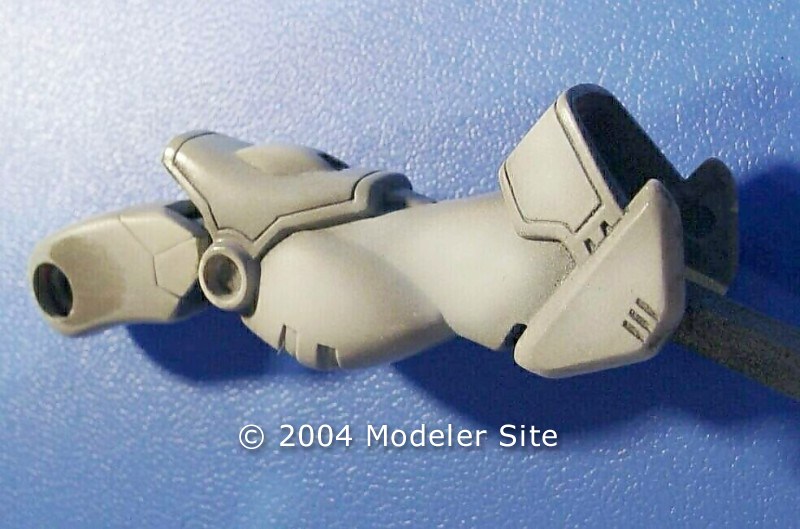
The final result is a seamless joint. I used this technique for all the parts I glued |
|
|
|
|
Before |
After |
You would be find many techniques like this. Which is the best? Easy: The one that we feel comfortable with, that uses the materials and tools we have and it is suited for the model we are building! In other words: it's up to you! The best way is trying by yourselves and find the one that is the best for you.
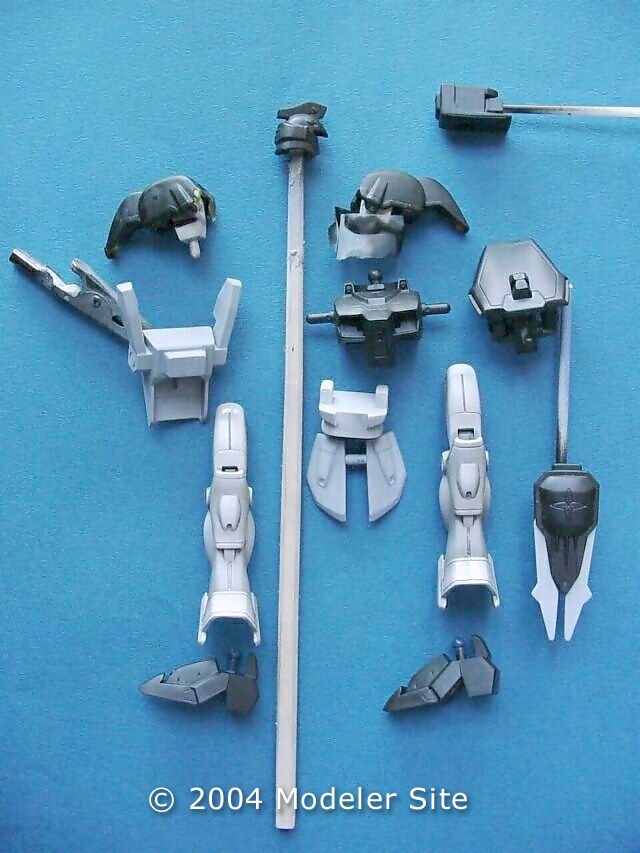
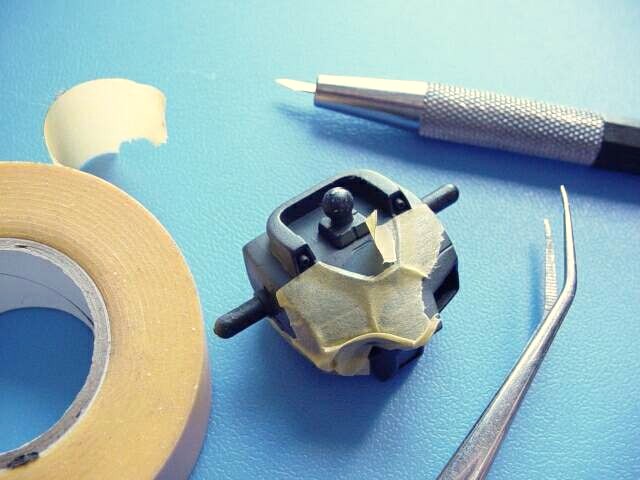
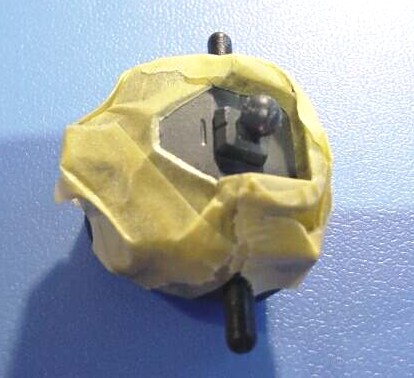
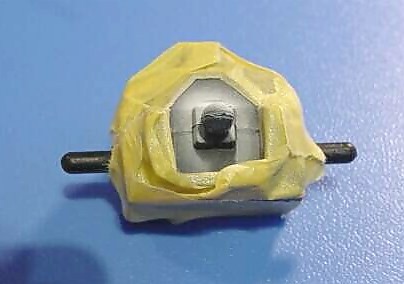
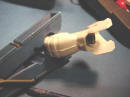
A very important issue that we have to consider before starting any model is to plan the work by carefully studying the instructions and doing a dry fitting (i.e. without glue) of the parts. In the present case both the head and the torso of the mobil suit have parts with different colours and if it is assembled by the instructions it would complicate the final painting (i.e. masking and so). To avoid this problem I cut the plastic pins connecting the face to the head and the hips to the torso. Doing so I could paint them separately and later on reattached them to the main parts.
In the part II of this article I will describe how to paint this model to look more than a model than a chocolate egg toy.
In this second part of I will tell you how I modified and painted the Deathscythe model to make it look more as a scale model than a simple
|
Painting
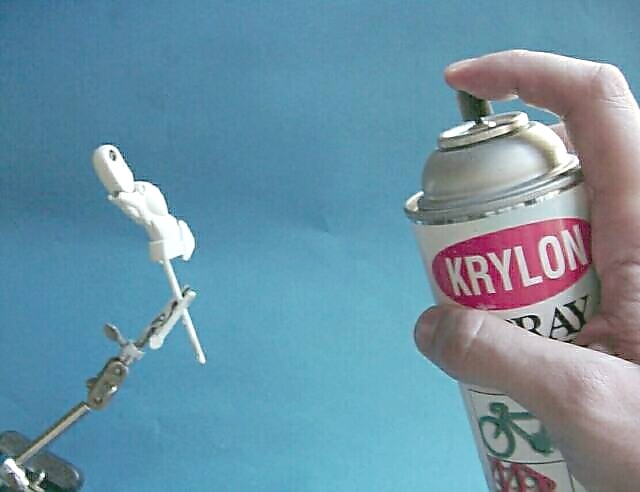
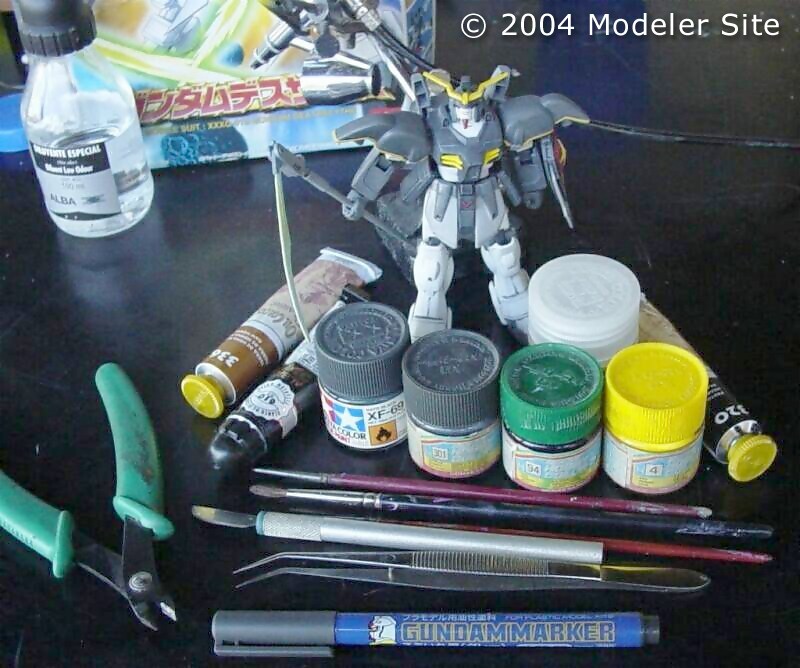
For painting the Deathscythe I used several types of paints. As base paint I used Krylon acrylic lacquer spray paints: satin white for legs and arms, primer grey for the backpack and weapons and chalkboard black for the rest of the body. Many modellers look me very badly when I admit I use spray paint bought at a hardware store but I can assure you that if used carefully these spray paints give produce very good results. Krylon spray paints have very fine pigments and dry to touch in minutes. There is no secret, you must follow the same rules for airbrushing: you must applied several light coats at a distance of ~20 cm from the model, not insisting in one spot to avoid paint build-up and starting and finishing each pass away from the model. The finishing is very homogeneous and smooth but in some problematic areas (i.e. paint build ups or the
like) you can always pass a fine grade sandpaper (1000 grade or higher). Be careful: the grey primer is thicker than the other paints since it is intended as a (surprise!!) PRIMER, meaning that it can be sanded when dried preparing the surface for the following paint layer. |
|
|
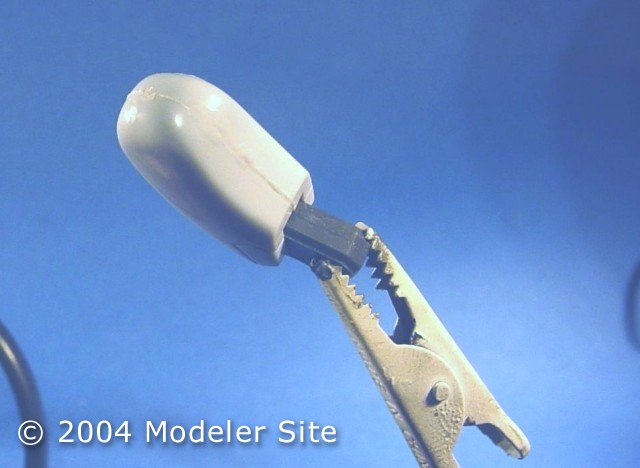
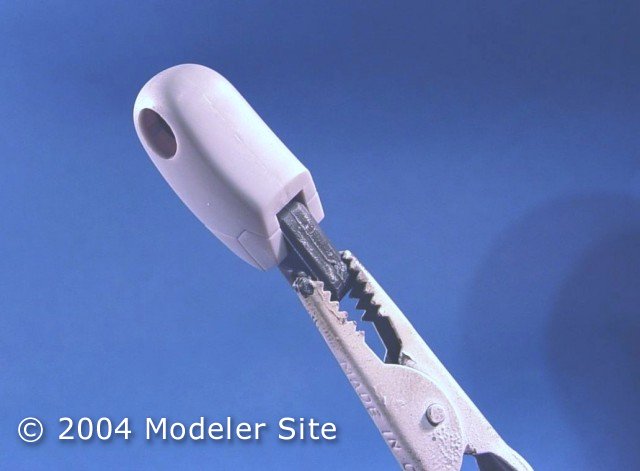
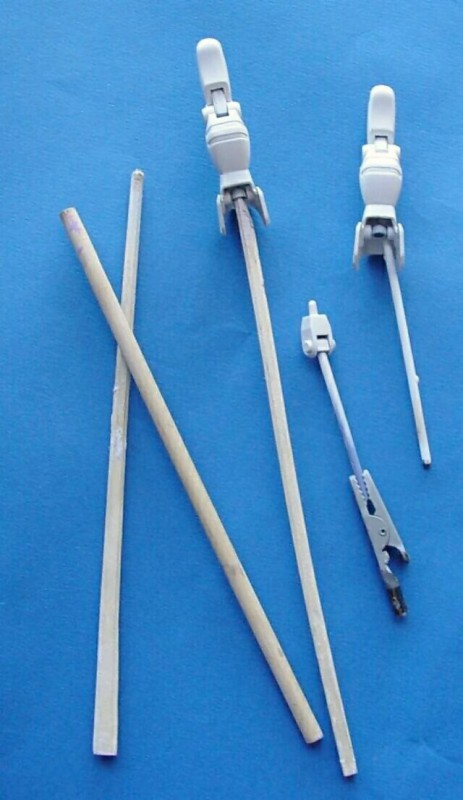
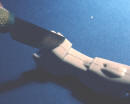
To hold the parts during painting I use chopsticks and crocodile clamps. The woden chopsticks tips can be shaped to adjust into the vinyl joints or holes in the parts. The sticks also help to hold the parts when drying. I ussually put them into a jar or glass. |
|
When painting a basic color such as black, white or grey I tend to use these spray paints even on tiny models as the Deathscythe since using them I save all the cleaning an preparing process required by airbrushing. But you can't avoid using the airbrush if a good looking finish is wanted. In this case I used my old Badger airbrush for shading and lighting the finishing paint and for applying protective clear coatings.
|
For the parts painted in white and grey I did a what can be called a post-shading using Gunze Sangyo clear smoke grey acrylic paint diluted up to 50% with propanol alcohol. This shading was applied with the airbrush tip very close to the parts and with a very low air pressure (~10 psi) in very light passes concentrated on panel lines and parts edges. This paint can be removed with a cloth dampened in alcohol without affecting the underlying Krylon paint. And that is a very good thing when you are as clumsy as I am!! In fact I had to re-do the shading in one of the legs three times until I get it right.
I could finish the process right here after the shading which I did for the grey parts but the effect on legs and feet was not good enough to me so I continue playing with my airbrush. Once the smoke shading was thoroughly dried I airbrushed (once again using a fine spray, close to the surface an with low air pressure) the legs and feet with Tamiya flat white concentrating in the inside of the panels and parts so the shading in the panel lines and edges was slightly coated by the white paint. This way the edges of the parts and panel lines are a little darker than the inside producing a nice 3D effect. The intensity of this effect can be regulated by applying more or less white paint. In my Deathscythe I keep this effect subtle since I didn't want a high contrast.
|
 |
 |
 |
|
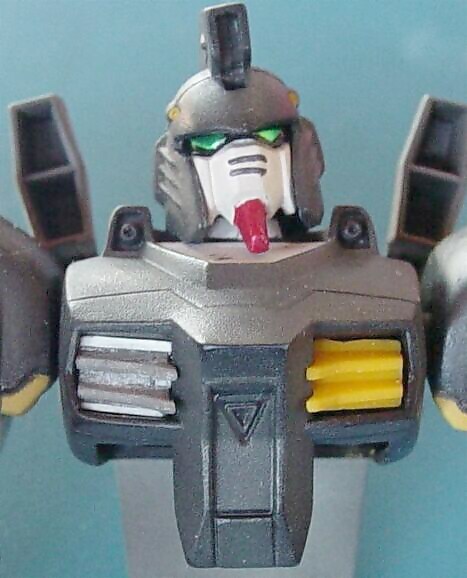
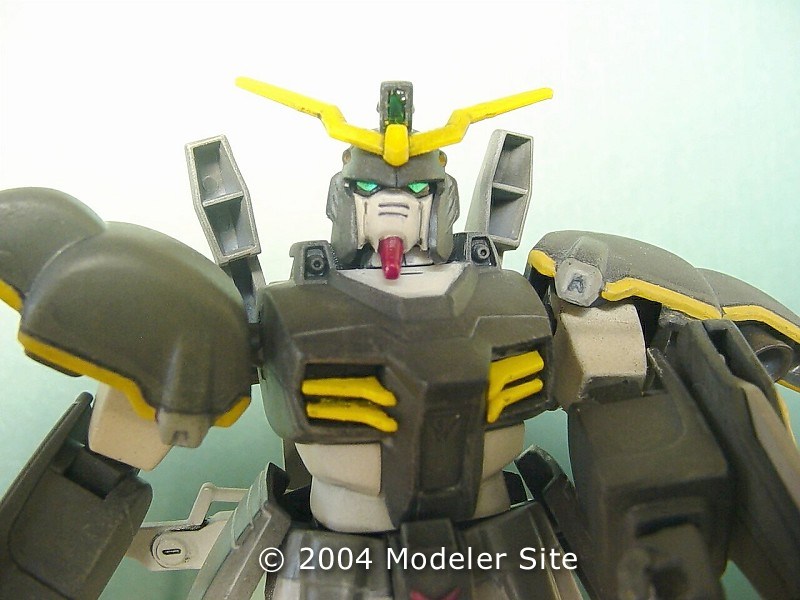
On the black painted parts I did almost the same but instead of white paint I used a dark grey (FS 36081) Gunze Sangyo acrylic paint. The procedure was the same as with the lighter parts: paint the panels and parts from the inside applying a lighter paint layer towards the edges. In the neck area I used the Tamiya white paint once again protecting the rest of the torso with Tamiya masking tape. The black paint just transparent through the grey or white paint giving a volume effect much better than just one plain shade could do.
If you don't have an airbrush or you are too lazy to using it you can do this shading using chalk or pastels powder. Just applied the powder with a brush or cotton swab on the edges and panel lines and fix everything in place afterwards with a clear coat. Not the same quality as airbrushing but much easier and faster.
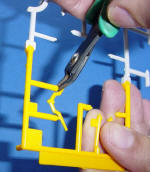
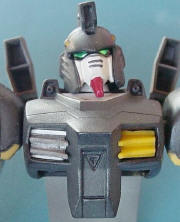
The yellow trim in the shoulders was hand painted with Humbrol matt yellow enamel before painting with the black Krylon spray paint. The yellow paint was protected with Tamiya masking tape that was not removed until all the painting and shading was completed. |
 |
 |
|
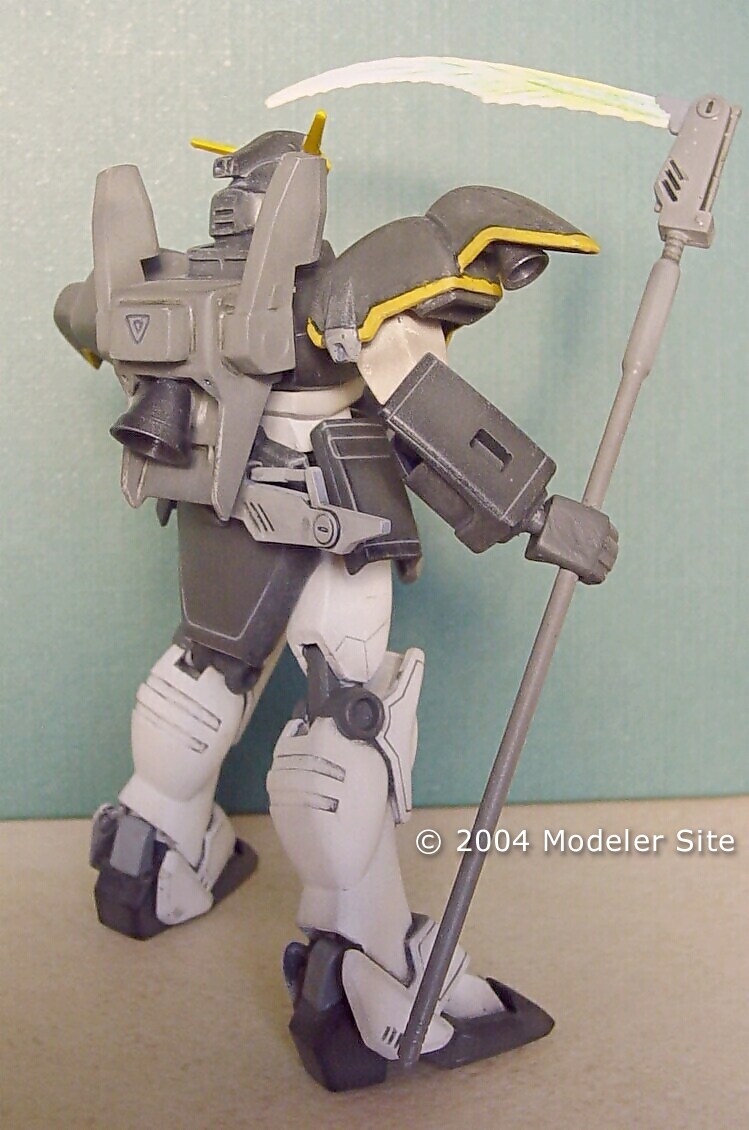
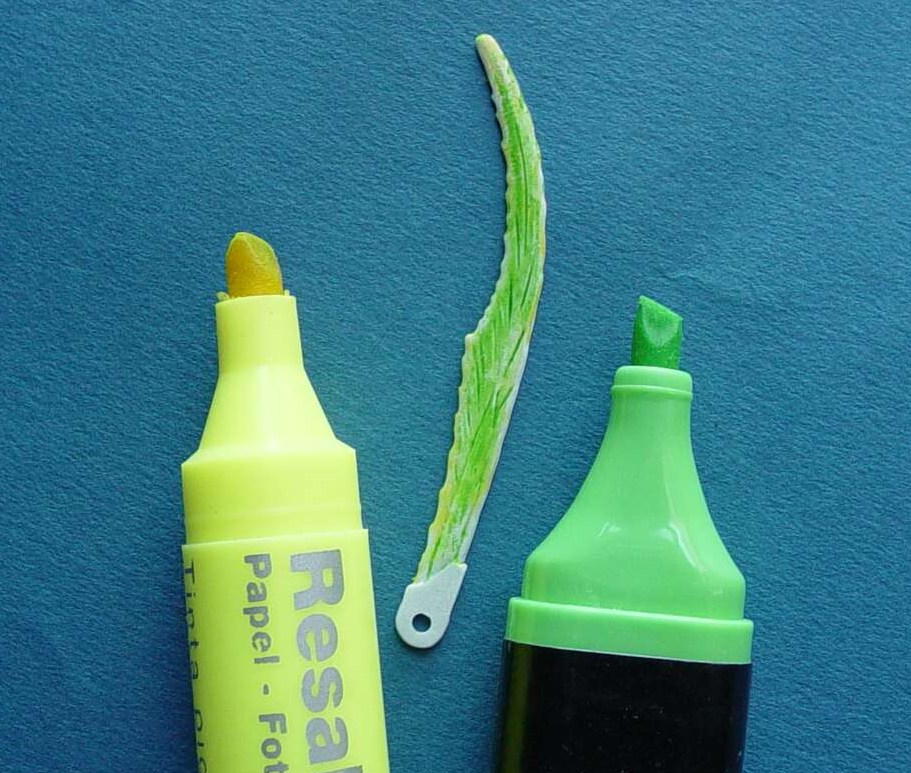
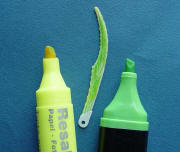
The plasma blade from the Scythe was first primed with Krylon white. Then to simulate the green plasma I used a combination of fluorescent green and yellow textmarkers. At first the markers ink didn't hold well on the painted surface but as it dried I managed to cover most of the blade surface. Using a tissue paper I removed part of the ink from the edges to simulate the plasma brightness.
|
|
It's a pity that Bandai didn't include a clear green part to represent the plasma blade but as I said in the first part of this article this is one of their cheapest models… To protect the ink I cover the part with Krylon clear acrylic coating (no, I have not Krylon's stocks it is just happens to be a good spray paint brand!!!)
For the engines exhausts I airbrushed Model Master's gun metal acrylic paint and highlighted with MM's aluminium.
The yellow parts were painted with Gunze Sangyo acrylic paint.
Problems...
|
Not everything is easy in the modeler's life… mother nature tends to hate us (maybe because we use those nasty solvents, glues and plastics?) One sad day I was out from home and the wind blows out all the Deathscythe's tiny parts from my workbench. Time and a wild vacuum cleaner disappeared the right heat sink of the Deathscythe. The editor of this prestigious site urged me to make a new one from scratch since some dark modelling Murphy's law says that as soon as we finish a scratch build part the original lost part suddenly appears. Sadly, this was not the case.
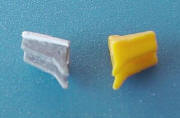
The option of making a "clone" part by recasting the left heat sink was not a direct solution since that part was a mirror image of the lost part. Luckily the two plates that forms the heat sinks are identical in shape. Then recasted the remaining part using a dental silicone (fast curing) mould and two parts 10 minutes epoxy glue. Before the glue was completely hardened (~1hr) I just cut the heat sink plates off the recasted part and repositioned them using the remaining heat sink part as a mirror. With the aid of some plastic stripes and super glue I managed to finish the lost part. D'oh!! |
 |
 |
|
Some improvements
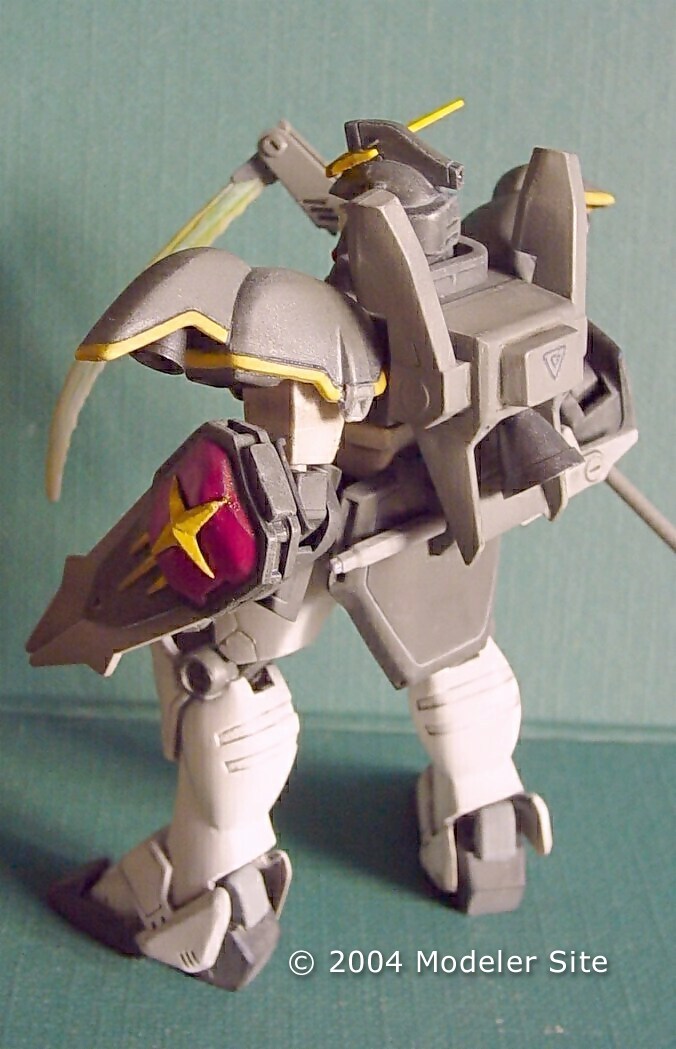
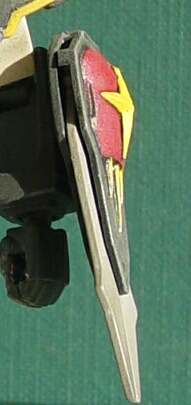
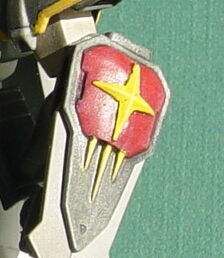
The star on the shield of the Bandai's Deathscythe is just draw on it and not a 3D part as seen in the TV series or even in the illustrations from the model's box and instructions. I found a similar star in one of my other Gundams and copy it using, once again, the dental silicone and two parts 10 minutes epoxy glue. I had to make some cuts and use some putty to adapt the recasted star to the shield. It took some effort but it worth since the final part is much better than the sticker suggested by Bandai. |
|
|
|
Finishing
After all the shading was finished I covered the entire model with a coat of Future clear (the same can be done with Tamiya or Model Masters acrylic clear) The model looks ugly with this glossy coating but all the previous paint work job is protected.
The panel lines were highlighted in several ways
Grey Gundam Marker (fine tip). It is supposed to be used for panelling everything but it gives a very toy like effect so I used in very specific areas such as the panel lines between the yellow stripes and the black/grey shoulders.
Panelling with acrylics. This is an old technique I found in one of those old "fine" modeling paper mags. The magic formula consist in a mixture of one part of acrylic paint, one part dishwashing liquid and one part water. This mixture is brushed on the panel lines (the detergent in the dishwashing liquid lowers the surface tension so the paint can get into the lines and it evens runs through them) and let it dry for half an hour or so. After that the excess is removed with slightly wet a cotton swab. I used this technique on the black/grey parts using Tamiya neutral grey. I like the effect of the grey panel lines on the darker surface.
Oil paints panelling. Very old technique. I used on the legs and feet panel lines. I diluted a mixture of white and black artists oil paints with low odour oil solvent and as with the acrylic paint panelling technique the mixture was brushed on the panel lines. The drying time of the oil paints is very long, a day or so, but it can be enhanced by using enamel thinner instead of the oil thinner. Once dried I removed the excess with a cotton swab.
The beauty of these techniques is that we can erase all the panelling without affecting the underlying Future or gloss acrylic coating. In the case of the acrylic panelling just use tap water (don't use alcohol since it will attack the clear coating) to remove the mixture and for the oil system use the oil paint thinner.
I've drybrushed some edges and did some battle damage indentations with an X-acto knife. I prefer to keep this later effects low because of the scale of the model. Consider this: a paint chipping area of some millimetres in the model. This level of weathering or damage is rarely seen in real life big machines (even war machines) It is a good thing to look at real machines to see how the paint on the deteriorates from use or weather. Locomotives, cranes, bulldozers and the like are really good references. By the other side we must consider the environment our model is supposed to move in. In the case of the Deathscythe we have to bear in mind that it is a custom mecha that operates mainly in space and a good maintenance is expected so damage and weathering should be minimum.
To finish the model I assembled all the sub-assemblies together and cover everything with several coats of Future mixed with Tamiya flat base. I don't remember the exact proportions I used but I added the flat base little by little until I got a semi-flat finishing. Caution: Future works very well with Tamiya flat base but not with the rest of Tamiya or Gunze acrylic paints line.
|
Stickers
I gave the stickers to my daughters to play with except for one: the eyes sticker. They look well (pun intended) and reflect light which makes a good effect. For the front light/sensor (?) I put a strip of chrome sticker on the rectangular cavity and cover it with clear green acrylic from Gunze.
|
|
Conclusion
This is an easy and detailed kit to build though rather small. It worth constructing and paint it as a scale model instead of just assemble it as a toy. It has an excellent quality/price ratio and I get a lot of fun building it.
References
Official Gundam site from Bandai (in English). In this site you can find info about this particular model kit and about the Gundam series:
http://www.gundamofficial.com/www_ac/gw/mecha/mecha_gundam_death.html
Support us ordering our notes in PDF > Here
|