|
|
|||||||||||||||||||||||||||||||||||||||||||||||||||||||||||||||||||||||||||||||||||||||||||||||||||||||||||||||
|
Airplanes |
|
||||||||||||||||||||||||||||||||||||||||||||||||||||||||||||||||||||||||||||||||||||||||||||||||||||||||||||||
|
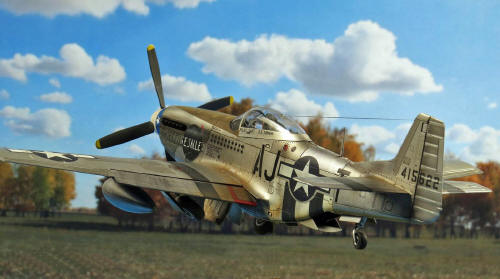
Building the Meng P-51D Mustang #LS-006 1/48 scale |
|||||||||||||||||||||||||||||||||||||||||||||||||||||||||||||||||||||||||||||||||||||||||||||||||||||||||||||||
|
by Gary Wickham © Modeler Site |
|||||||||||||||||||||||||||||||||||||||||||||||||||||||||||||||||||||||||||||||||||||||||||||||||||||||||||||||
|
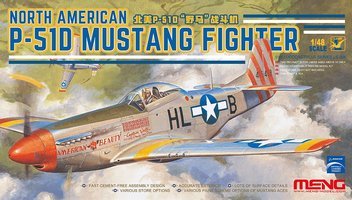
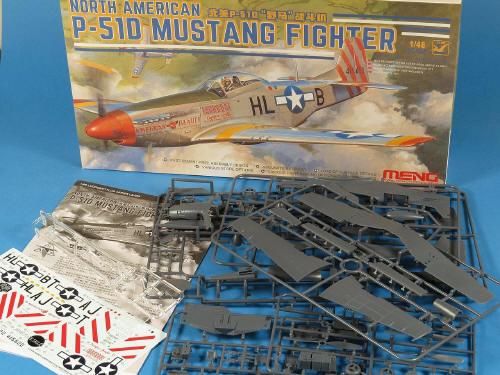
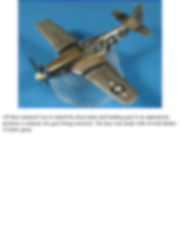
Legal Notice No material from Modeler Site any Web site may be copied, reproduced, republished, uploaded, posted, transmitted, or distributed in any way, except that you may download one copy of the materials on any single computer for your personal, non-commercial home use only, provided you keep intact all copyright and other proprietary notices. Modification of the materials or use of the materials for any other purpose is a violation of copyright and other proprietary rights. Read More here > Legal notice There has been quite a buzz around this release for one simple reason. Its a "Snap Tite" kit. Ok, so MENG refer to it as "Cement-Free Assembly" but whatever you call it, you are meant to assemble it without the need for glue. Normally this type of engineering is reserved for the basic, beginner style kits to make it easier for novices to construct their first model without making a mess with all that pesky glue. We have come to expect such kits to be very basic, often lacking detail with low part counts, to suite beginners.
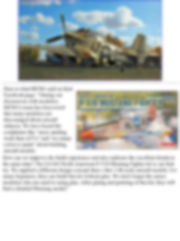
How can we improve the build experience and also replicate the excellent details at the same time? The LS-006 North American P-51D Mustang Fighter kit is our first try. We applied a different design concept than o ther 1/48 scale aircraft models. For many beginners, they can build this kit without glue. We don't forget the senior modelers who are used to using glue. After gluing and painting of this kit, they will find a detailed Mustang model."
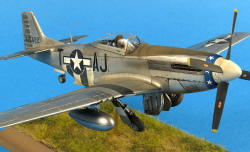
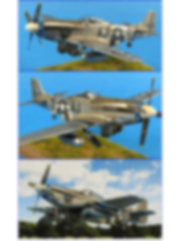
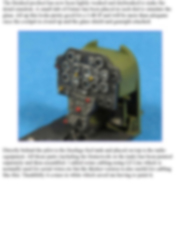
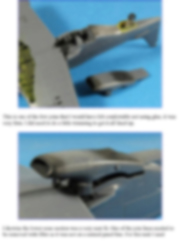
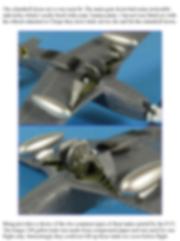
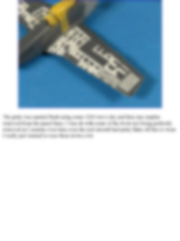
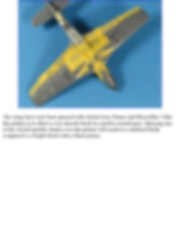
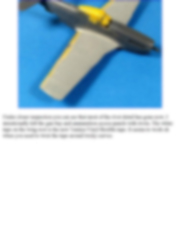
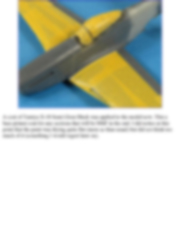
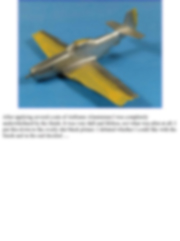
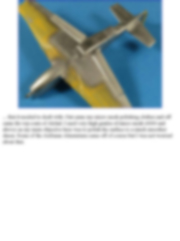
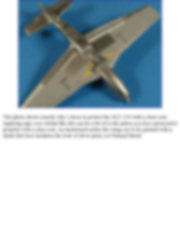
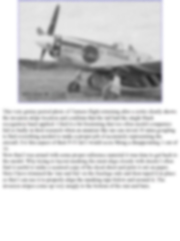
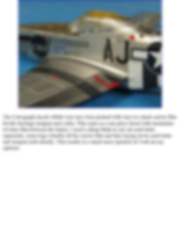
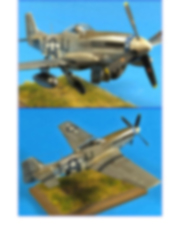
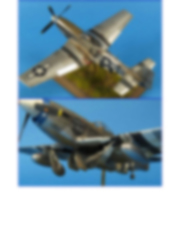
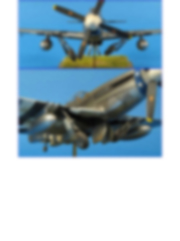
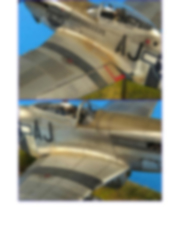
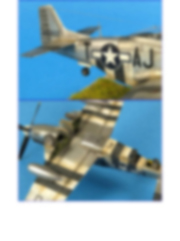
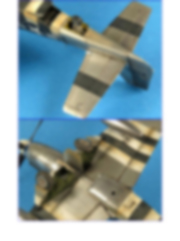
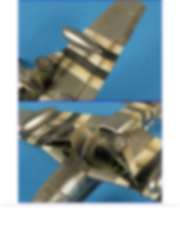
Going into this build I was not quite sure what to expect from a kit like this. I have a few other MENG aircraft kits in the stash (the very well regarded 1:32 Me-163 for example) so I had an idea of what they could produce. The notion of a snap-tite kit was not really appealing but I figured it could be a bit of fun. As I now sit here and write this I have pretty much completed work on the fuselage interior build and my impression is "WOW". The fit of the parts is superb, which I guess is to be expected if Meng really expect you to be able to assemble a model of this complexity without the need for any glue. My "WOW" assessment is not just about the fit, it applies to the level of detail Meng have put into the kit, which holds up very well even when compared to say a 1:32 kit of the P-51. The surface detail also looks to be excellent (more on that once I get to painting) and the overall shape looks every bit a Mustang.
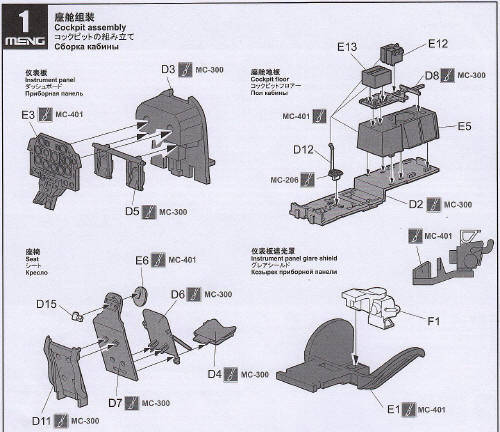
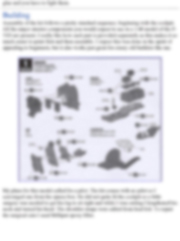
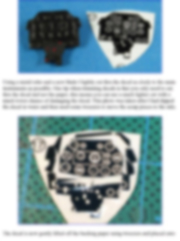
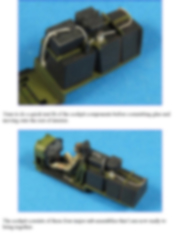
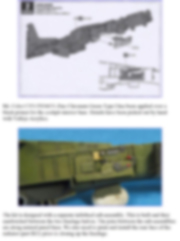
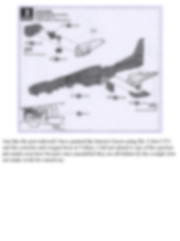
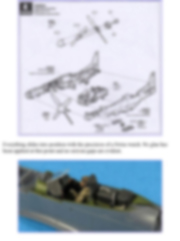
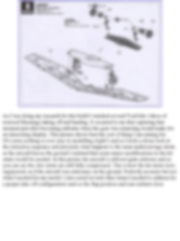
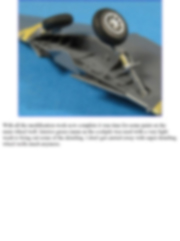
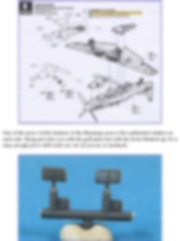
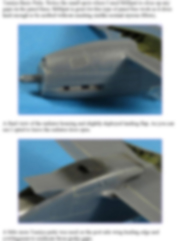
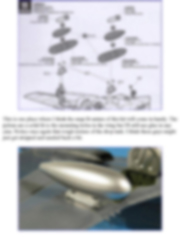
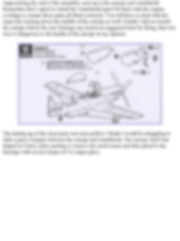
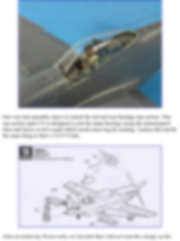
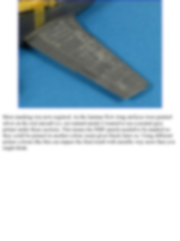
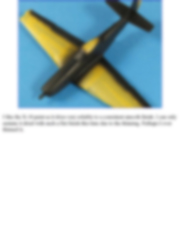
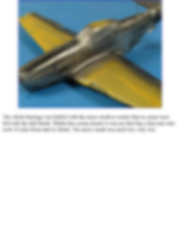
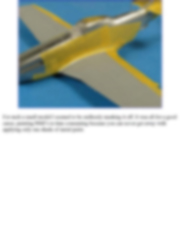
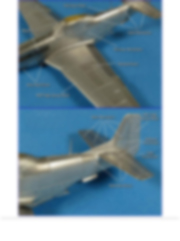
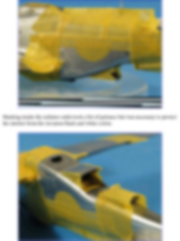
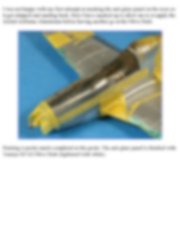
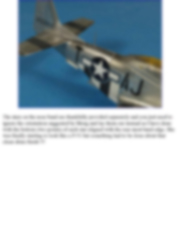
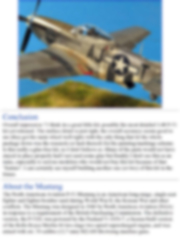
To achieve their goal of "cement free assembly", Meng needs all the parts to go together with a tight fit, leaving little or no wiggle room. Every part I have cut out and test fitted so far has just clicked (and stayed) in place. This actually brings me to possibly my one "issue" with the kit. If you are a compulsive dry fitter like me, having parts that fit very snugly and don't want to come apart again becomes an annoyance pretty quickly. Trying to separate parts without damaging them after test fitting can be a real challenge as they are literally designed to stay together without glue and you have to fight them. Building Assembly of the kit follows a pretty standard sequence, beginning with the cockpit. All the major interior components you would expect to see in a 1:48 model of the P-51D are present. I really like how each part is provided separately as this makes it so much easier to paint first and then assemble. I expect this was done in the spirit of appealing to beginners, but it also works just great for crusty old builders like me.
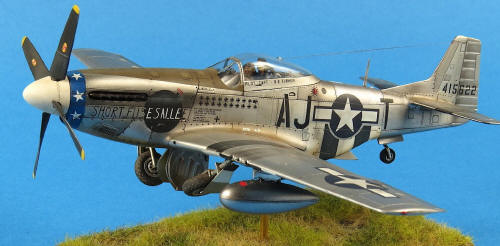
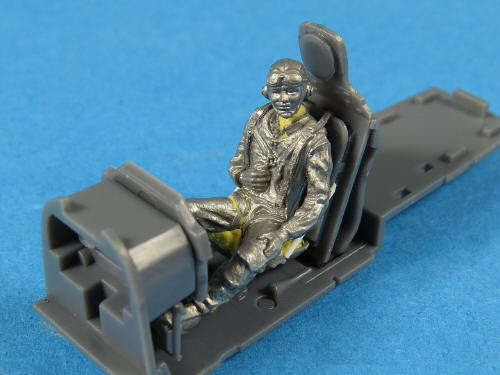
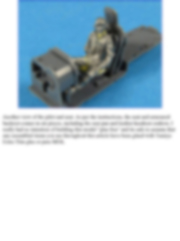
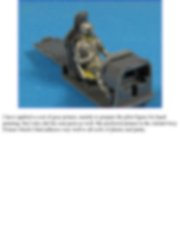
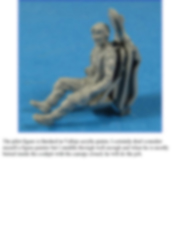
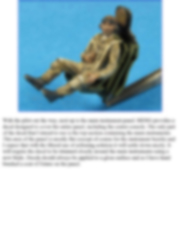
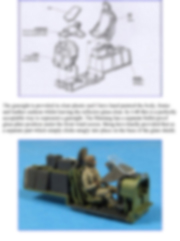
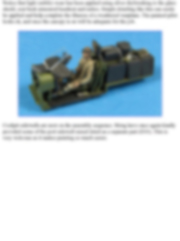
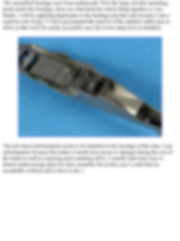
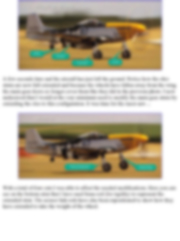
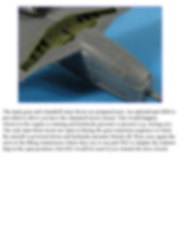
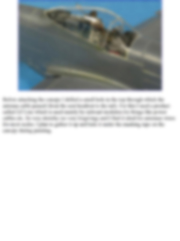
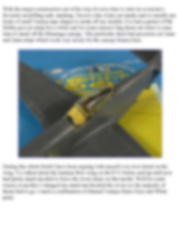
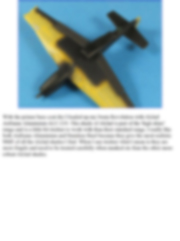
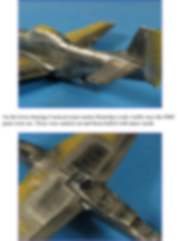
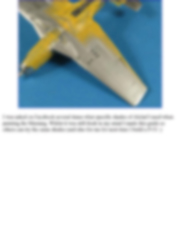
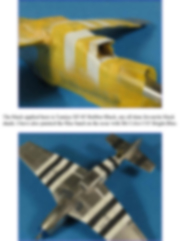
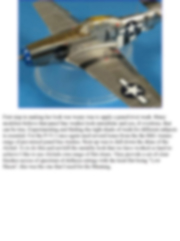
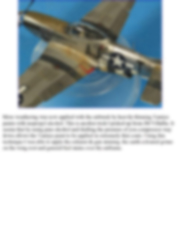
My plans for this model called for a pilot. The kit comes with no pilot so I scavenged one from the spares box. He did not quite fit the cockpit so a little surgery was needed to get his leg to sit right and while I was cutting I lengthened his neck and turned his head. The shoulder straps were added from lead foil. To repair the surgical cuts I used Milliput epoxy filler.
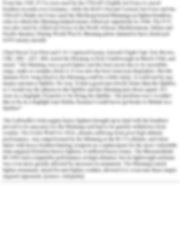
This tutorial is offered in PDF format to be read or printed using Acrobat reader, contact our webmaster > Here Includes more than 130 pics, here we show only the text pages.
Esta Nota es ofrecida en formato PDF, el cual puede ser leído o impreso usando el Acrobat reader, contacte a nuestro webmaster > Aquí Incluye más de 130 imágenes, aquí solo mostramos las paginas de texto.
Big size photos are only available in our PDF format. Support us ordering our notes in PDF > Here |
|||||||||||||||||||||||||||||||||||||||||||||||||||||||||||||||||||||||||||||||||||||||||||||||||||||||||||||||