|
|
||||||||||||||||||||||||||||||||||||||||||||||||||||||||||||||
|
Armor R/C |
|
|||||||||||||||||||||||||||||||||||||||||||||||||||||||||||||
|
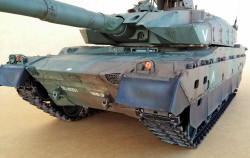
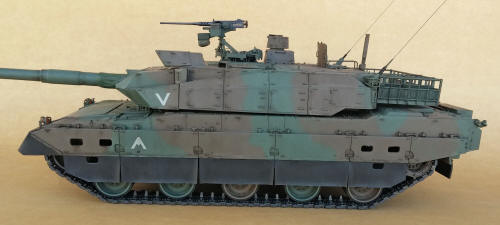
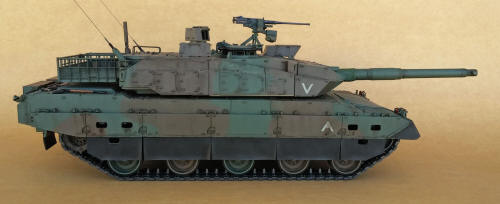
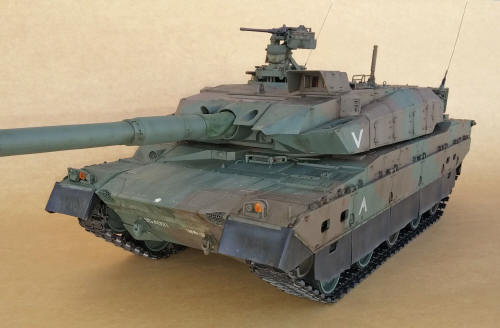
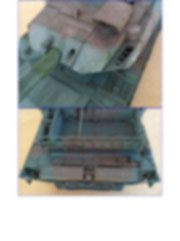
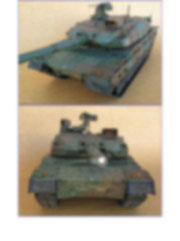
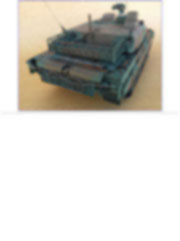
Tamiya 1/16 JGSDF Type 10: tips and tricks to make its construction easier |
||||||||||||||||||||||||||||||||||||||||||||||||||||||||||||||
|
by Mario Covalski © Modeler Site |
||||||||||||||||||||||||||||||||||||||||||||||||||||||||||||||
|
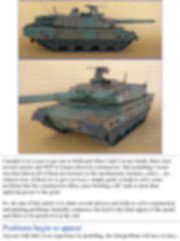
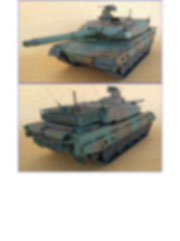
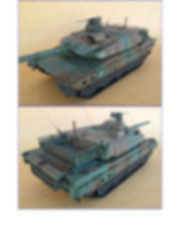
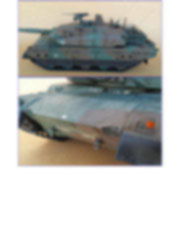
Legal Notice No material from Modeler Site any Web site may be copied, reproduced, republished, uploaded, posted, transmitted, or distributed in any way, except that you may download one copy of the materials on any single computer for your personal, non-commercial home use only, provided you keep intact all copyright and other proprietary notices. Modification of the materials or use of the materials for any other purpose is a violation of copyright and other proprietary rights. Read More here > Legal notice All modelers interested in radio rontrolled model armor models; were greatly surprised by Tamiya announcement at the beginning of 2014: the 1/16 Type 10 release, one of the most modern tanks of the world. The type 10 is not significant, but to my liking is beautiful, if we can consider a war tank beautiful.
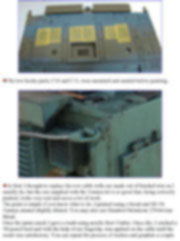
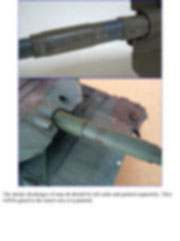
I needed over a year to get one to build and when I had it in my hands, there were several articles and WIP in forums about its construction. But something I noted was that almost all of them are focused on the mechanisms, features, critics…etc. Almost none of them try to give novices a simple guide as help to solve some problems that the construction offers, since building a RC tank is more than applying grease to the gears. So. the aim of this article is to share several advices and tricks to solve construction and painting problems, basically cosmetics, but lead to the final aspect of the model and allow to be proud of it in the end. Problems begin to appear Anyone with little or no experience in modelling, the first problem will have to face, is the glue. Which to choose? Tamiya don’t explain clearly that there are two type of plastic parts: Polystyrene ones marked in the sprues as >PS< and acrylonitrile butadiene styrene, a highly resistant plastic, commonly called ABS, and of course sprues have marked >ABS<.
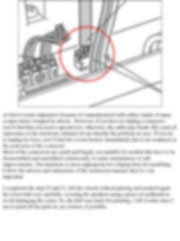
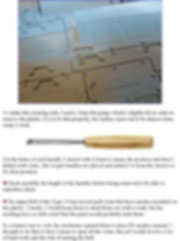
However, I’ve tried with glues for ABS and the result was quite poor, a lot of curing time and one morning you discover that a part came unglued after several months that the model has been finished. Thus, I use to apply low viscosity CA, commonly designated “thin”. It has an incredible high strength of gluing with ABS and resistant over the time.
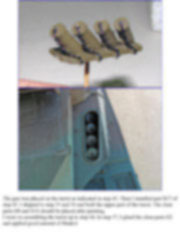
On the other hand, you should need to have a good CA, and bottles of 20 grs are recommended so as to always have a fresh product. The content in small containers hardens very quickly and turns viscous. Many times we read that it’s recommendable to use CA gel due to its curing time that gives the necessary time to accommodate parts. My 25 years experience using CA taught me that the less viscous is the CA, the stronger the joint is, fast curing time and the secondary effects as the white fog around the glued area is less or none.
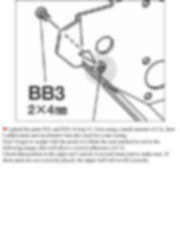
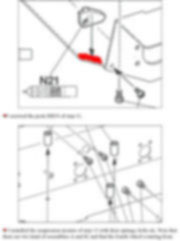
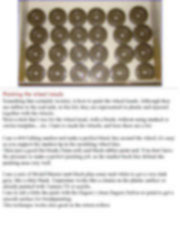
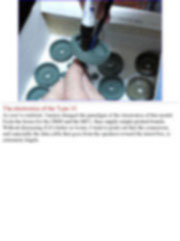
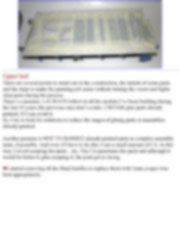
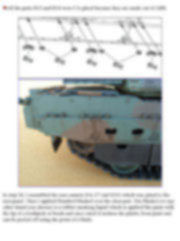
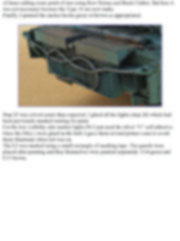
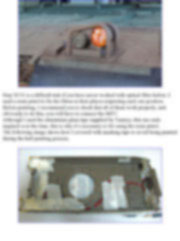
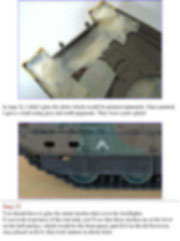
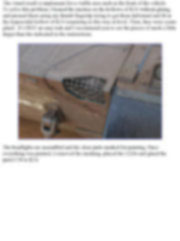
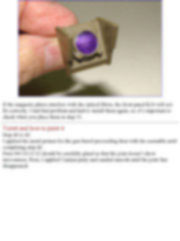
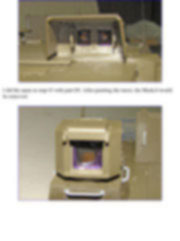
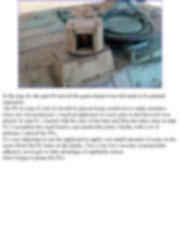
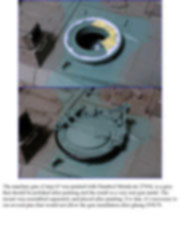
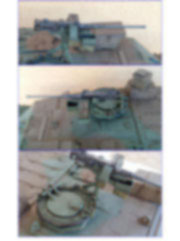
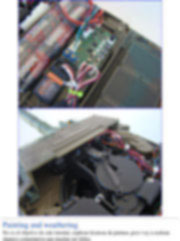
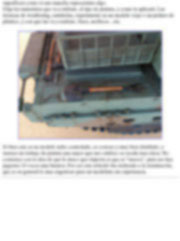
Always buy a good quality cyano, there are good brands for modelling and/or well known brands like Loctite…etc. Using CA (Cyanoacrylate) glue I always use the low viscosity fast setting type. I know, you must be thinking that the slow drying "gel" type is better, because it gives us time enough to move the piece and locate it in the exact place. Low viscosity CA has very little surface tension, that characteristic allows it to "run" between the two parts (capillary effect//action). Besides, my personal experience tells me that the faster the CA sets, the stronger the joint is. This is related to the crystal structure that adopts once cured. Another important detail, when you work with CA, is to have at hand an accelerator, this is a very toxic liquid, and you must work in a well ventilated place; CA accelerator harms painted surfaces. This products accelerates the curing process, allowing a stronger joint. One last advice about CA is to keep it in a cold place, I keep mine in the refrigerator. If you need a very strong joint use it cold, you will get better results. A small amount makes a stronger joint, once cured you can reinforce it joint with more CA and accelerator, we use the small needle applicator for this purpose. The parts must be absolutely clean and free of oils and it is very advisable to "scratch" the surfaces to be glued, with a blade or a small piece of coarse sanding paper. Primer Everybody speaks about the base paint, but if you are not experienced, you’ll ask yourself which to use, where and above all in which moment of the construction. It’s usual to see modelers applying, base paint to all the parts indiscriminately and before starting with the construction, are you sure that everything needed the base paint and that was the moment?. If you think about doing that, is because you don’t’ know or are not sure, and next my advice about how and when for the Type 10. This tutorial is offered in PDF format to be read or printed using Acrobat reader, contact our webmaster > Here Includes more than 80 pics, here we show only the text pages.
Esta nota es ofrecida en formato PDF, el cual puede ser leído o impreso usando el Acrobat reader, contacte a nuestro webmaster > Aquí Incluye más de 80 imágenes, aquí solo mostramos las paginas de texto.
Big size photos are only available in our PDF format. Support us ordering our notes in PDF > Here |
||||||||||||||||||||||||||||||||||||||||||||||||||||||||||||||