|
|
|||||||||||||||||||||||||||||||||||||||||||||||||||||||||||||||||||||||||||||||||||||||
|
Airplanes |
|
||||||||||||||||||||||||||||||||||||||||||||||||||||||||||||||||||||||||||||||||||||||
|
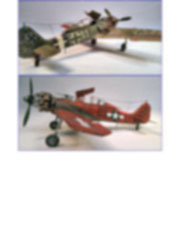
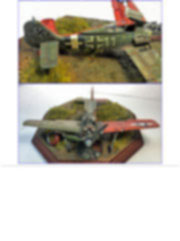
Building the Walter Wagner Fw190 A8/R2 - White and captured - from an Eduard kit 1/48 scale |
|||||||||||||||||||||||||||||||||||||||||||||||||||||||||||||||||||||||||||||||||||||||
|
by Jose Angel García Martin © Modeler Site |
|||||||||||||||||||||||||||||||||||||||||||||||||||||||||||||||||||||||||||||||||||||||
|
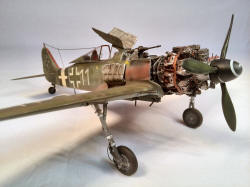
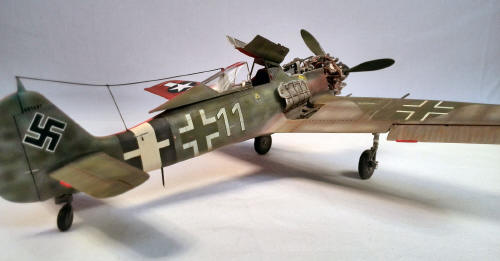
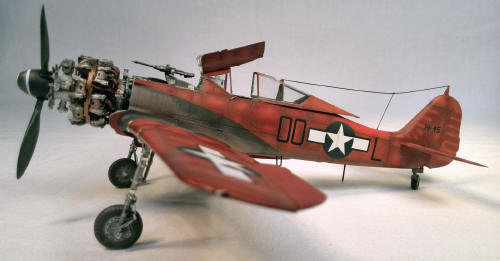
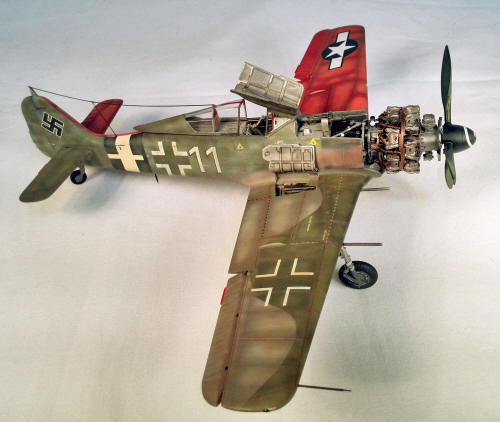
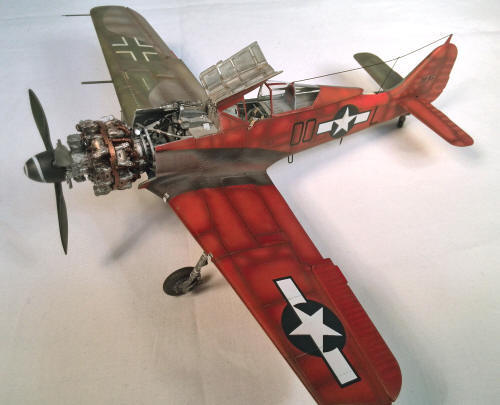
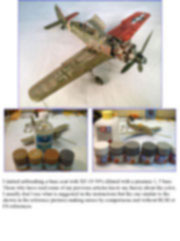
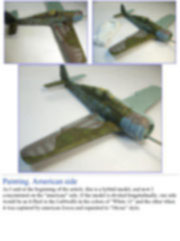
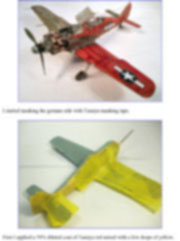
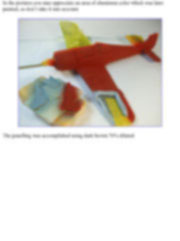
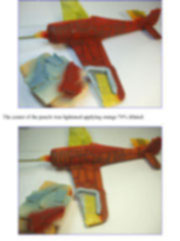
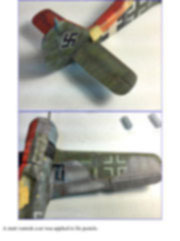
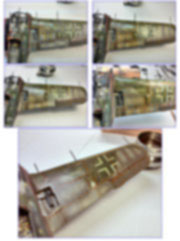
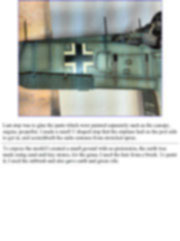
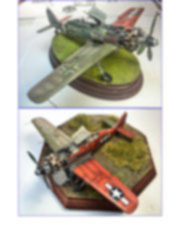
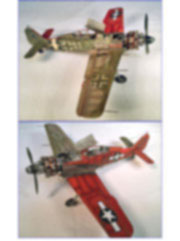
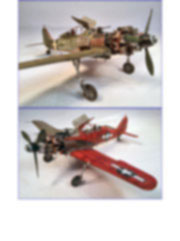
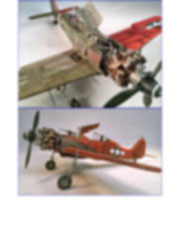
Legal Notice No material from Modeler Site any Web site may be copied, reproduced, republished, uploaded, posted, transmitted, or distributed in any way, except that you may download one copy of the materials on any single computer for your personal, non-commercial home use only, provided you keep intact all copyright and other proprietary notices. Modification of the materials or use of the materials for any other purpose is a violation of copyright and other proprietary rights. Read More here > Legal notice On 1 January 1945, the Fw190 A-8/R2 piloted by Walter Wagner was hit by flak during the attack over St. Trond airfield. The engine died and had to make and emergency landing, and was captured by the USAAF. This aircraft had black/white/black RVT bands to JG 4 and the emblem of the fuselage unit. The aim of this article is to show the two-option scheme of one of the most famous aircraft of the Second World War, Fw190.
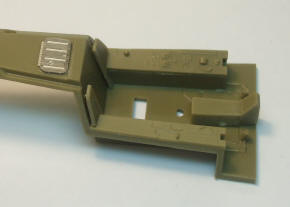
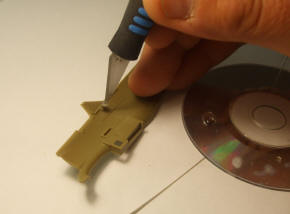
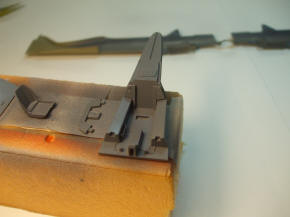
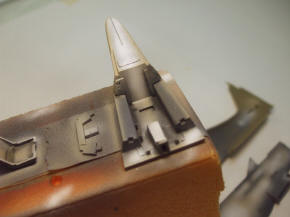
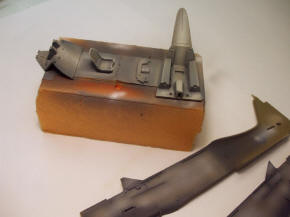
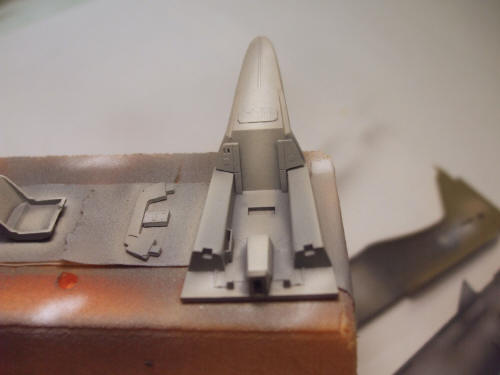
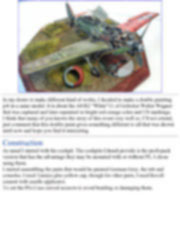
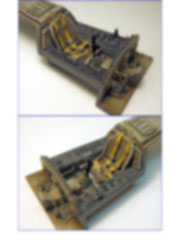
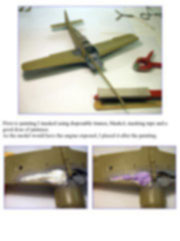
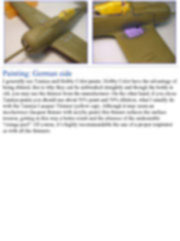
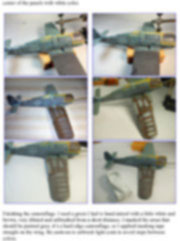
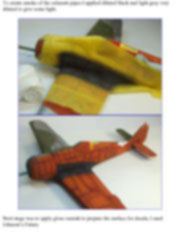
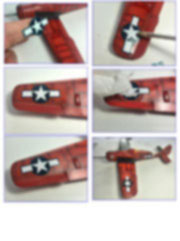
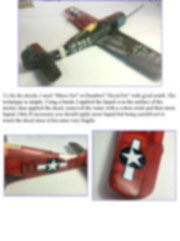
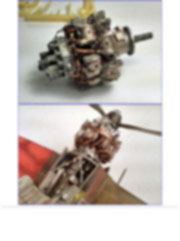
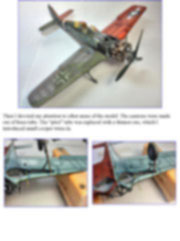
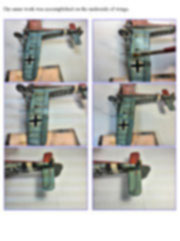
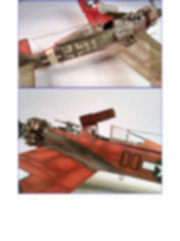
In my desire to make different kind of works, I decided to make a double painting job in a same model. It is about the A8/R2 “White”11 of Gefreiter Walter Wagner that was captured and later repainted in bright red-orange color and US markings. I think that many of you knows the story of this event very well so, I’ll not extend, just comment that this double paint gives something different to all that was shown until now and hope you find it interesting. Construction As usual I started with the cockpit. The cockpits Eduard provide is the profi-pack version that has the advantage they may be mounted with or without PE, I chose using them. I started assembling the parts that would be painted German Grey, the tub and consoles. I used Tamiya glue yellow cap, though for other parts, I used Revell cement with needle applicator. To cut the PEs I use curved scissors to avoid bending or damaging them.
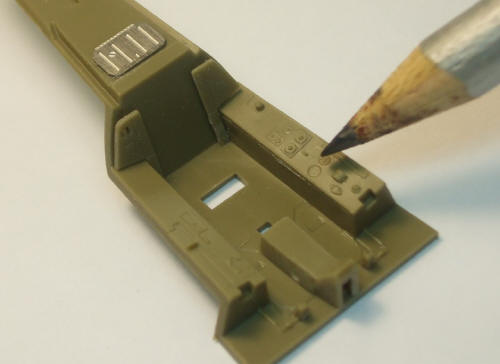
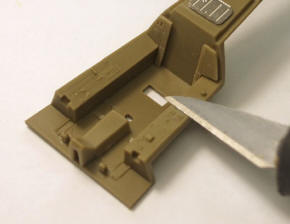
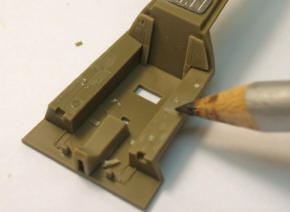
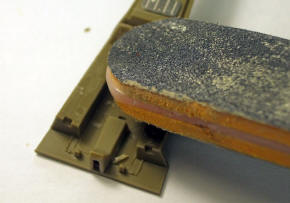
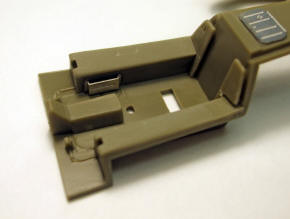
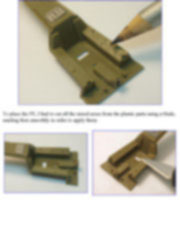
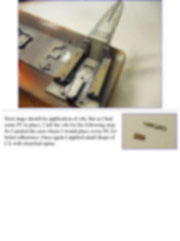
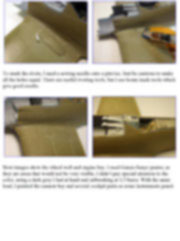
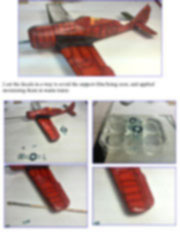
To place the PE, I had to cut all the raised areas from the plastic parts using a blade, sanding then smoothly in order to apply them.
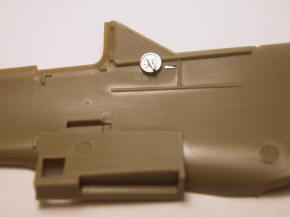
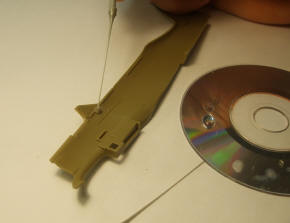
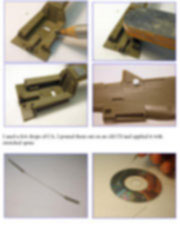
I used a few drops of CA. I poured them out on an old CD and applied it with stretched sprue.
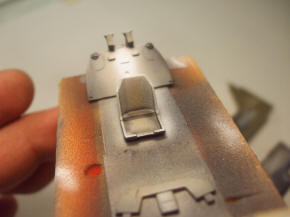
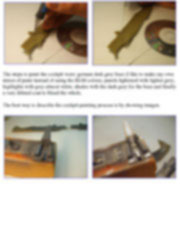
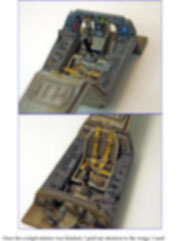
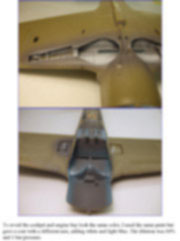
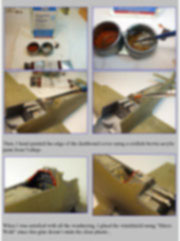
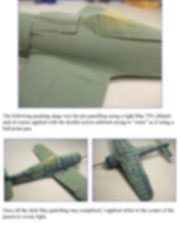
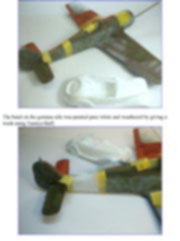
The steps to paint the cockpit were: german dark grey base (I like to make my own mixes of paint instead of using the RLM colors), panels lightened with lighter grey, highlights with grey almost white, shades with the dark grey for the base and finally a very diluted coat to blend the whole.
The best way to describe the cockpit painting process is by showing images.
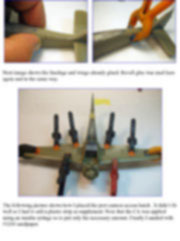
This article is offered in PDF format to be read or printed using Acrobat reader, contact our webmaster > Here Includes more than 202 pics, here we show only the text pages.
Esta Nota es ofrecida en formato PDF, el cual puede ser leído o impreso usando el Acrobat reader, contacte a nuestro webmaster > Aquí Incluye más de 202 imágenes, aquí solo mostramos las paginas de texto.
Big size photos are only available in our PDF format. Support us ordering our notes in PDF > Here |
|||||||||||||||||||||||||||||||||||||||||||||||||||||||||||||||||||||||||||||||||||||||