|
|
|||||||||||||||||||||||||||||||
|
Armor |
|
||||||||||||||||||||||||||||||
|
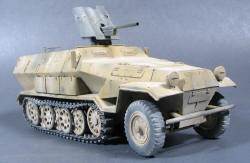
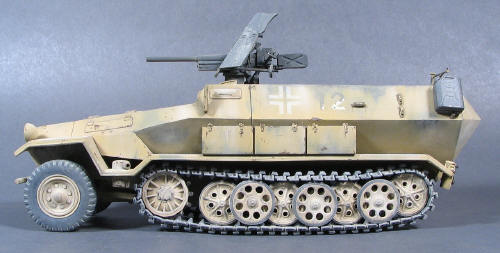
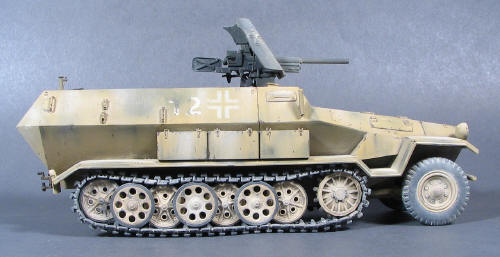
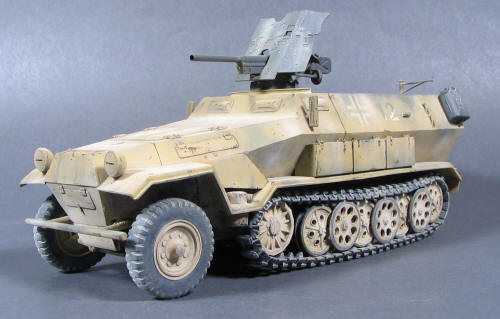
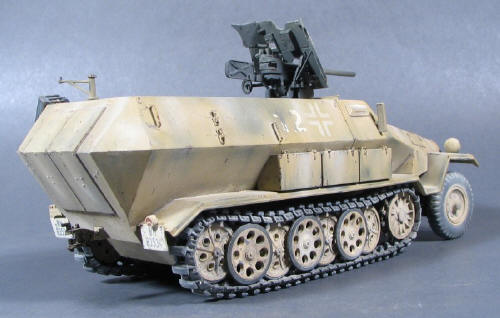
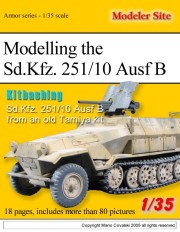
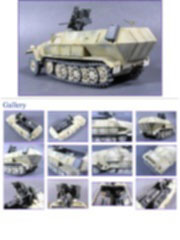
Building the Sd.Kfz. 251/10 Ausf B from an old Tamiya kit 1/35 scale |
|||||||||||||||||||||||||||||||
|
by Eduardo Andreoli © Modeler Site |
|||||||||||||||||||||||||||||||
|
Legal Notice No material from Modeler Site any Web site owned, operated, licensed, or controlled by Damian Covalski may be copied, reproduced, republished, uploaded, posted, transmitted, or distributed in any way, except that you may download one copy of the materials on any single computer for your personal, non-commercial home use only, provided you keep intact all copyright and other proprietary notices. Modification of the materials or use of the materials for any other purpose is a violation of Damian Covalski's copyright and other proprietary rights. Read More here > Legal notice
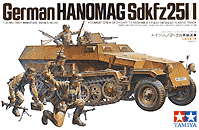
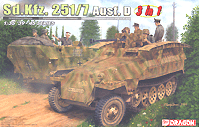
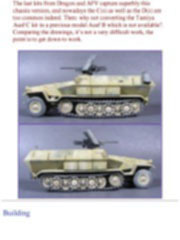
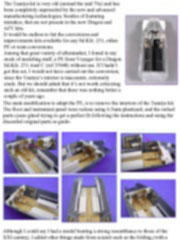
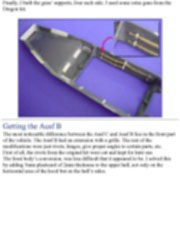
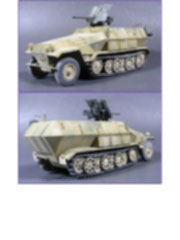
The last kits from Dragon and AFV capture superbly this chassis version, and nowadays the C(s) as well as the D(s) are too common indeed. Then: why not converting the Tamiya Ausf C kit in a previous model Ausf B which is not available?. Comparing the drawings, it’s not a very difficult work, the point is to get down to work.
Building
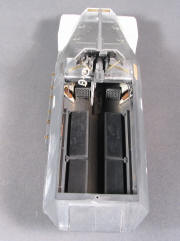
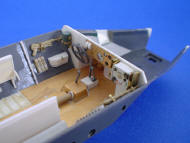
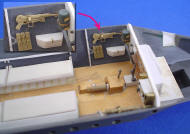
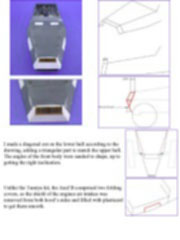
The main modification to adapt the PE, is to remove the interiors of the Tamiya kit. The floor and instrument panel were redone using 0,5mm plasticard, and the etched parts cyano glued trying to get a perfect fit following the instructions and using the discarded original parts as guide.
This note is offered in PDF format to be read or printed using Acrobat reader, contact our webmaster > Here Includes more than 80 pics, here we show only the text pages.
Esta Nota es ofrecida en formato PDF, el cual puede ser leído o impreso usando el Acrobat reader, contacte a nuestro webmaster > Aquí Incluye más de 80 imágenes, aquí solo mostramos las paginas de texto.
Support us ordering our notes in PDF > Here |
|||||||||||||||||||||||||||||||