|
|
||||||||||||||||||||||||||||||||||||||||||||||||||||||||||||||||||||||||||||||||||||||||||||||||
|
Cars |
|
|||||||||||||||||||||||||||||||||||||||||||||||||||||||||||||||||||||||||||||||||||||||||||||||
|
Building the Midlantic Scarab |
||||||||||||||||||||||||||||||||||||||||||||||||||||||||||||||||||||||||||||||||||||||||||||||||
|
by Peter Radcliffe |
||||||||||||||||||||||||||||||||||||||||||||||||||||||||||||||||||||||||||||||||||||||||||||||||
|
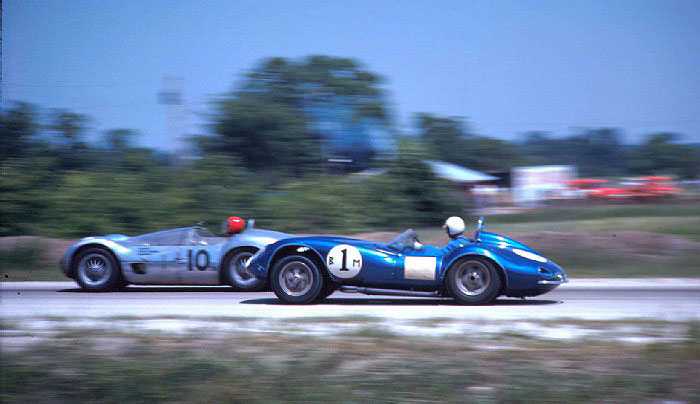
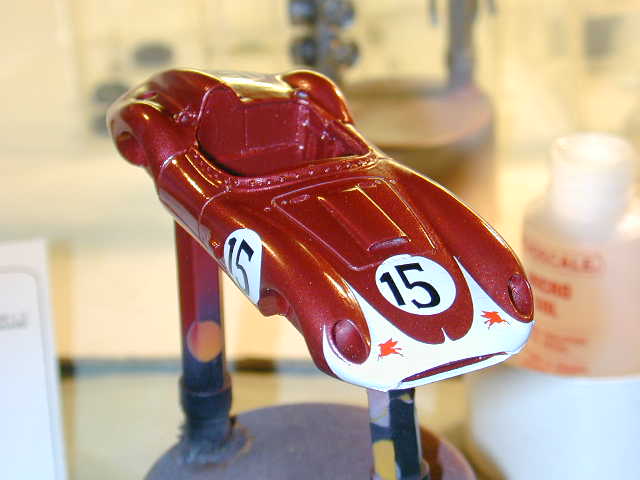
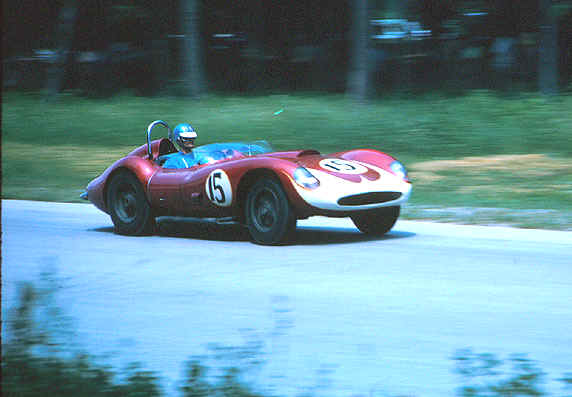
The Scarab had a successful sportscar history but this was not repeated when they tried their hand at Formula One. This article describes the building of the Scarab MKI in two versions; Meister Brauser and a second version as driven by Chuck Daigh.
Firstly check all the parts are present as soon as a new kit arrives even if you have no plans to build it immediately, it is a good habit to get into as most 1/43rd kits are very limited in production and spares may no longer be available when you get round to building it some years later. (Most 1/43rd scale collectors collect as many kits as they build, as they are limited in production you just have to get it while you can!).
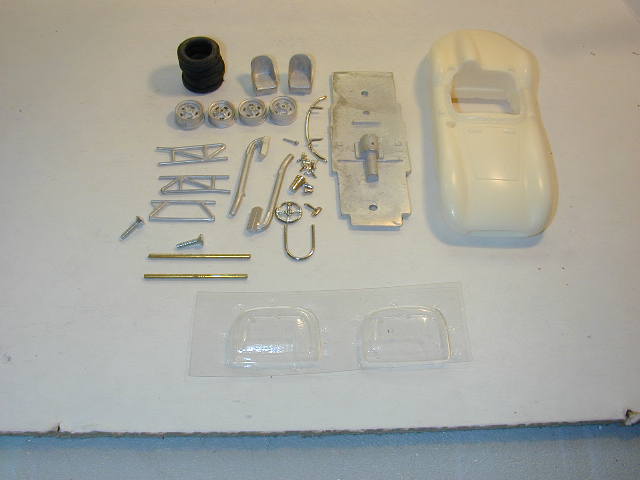
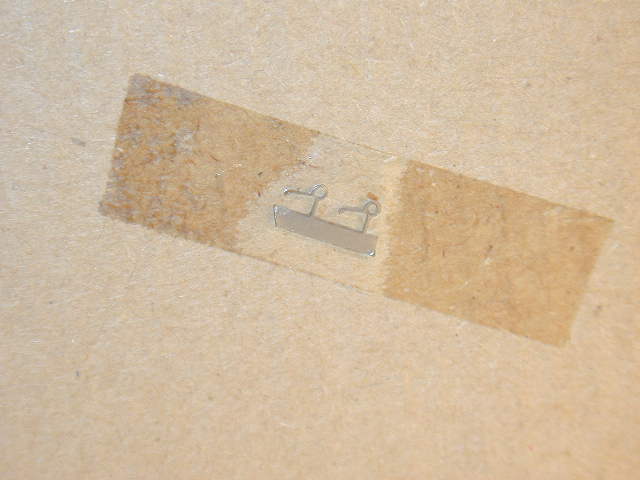
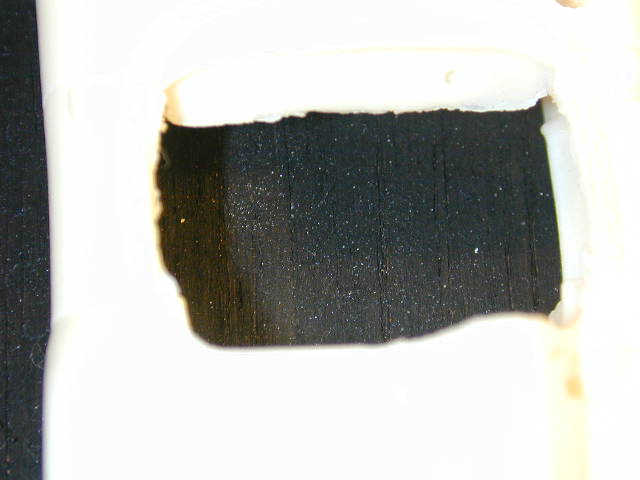
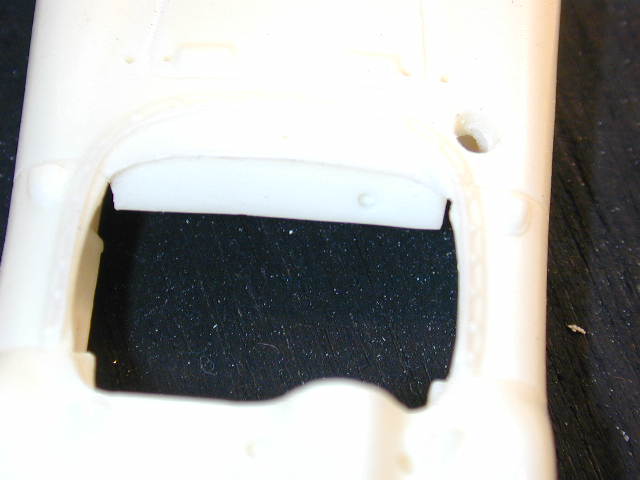
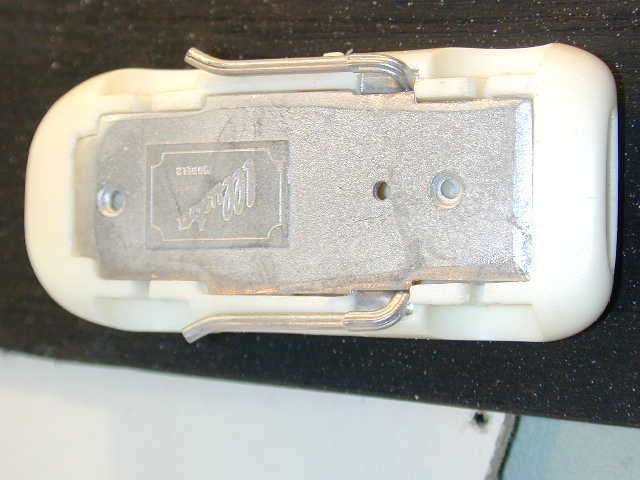
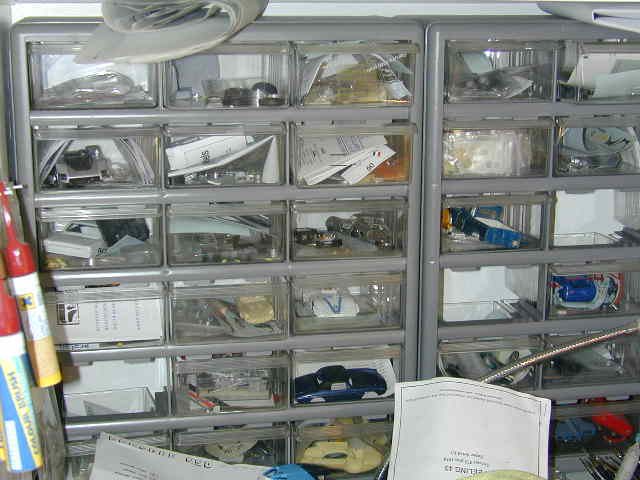
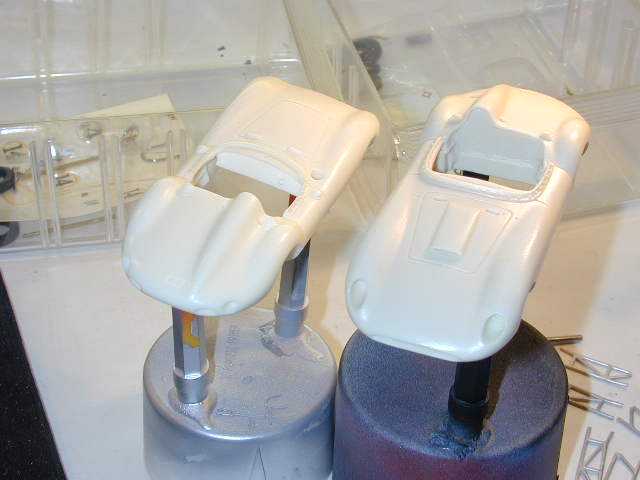
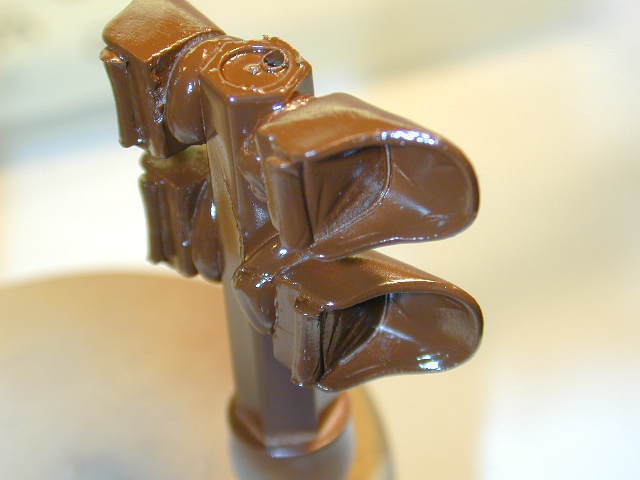
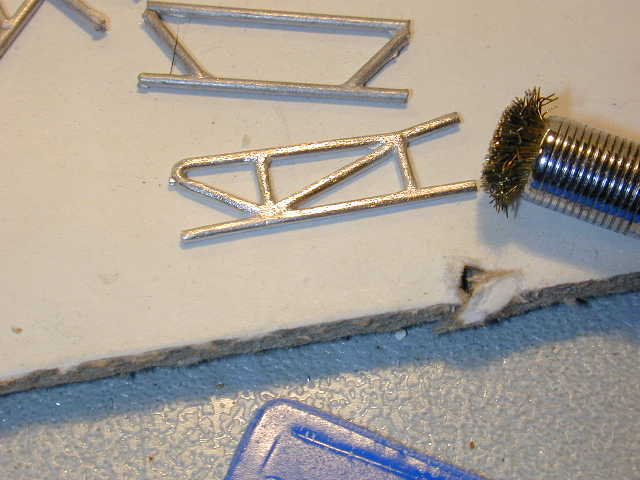
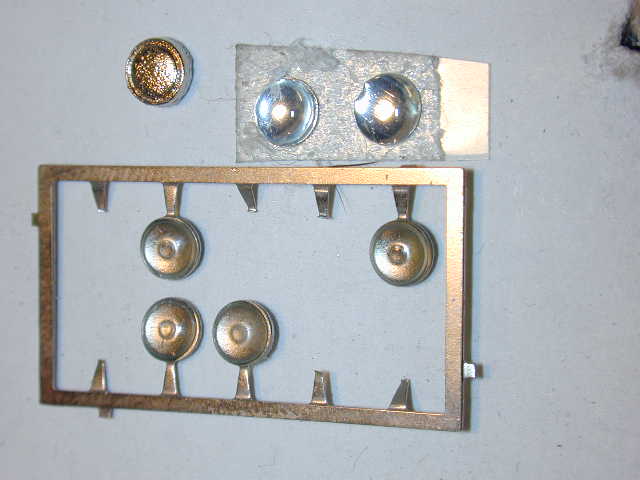
Lay the parts out for easy identification (Image 1) and also check the box lid as small photoetch parts are often taped to the lid. (Image 2) Once the parts have been checked I put them in a drawer of a small cabinet (Image 8) for safekeeping. This kit is a combination of Resin and White Metal parts. There may be Flash (Image 3&4) and mould marks to be removed. I use needle files and very fine wet and dry paper (Image 5). Sometimes there are small airholes mainly along the base of resin castings; these should be filled with a soft body filler. Resin and White Metal shrink at different rates so it is important that you should check parts fit before any painting (Image 6). Also drill out any holes for Filler caps, roll bar and bonnet catches. They should be a loose fit as paint thickness is a factor in a 1/43rd scale model.
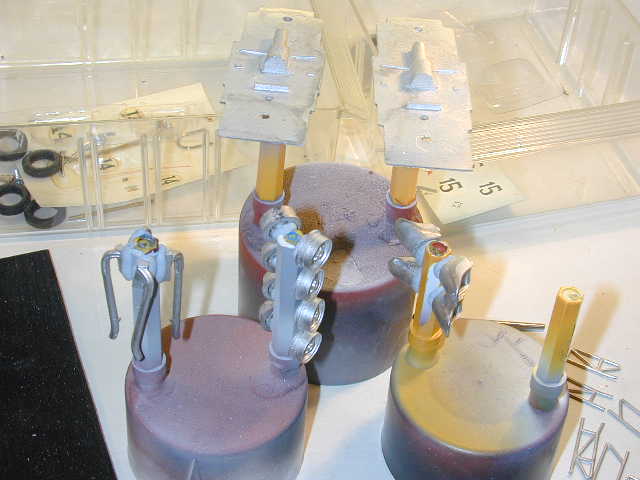
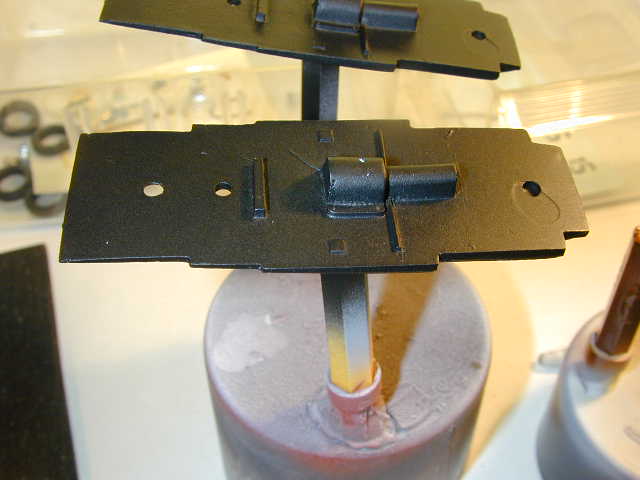
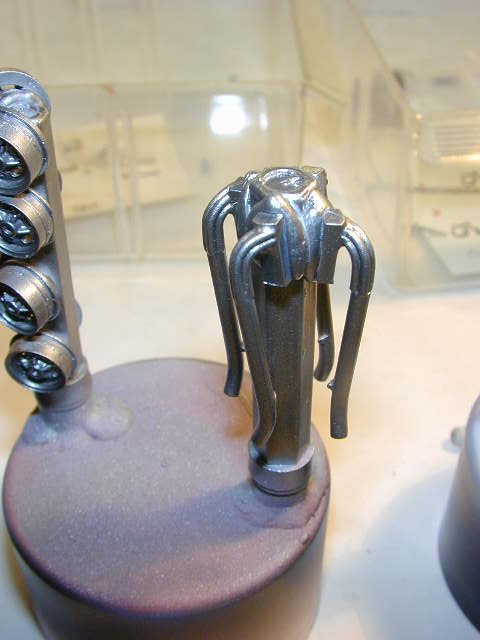
I wash all parts with a mixture of washing up liquid and cream kitchen cleaner with an old toothbrush then leave the parts somewhere warm to dry. Once dry handle as little as possible with fingers as grease from hands can ruin your paint. I have made some Paint dollies out of scrap and I secure parts to these with Bluetack (Image 7 & 9).
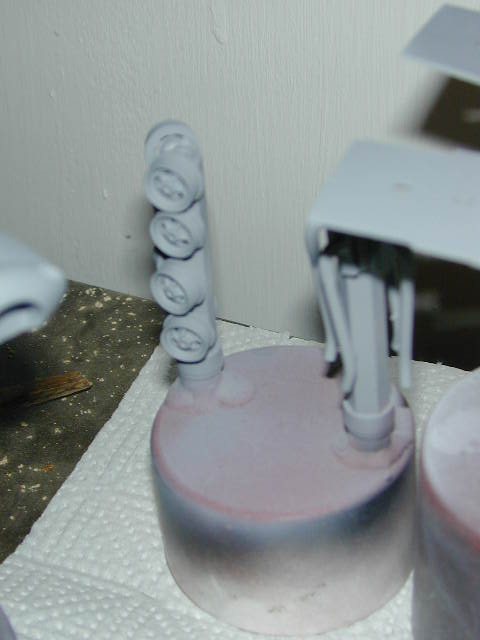
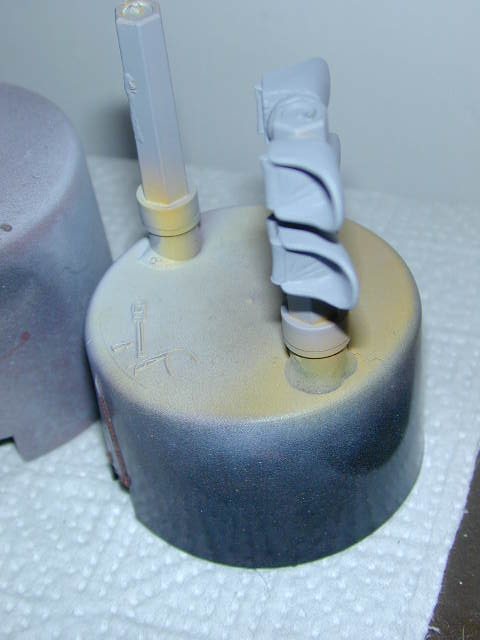
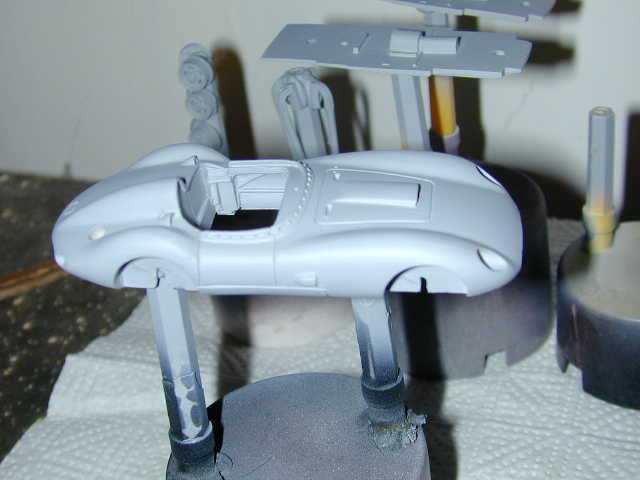
I use spray cans from a motor accessory shop; for resin I use the special primer for plastic bumpers and normal primer on metal parts. (Image 10/11/12/13) Again I use car spray cans for top coat (Image 14/15/16/17/18 &19).
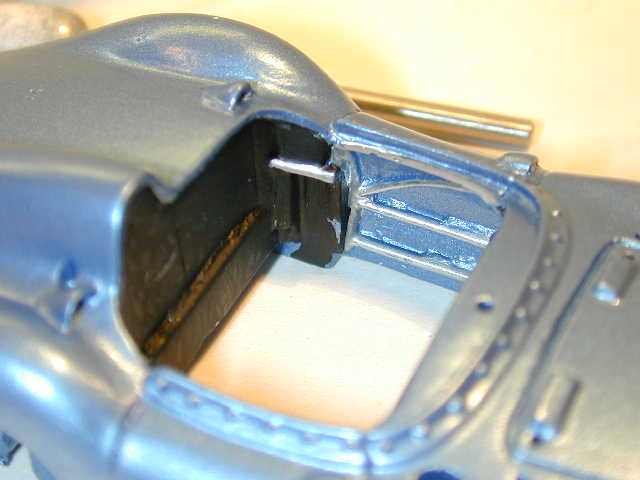
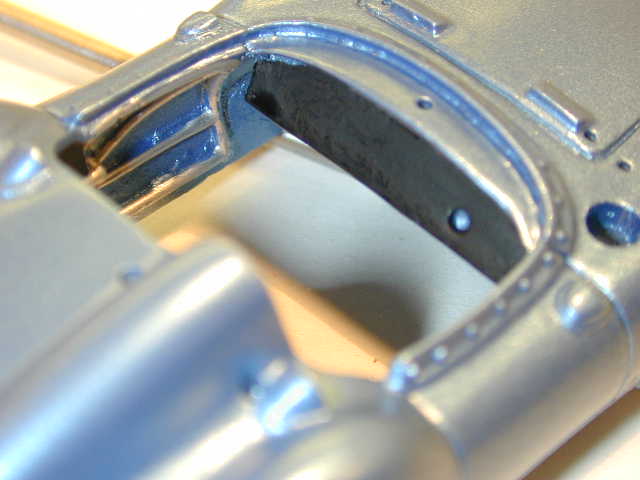
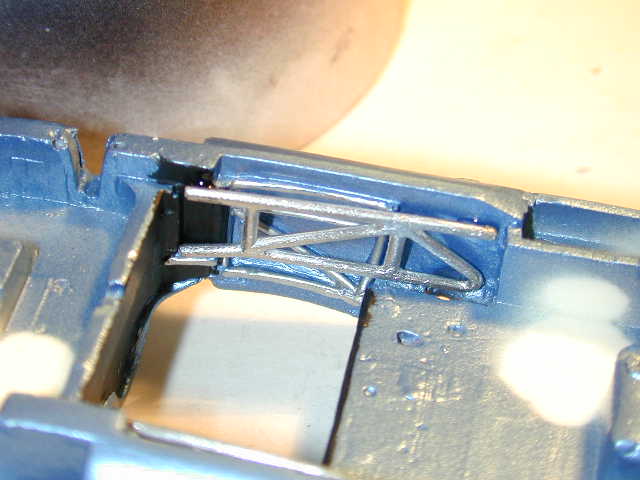
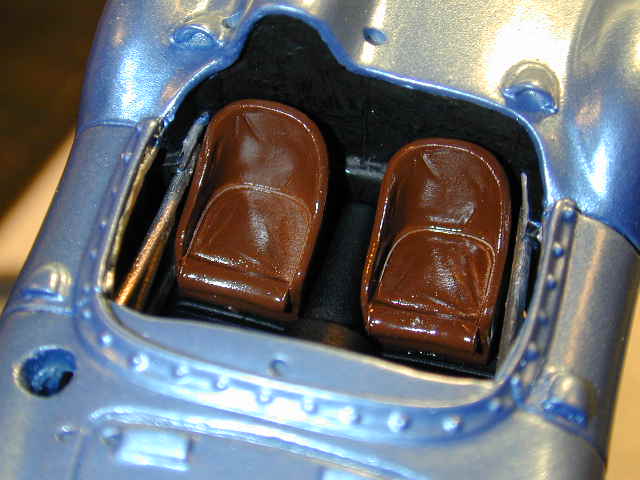
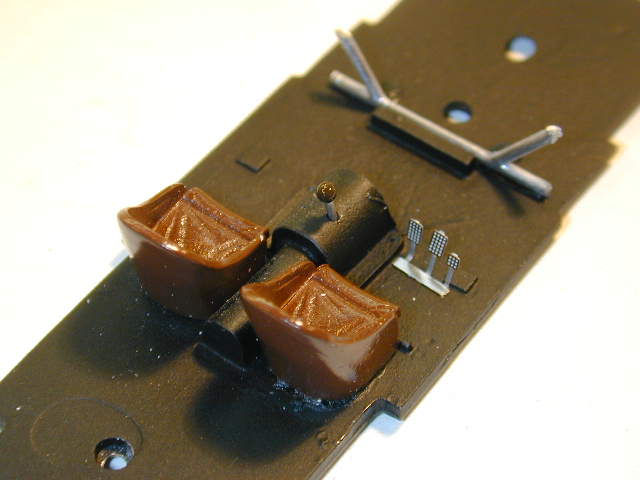
The space frame of cast metal I shine with a wire brush (Image 18) and internal details were painted with brush and Humbrol enamels. (Image 20/21/22) A trial fit of the chassis showed that the top rail of the cross frame needed to be removed (Image 44) and you will see I added some foot pedals from my bits box. The seats were positioned with the base plate in place (Image 23) and then the base was removed and set aside while transfers were applied.
The transfers for the Meister Brauser car do not come away from the paper easily with cold water and great care is needed with the fine pinstripe on the bonnet. These decals do not seem to react well to Microsol so apply with plenty of water and shrink into place if needed with a little gently steam from a Kettle. I used Microsol and some Crinkles are present (Image 24 & 33). The Decals on the second car do work with Microsol. Once the decals are completely set the cars received a thin coat of lacquer.
Initial crinkles from the Microsol disappeared overnight once the decals were completely dry. It should be noted that usually I do not put decals on until after I have used lacquer. In this case I did not follow my usual procedure and the lacquer affected the decals. Once the lacquer was set final assembly can begin, the axles provided were a little short and were replaced with some rod of suitable diameter and cut to create. The Slots in the body for the axles were opened up to create a slack fit. The wheels with tyres fitted are rather tight in the arches and with retrospect I should have relieved the inside of the arches. The axles and wheels were set up in the arches and a little 5-minute epoxy used to fix the axles in place inside the body, the car was set on its wheels on a true surface while the epoxy set.
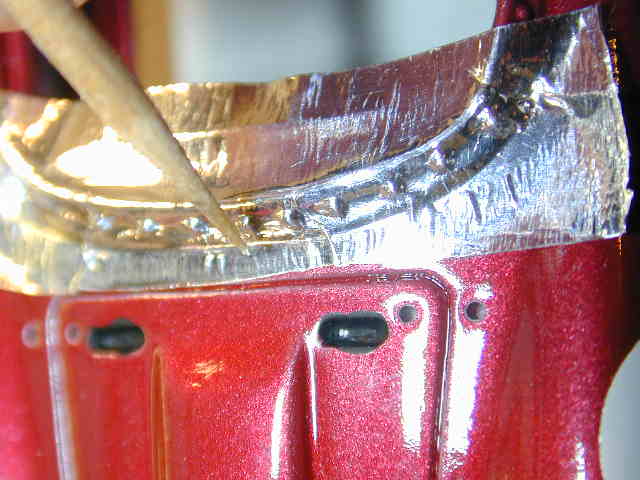
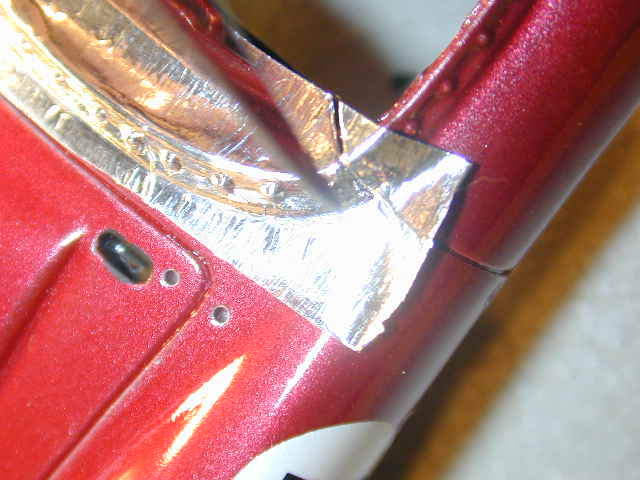
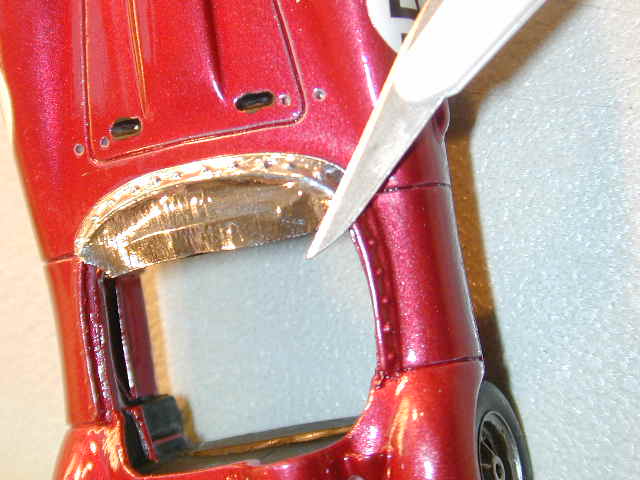
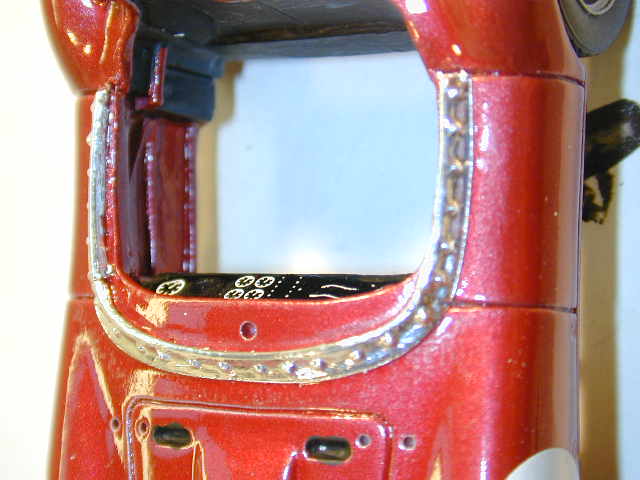
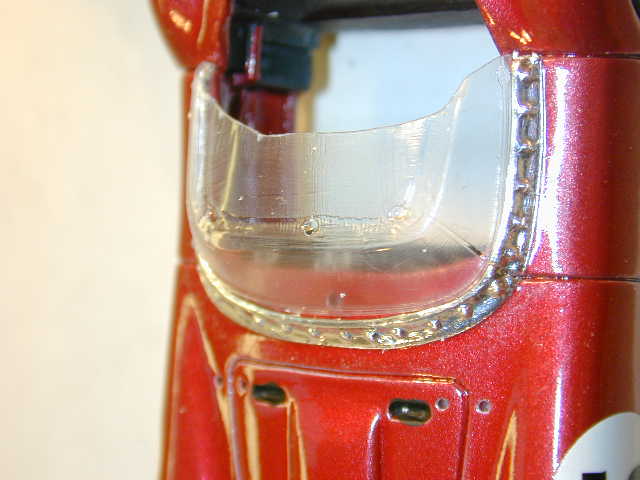
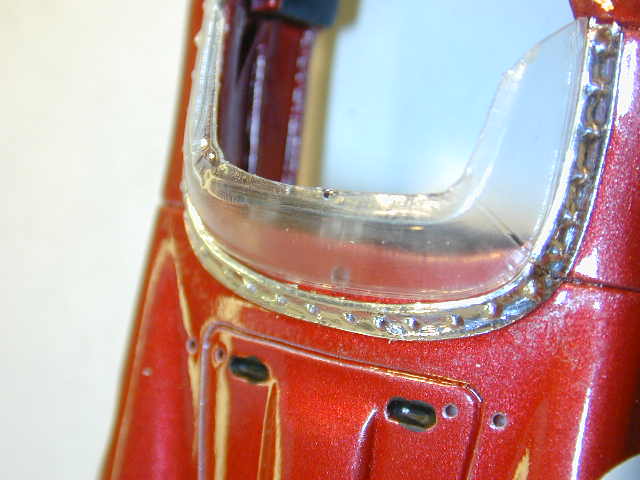
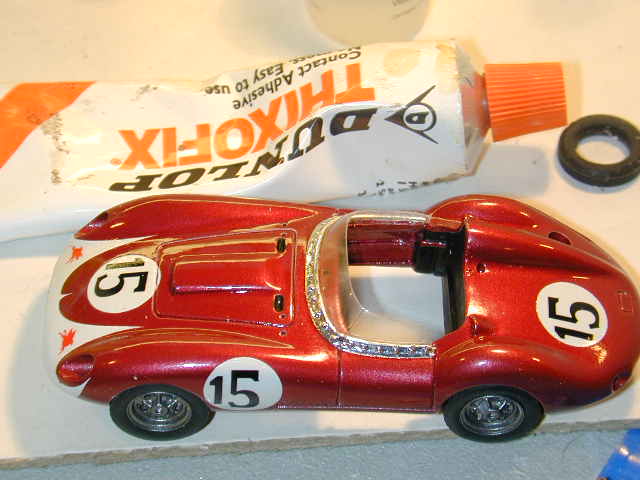
The windscreen and light covers if not very carefully fitted can ruin a model. Initially I chromed the windscreen base with Baremetal Foil. Initially this is adapted with gently rubbing with a finger and then gradually burnished down with a cocktail stick, the edges provide a good guide to cutting but a very sharp blade must be used( Images 35-38). The screen is trimmed roughly with scissors leaving plenty of excess around the bottom edge and tried in place ( Image 39), At this stage the centre has not been removed as the extra rigidity makes it easier to handle. The lower edge is gradually trimmed using a very sharp blade until happy with fit. Now the centre is cut out with scissors leaving plenty of excess (Image 40). This Vac form is thicker than some and can easily be creased cutting round corners, the excess is removed with my very sharp blade in very small sections until happy with edge. I use Dunlop Thixofix a contact adhesive to secure the screen to the body. A little is applied all round the screen mount with a cocktail stick and the screen pressed into position immediately. Any excess adhesive that squeezes out can be removed with the point of a cocktail stick when it becomes tacky. This adhesive is ideal for fixing photoetch chrome strips or screen surrounds to acetate sheet as excess is easily removed and the adhesive does not affect paint or acetate ( Image 41).
Image 42 shows in the top left the chromed white metal headlight provided in the kit, alongside are some lights as provided by many manufacturers and below are what I feel are much nicer MERI lights. I use these lights sometimes with turned bezels fairly regularly. The vac form acetate covers for the lights again are cut out roughly with scissors. I then use my sharp blade or a sandpaper block to gradually remove the excess and achieve a perfect fit. After sanding any featheredge can be scraped off with a blade. The covers can be secured in place in several ways; I have used Kristal Kleer or other clear setting PVA, I have tacked them in place with a little clear varnish and then lacquered the body and the lacquer has created a clear bond. These days I usually use a very thin adhesive from Provence Moulage applied using a dental syringe. Capillary action caries the adhesive round the edge and excess can be removed with a cocktail stick when tacky ( Image 43).
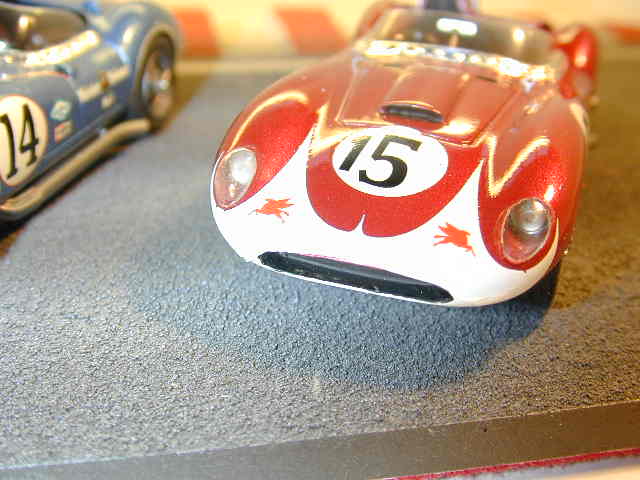
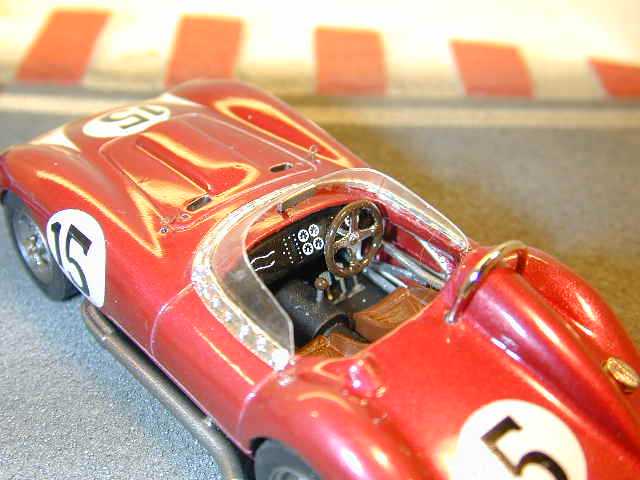
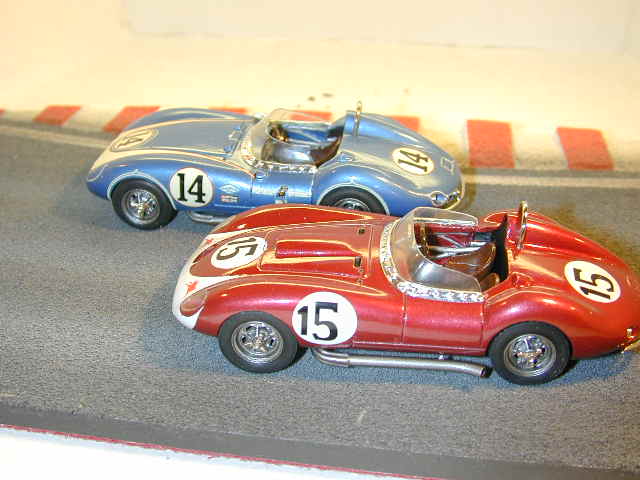
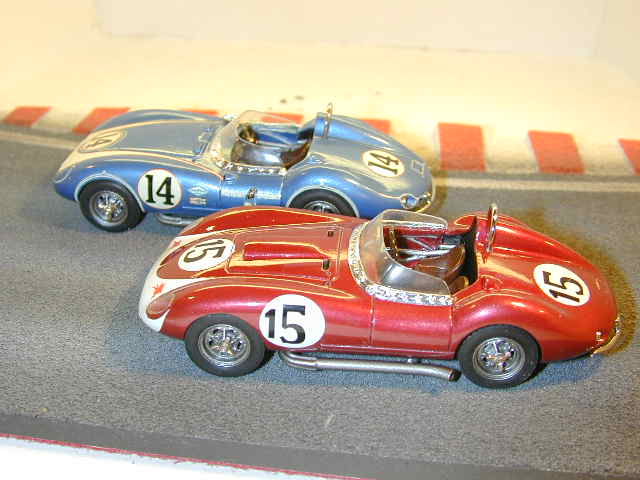
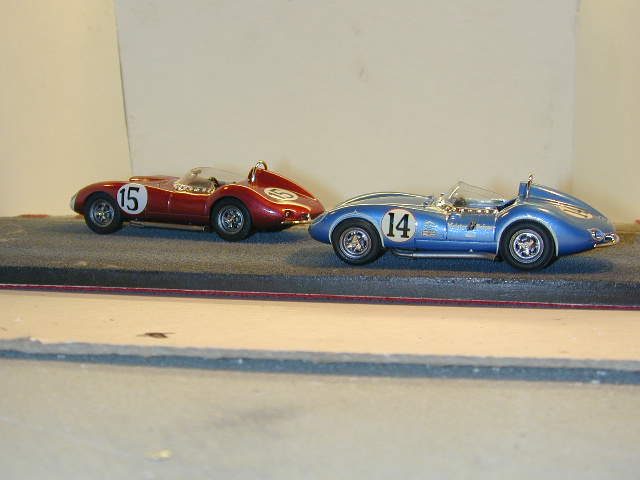
The completed base (Image 44) was glued in place with 5 minute epoxy and roll hoop mirror bonnet hooks etc fixed in place. Images 45-51 show the completed models.
|
||||||||||||||||||||||||||||||||||||||||||||||||||||||||||||||||||||||||||||||||||||||||||||||||