|
|
|||||||||||||||||||||||||||||||||||||||
|
Armor |
|
||||||||||||||||||||||||||||||||||||||
|
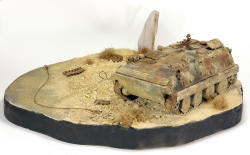
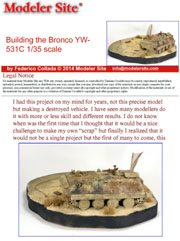
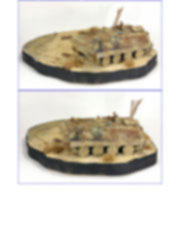
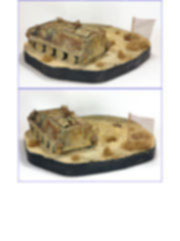
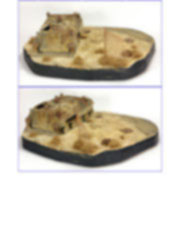
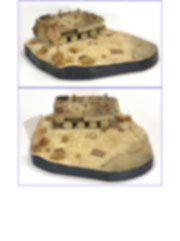
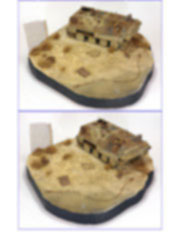
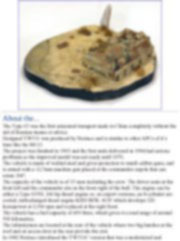
Building the Bronco YW-531C 1/35 scale |
|||||||||||||||||||||||||||||||||||||||
|
by Federico Collada © Modeler Site |
|||||||||||||||||||||||||||||||||||||||
|
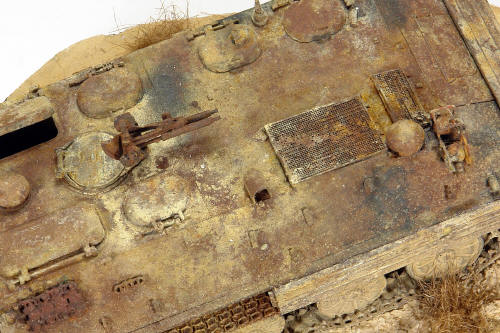
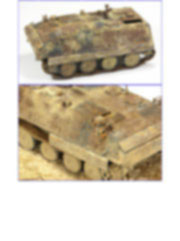
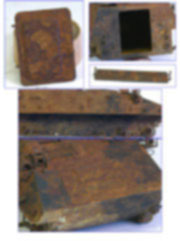
Legal Notice No material from Modeler Site any Web site owned, operated, licensed, or controlled by Damian Covalski may be copied, reproduced, republished, uploaded, posted, transmitted, or distributed in any way, except that you may download one copy of the materials on any single computer for your personal, non-commercial home use only, provided you keep intact all copyright and other proprietary notices. Modification of the materials or use of the materials for any other purpose is a violation of Damian Covalski's copyright and other proprietary rights. Read More here > Legal notice I had this project on my mind for years, not this precise model but making a destroyed vehicle. I have seen many modellers do it with more or less skill and different results. I do not know when was the first time that I thought that it would be a nice challenge to make my own “scrap” but finally I realized that it would not be a single project but the first of many to come, this would be first and the testing for some techniques that I would have to improve, complete and combine with others along more destroyed tanks to come. That thought was essential to start with this model because I was not sure that I would be completely satisfied with the result and that was the idea that kept me waiting to do it for so long.
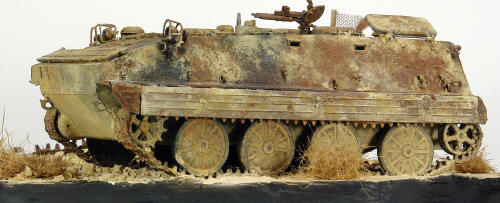
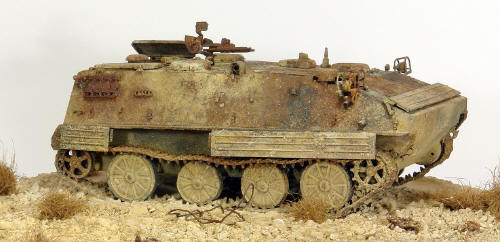
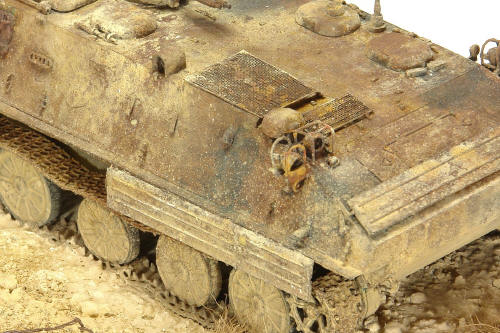
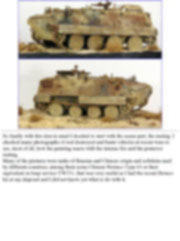
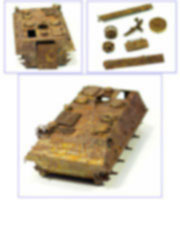
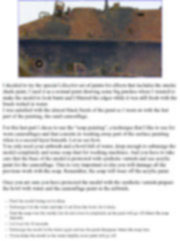
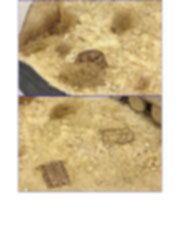
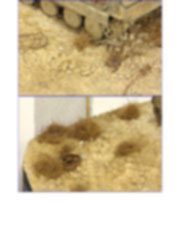
So finally with this idea in mind I decided to start with the easier part, the rusting. I checked many photographs of real destroyed and burnt vehicles at recent wars to see, most of all, how the painting reacts with the intense fire and the posterior rusting. Many of the pictures were tanks of Russian and Chinese origin and softskins used by different countries, among them some Chinese Norinco Type 63 or their equivalent in Iraqi service YW531, that was very useful as I had the recent Bronco kit at my disposal and I did not know yet what to do with it.
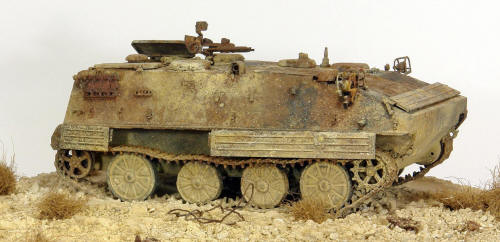
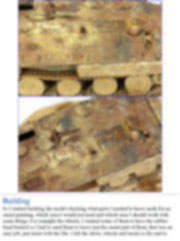
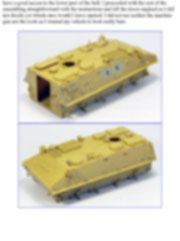
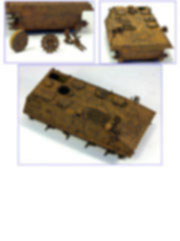
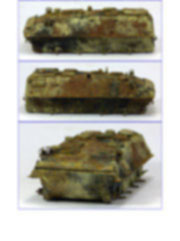
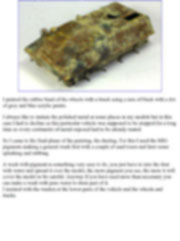
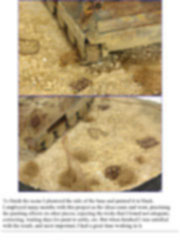
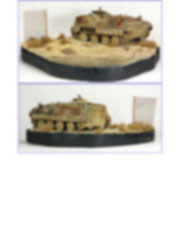
Building So I started building the model checking what parts I needed to leave aside for an easier painting, which ones I would not need and which ones I should work with some things. For example the wheels, I wanted some of them to have the rubber band burned so I had to sand them to leave just the metal part of them, that was an easy job, just insist with the file. I left the skirts, wheels and tracks to the end to have a good access to the lower part of the hull. I proceeded with the rest of the assembling straightforward with the instructions and left the doors unglued as I did not decide yet which ones would I leave opened. I did not use neither the machine gun nor the tools as I wanted my vehicle to look really bare.
This article is offered in PDF format to be read or printed using Acrobat reader, contact our webmaster > Here Includes more than 56 pics, here we show only the text pages.
Esta Nota es ofrecida en formato PDF, el cual puede ser leído o impreso usando el Acrobat reader, contacte a nuestro webmaster > Aquí Incluye más de 56 imágenes, aquí solo mostramos las paginas de texto.
Big size photos are only available in our PDF format. Support us ordering our notes in PDF > Here |
|||||||||||||||||||||||||||||||||||||||