|
|
||||||||||||||||||||||||||||||||||||||||||||||
|
Motorcycles |
|
|||||||||||||||||||||||||||||||||||||||||||||
|
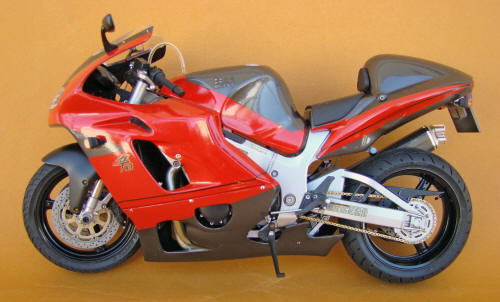
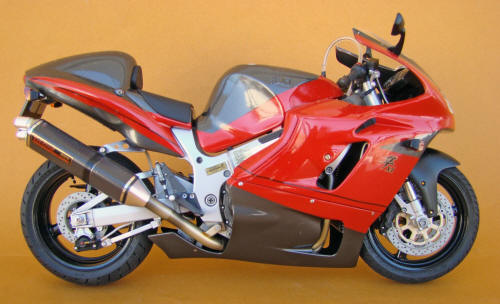
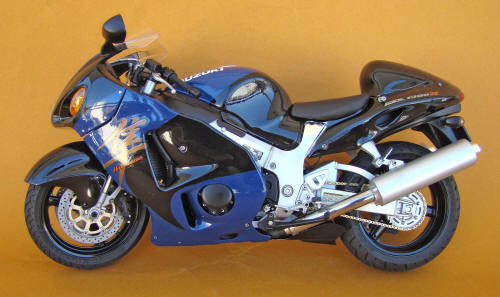
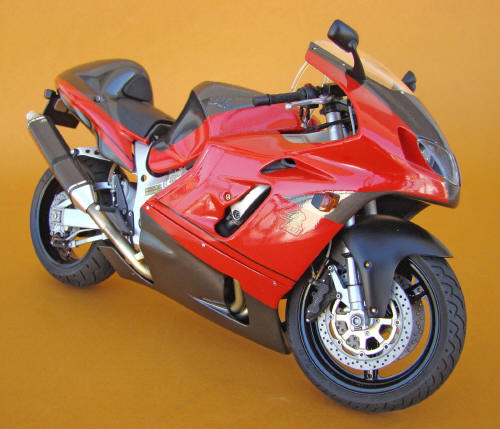
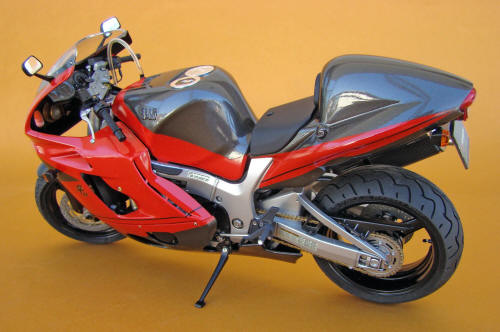
Building the Tamiya Yoshimura Hayabusa: step by step for novices - 1/12 scale |
||||||||||||||||||||||||||||||||||||||||||||||
|
by Mario Covalski © Modeler Site |
||||||||||||||||||||||||||||||||||||||||||||||
|
Legal Notice No material from Modeler Site any Web site owned, operated, licensed, or controlled by Mario Covalski & Associated may be copied, reproduced, republished, uploaded, posted, transmitted, or distributed in any way, except that you may download one copy of the materials on any single computer for your personal, non-commercial home use only, provided you keep intact all copyright and other proprietary notices. Modification of the materials or use of the materials for any other purpose is a violation of Mario Covalski & Associated's copyright and other proprietary rights. Read More here > Legal notice For those who are motorcycles´ lovers, every Tamiya´s new release is full of expectations …and excitement. The Hayabusa Yoshimura couldn't be the exception, after the success, her "sister", the factory version, had. The goal of this article, is to make comments step by step with photos of the parts and assemblies about some modifications or additions which I'm sure, will be useful, specially for beginners.
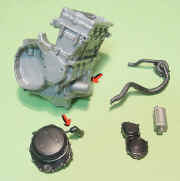
Preparing the parts, step by step I think it won't be a surprise, if I say that my habit and way of working, is to have all the assemblies and parts prepared, in a first stage of the job. Once everything is ready, I paint and detail all parts, to go once again through the booklet, but this time for the building's definitive stage, that will let me arrive to the finished model Step 1
Look at the image and see how I left to part 24, a bit piece of the sprue, in order to get it held while being airbrushed. Details may be handpainted. This note is offered in PDF format to be read or printed using Acrobat reader, contact our webmaster > Here Includes more than 100 pics, here we show only the text pages.
Esta Nota es ofrecida en formato PDF, el cual puede ser leido o impreso usando el Acrobat reader, contacte a nuestro webmaster > Aquí Incluye más de 100 imagenes, aquí solo mostramos las paginas de texto.
Big size photos are only available in our PDF format. Support us ordering our notes in PDF > Here |
||||||||||||||||||||||||||||||||||||||||||||||