|
|
|||||||||||||||||||||||||||||
|
Cars |
|
||||||||||||||||||||||||||||
|
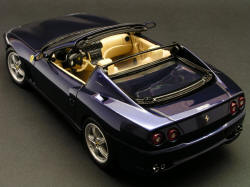
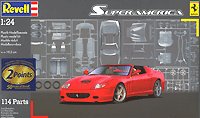
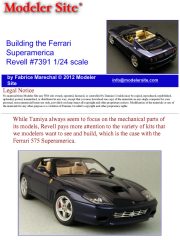
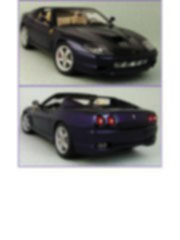
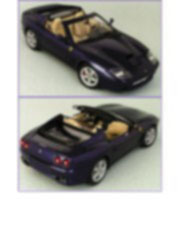
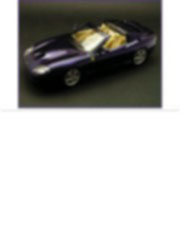
Building the Ferrari Superamerica Revell #7391 1/24 scale |
|||||||||||||||||||||||||||||
|
by Fabrice Marechal © Modeler Site |
|||||||||||||||||||||||||||||
|
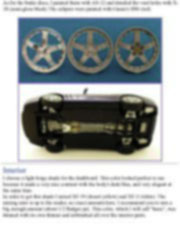
Legal Notice No material from Modeler Site any Web site owned, operated, licensed, or controlled by Damian Covalski may be copied, reproduced, republished, uploaded, posted, transmitted, or distributed in any way, except that you may download one copy of the materials on any single computer for your personal, non-commercial home use only, provided you keep intact all copyright and other proprietary notices. Modification of the materials or use of the materials for any other purpose is a violation of Damian Covalski's copyright and other proprietary rights. Read More here > Legal notice While Tamiya always seem to focus on the mechanical parts of its models, Revell pays more attention to the variety of kits that we modelers want to see and build, which is the case with the Ferrari 575 Superamerica.
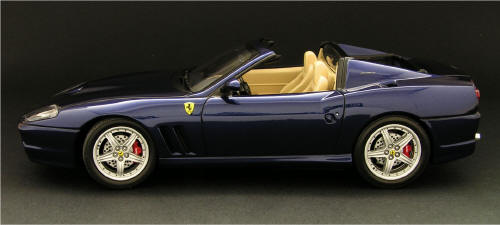
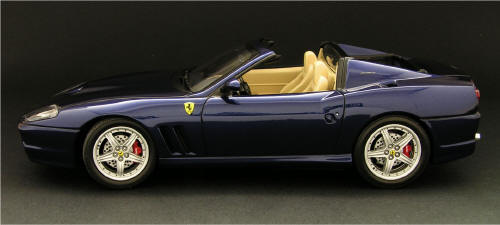
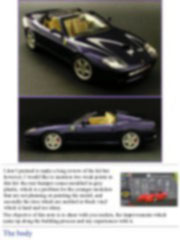
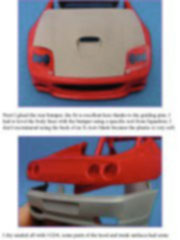
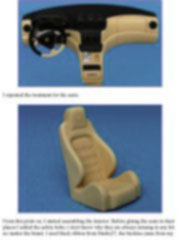
The objective of this note is to share with you readers, the improvements which came up along the building process and my experiences with it. The body The first thing in the building process was to choose the color; why painting a Ferrari in red or "yolk" yellow color if it can be painted in, lets say, metallic blue?, my apology to the purists; so, I choose Porsche's 3A9 which I bought directly from a Porsche dealer shop, it cost me ten euros. I started working on the adjustment of the hood and the headlight covers. The hood fits almost perfectly but for the headlight covers I had to cut the fixing pegs so I could "push" them back and follow the curve in the hood; in order to do that, I had to fill the mounting holes in the body.
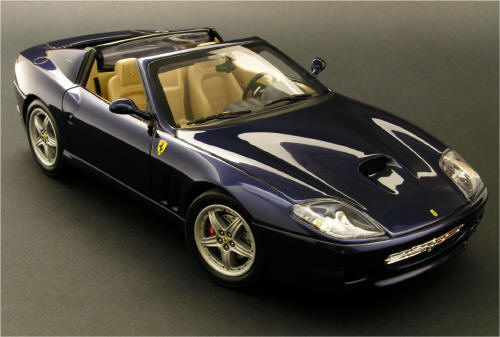
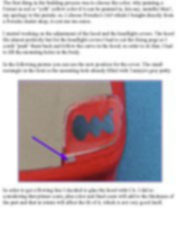
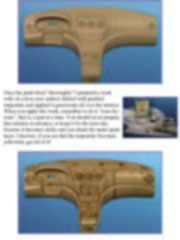
In the following picture you can see the new position for the cover. The small rectangle in the front is the mounting hole already filled with Tamiya's grey putty.
Esta Nota es ofrecida en formato PDF, el cual puede ser leído o impreso usando el Acrobat reader, contacte a nuestro webmaster > Aquí Incluye más de 35 imágenes, aquí solo mostramos las paginas de texto.
This note is offered in PDF format to be read or printed using Acrobat reader, contact our webmaster > Here Includes more than 35 pics, here we show only the text pages.
Big size photos are only available in our PDF format. Support us ordering our notes in PDF > Here |
|||||||||||||||||||||||||||||