|
|
||||||||||||||||||||||||||||||||||||
|
Airplanes |
|
|||||||||||||||||||||||||||||||||||
|
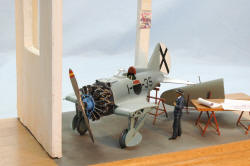
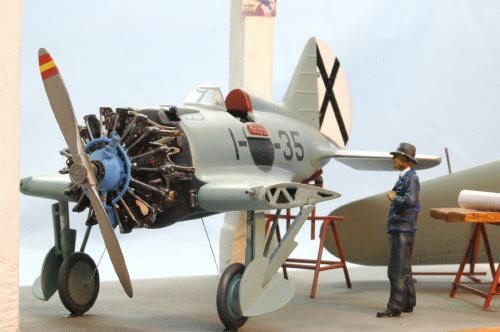
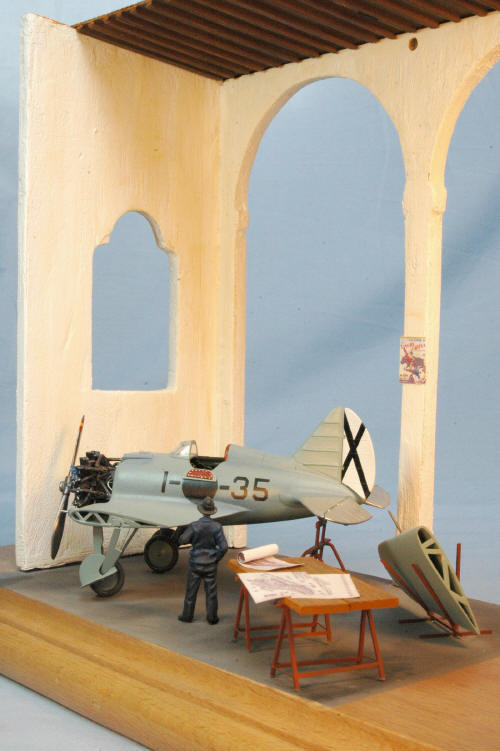
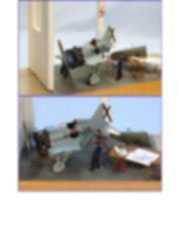
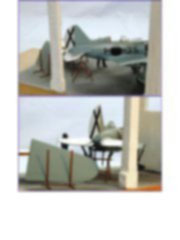
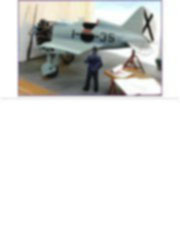
Polikarpov I-16 “Chato”: Diorama of the Spanish civil war Academy 1/48 scale |
||||||||||||||||||||||||||||||||||||
|
by Jose Angel García Martín © Modeler Site |
||||||||||||||||||||||||||||||||||||
|
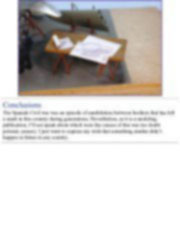
Legal Notice No material from Modeler Site any Web site owned, operated, licensed, or controlled by Damian Covalski may be copied, reproduced, republished, uploaded, posted, transmitted, or distributed in any way, except that you may download one copy of the materials on any single computer for your personal, non-commercial home use only, provided you keep intact all copyright and other proprietary notices. Modification of the materials or use of the materials for any other purpose is a violation of Damian Covalski's copyright and other proprietary rights. Read More here > Legal notice During the Spanish Civil War, there was a manufacturer of Polikarpov I-16 in Alicante (La Rabasa) which production line was set up by the Republicans. They didn’t use the original drawings but they had to copy from the parts of the airplanes sent from the URSS. When the War ended, the tools and airplanes in different assembly stages were moved to a wines cellar in Jerez de la Frontera, the Gonza0lez- Byass’ (source Juan Arraez), creating in this way the “Taller Experimental del Aire” with the direction of Frigate Captain Luis Arias Martinez, naval engineer.
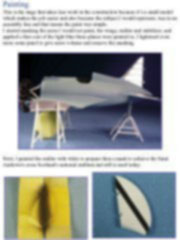
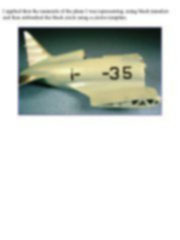
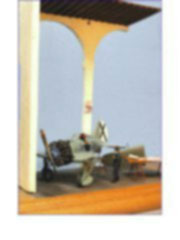
When the airplanes were finished, they were taken to the La Parra aerodrome to carry out a number of test flights. The first flew was on September 1939 with Jose Luis Aresti as test pilot. It is believed that the airplanes coming from the manufacturer were painted in a light bluish tone with the wings, cowling and the rudder/stabilizers, in silver. The model
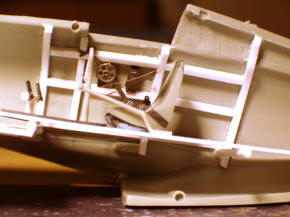
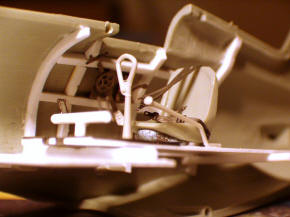
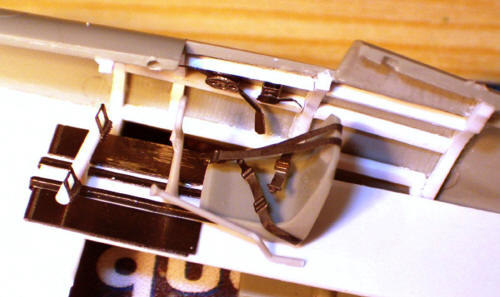
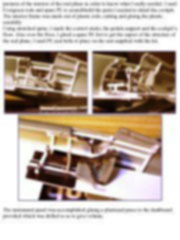
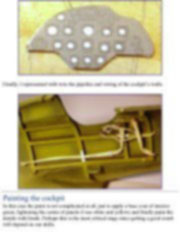
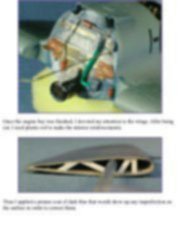
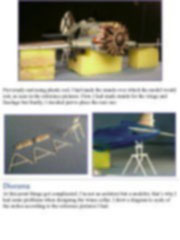
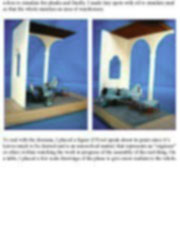
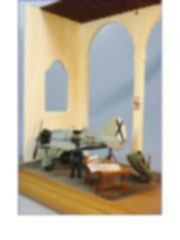
The cockpit It's very basic and I wanted it to match the real thing. I started studying a lot of pictures of the interior of the real plane in order to know what I really needed. I used Evergreen rods and spare PE to scratchbuild the parts I needed to detail the cockpit.
Esta Nota es ofrecida en formato PDF, el cual puede ser leído o impreso usando el Acrobat reader, contacte a nuestro webmaster > Aquí Incluye más de 59 imágenes, aquí solo mostramos las paginas de texto.
This note is offered in PDF format to be read or printed using Acrobat reader, contact our webmaster > Here Includes more than 59 pics, here we show only the text pages.
Big size photos are only available in our PDF format. Support us ordering our notes in PDF > Here |
||||||||||||||||||||||||||||||||||||