|
|
||||||||||||||||||||||||||||||||
|
Armor |
|
|||||||||||||||||||||||||||||||
|
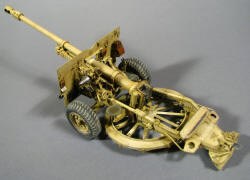
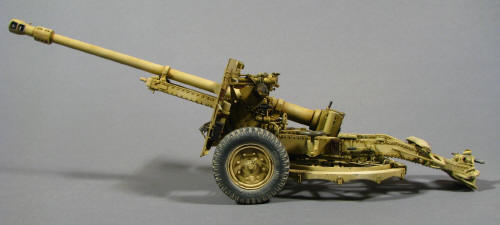
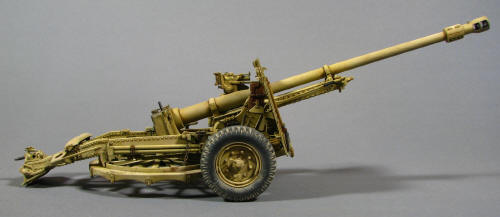
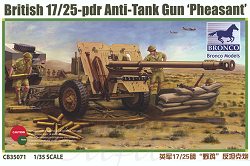
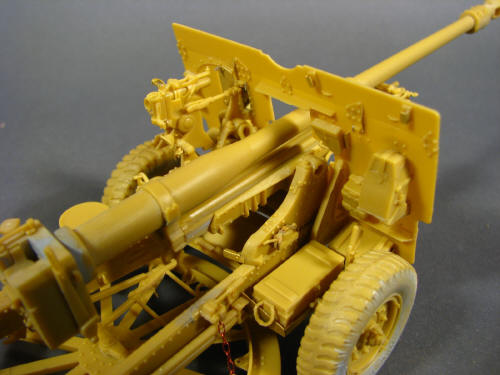
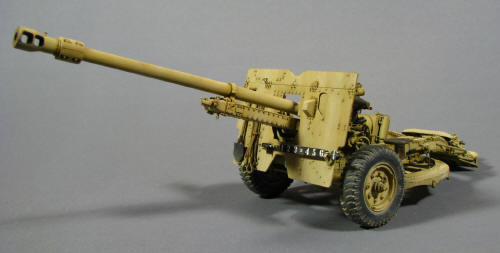
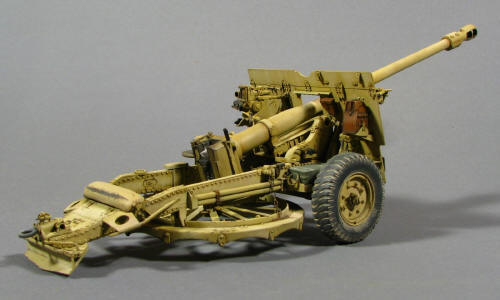
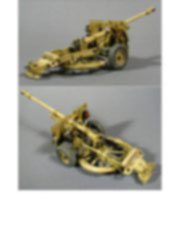
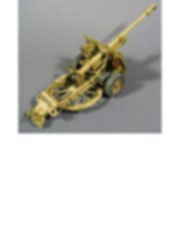
Building the British 17/25 pdr Anti-Tank Gun ‘Pheasant’ - Bronco #CB-35071 1/35 scale |
||||||||||||||||||||||||||||||||
|
by Eduardo Andreolli © Modeler Site |
||||||||||||||||||||||||||||||||
|
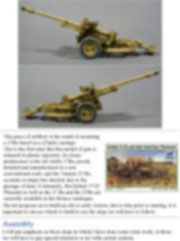
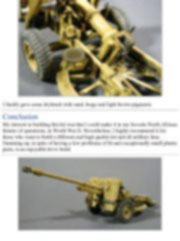
Legal Notice No material from Modeler Site any Web site owned, operated, licensed, or controlled by Damian Covalski may be copied, reproduced, republished, uploaded, posted, transmitted, or distributed in any way, except that you may download one copy of the materials on any single computer for your personal, non-commercial home use only, provided you keep intact all copyright and other proprietary notices. Modification of the materials or use of the materials for any other purpose is a violation of Damian Covalski's copyright and other proprietary rights. Read More here > Legal notice The new manufacturers surprise us every day with new releases. Kits that we never thought would appear or capture someone's interest in being produced, are finally available in the market. This is the case of Bronco that delight us with this rarity, an anti tunk gun converted in campaign to be deployed in the North of Africa to tackle the Tigers that had just arrived in-theatre. The gun we are talking about is the 17/25 Pheasant.
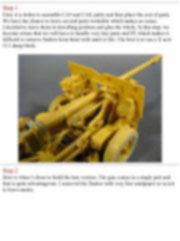
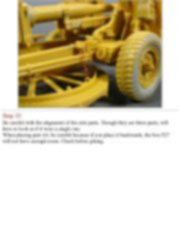
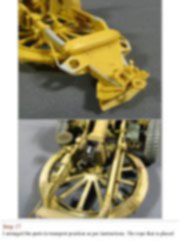
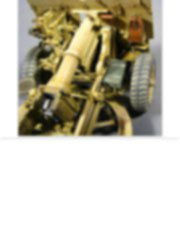
The kit proposes us to build an old or early version, this is why prior to starting, it is important to choose which to build to see the steps we will have to follow. Assembly I will put emphasis on those steps in which I have done some extra work, or those we will have to pay special attention or act with certain caution. Step 1 First, it is better to assemble CA9 and CA8, putty and then place the rest of parts. We have the chance to leave several parts workable which makes no sense. I decided to leave them in travelling position and glue the whole. In this step, we become aware that we will have to handle very tiny parts and PE which makes it difficult to remove flashes from them with sand or file. The best is to use a X acto #11 sharp blade.
Esta Nota es ofrecida en formato PDF, el cual puede ser leído o impreso usando el Acrobat reader, contacte a nuestro webmaster > Aquí Incluye más de 34 imágenes, aquí solo mostramos las paginas de texto.
This note is offered in PDF format to be read or printed using Acrobat reader, contact our webmaster > Here Includes more than 34 pics, here we show only the text pages.
Big size photos are only available in our PDF format. Support us ordering our notes in PDF > Here |
||||||||||||||||||||||||||||||||