|
|
||||||||||||||||||||||||||||||||||||||||||||||||||||
|
Cars |
|
|||||||||||||||||||||||||||||||||||||||||||||||||||
|
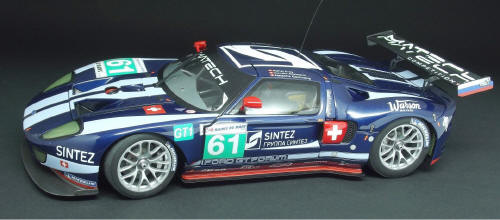
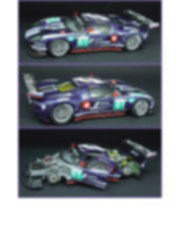
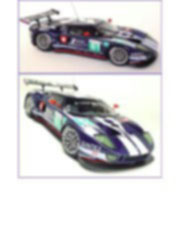
Building the Ford GT GT1 LeMans 2010 team Matech 1/24 scale |
||||||||||||||||||||||||||||||||||||||||||||||||||||
|
by Fabrice Marechal © Modeler Site |
||||||||||||||||||||||||||||||||||||||||||||||||||||
|
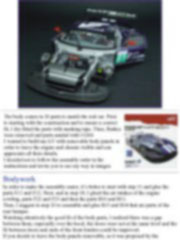
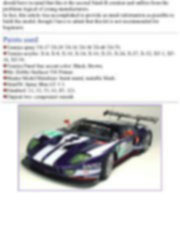
Legal Notice No material from Modeler Site any Web site owned, operated, licensed, or controlled by Damian Covalski may be copied, reproduced, republished, uploaded, posted, transmitted, or distributed in any way, except that you may download one copy of the materials on any single computer for your personal, non-commercial home use only, provided you keep intact all copyright and other proprietary notices. Modification of the materials or use of the materials for any other purpose is a violation of Damian Covalski's copyright and other proprietary rights. Read More here > Legal notice The Ford GT Matech is the second kit, #141002, produced by the brand new plastic model manufacturer Simil'R, based out of France. It’s an injection molded kit with stunning decals printed by Cartograf which are also provided to represent the various carbon carbon/Kevlar, and Kevlar weaves. The kit also supplies a photoetched fret. The instructions in English and French are very similar in style and layout to any kit from Tamiya or Hasegawa.
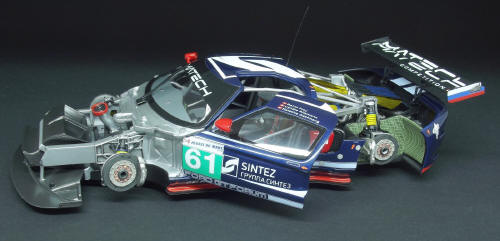
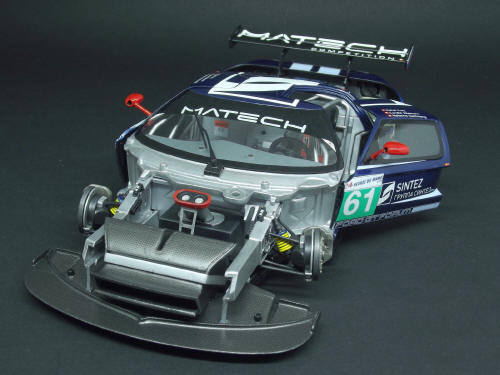
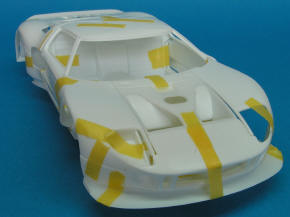
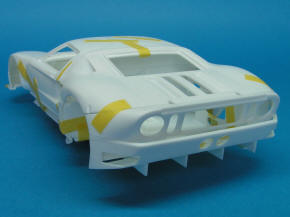
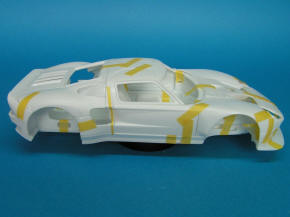
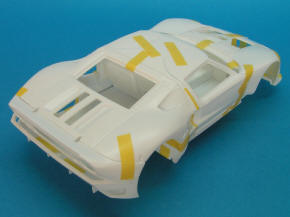
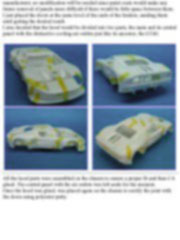
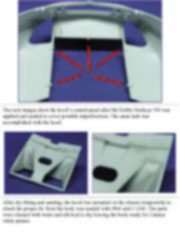
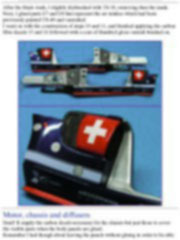
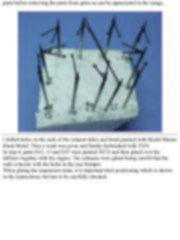
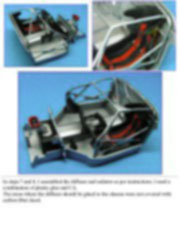
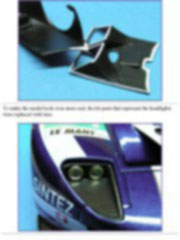
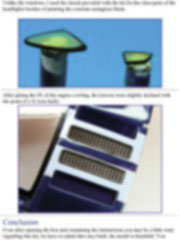
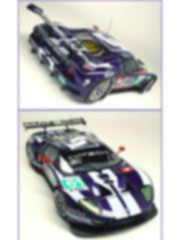
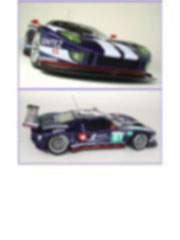
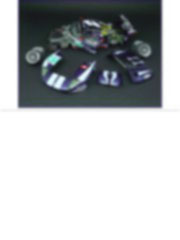
Bodywork In order to make the assembly easier, it’s better to start with step 11 and glue the parts E11 and E12. Next, and in step 18, I glued the air intakes of the engine cowling, parts F22 and F23 and then the parts B10 and B11. Then, I suggest in step 20 to assemble and glue B13 and B14 that are parts of the rear bumper. Watching attentively the good fit of the body parts, I realized there was a gap between them, especially over the hood, the doors were not at the same level and the fit between doors and ends of the front fenders could be improved. If you decide to leave the body panels removable, as it was proposed by the manufacturer, no modification will be needed since paint coats would make any future removal of panels more difficult if there would be little space between them. I just placed the doors at the same level of the ends of the fenders, sanding them until getting the desired result. I also decided that the hood would be divided into two parts, the main and its central panel with the distinctive cooling-air outlets just like its ancestor, the GT40.
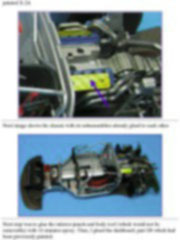
All the hood parts were assembled on the chassis to ensure a proper fit and then CA glued. The central panel with the air outlets was left aside for the moment. Once the hood was glued, was placed again on the chassis to rectify the joint with the doors using polyester putty. Esta Nota es ofrecida en formato PDF, el cual puede ser leído o impreso usando el Acrobat reader, contacte a nuestro webmaster > Aquí Incluye más de 87 imágenes, aquí solo mostramos las paginas de texto.
This note is offered in PDF format to be read or printed using Acrobat reader, contact our webmaster > Here Includes more than 87 pics, here we show only the text pages.
Big size photos are only available in our PDF format. Support us ordering our notes in PDF > Here |
||||||||||||||||||||||||||||||||||||||||||||||||||||