|
|
|||||||||||||||||||||||||||||||||||||||||
|
Cars |
|
||||||||||||||||||||||||||||||||||||||||
|
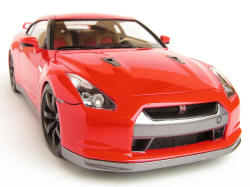
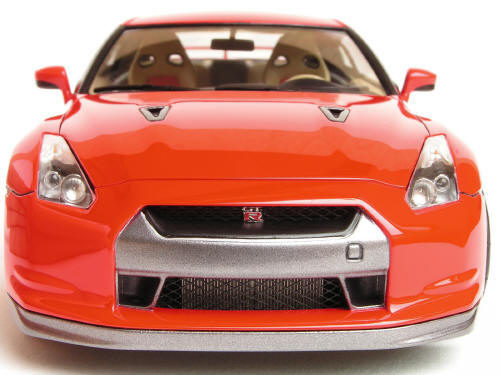
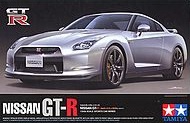
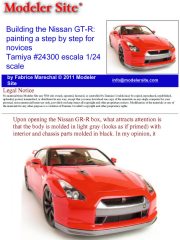
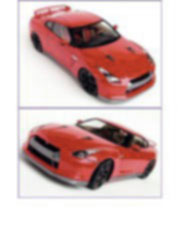
Building the Nissan GT-R: painting a step by step for novices Tamiya #24300 escala 1/24 scale |
|||||||||||||||||||||||||||||||||||||||||
|
by Fabrice Marechal © Modeler Site |
|||||||||||||||||||||||||||||||||||||||||
|
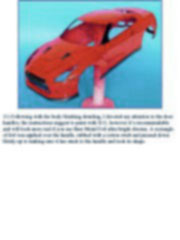
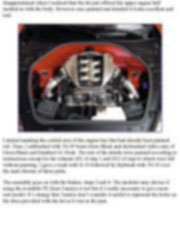
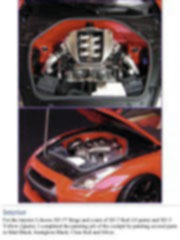
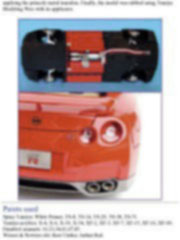
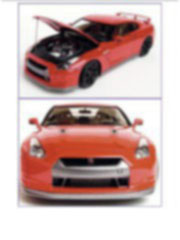
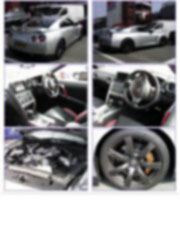
Legal Notice No material from Modeler Site any Web site owned, operated, licensed, or controlled by Damian Covalski may be copied, reproduced, republished, uploaded, posted, transmitted, or distributed in any way, except that you may download one copy of the materials on any single computer for your personal, non-commercial home use only, provided you keep intact all copyright and other proprietary notices. Modification of the materials or use of the materials for any other purpose is a violation of Damian Covalski's copyright and other proprietary rights. Read More here > Legal notice Upon opening the Nissan GR-R box, what attracts attention is that the body is molded in light gray (looks as if primed) with interior and chassis parts molded in black. In my opinion, it would have been more practical to have a white body. Beautifully plated –matte chrome parts are provided for the stylish wheels and other parts. Among other features you may add, the engine, clear plastic parts, decals, masks for the windshields, nylon meshes, metal transfers and the tires. Tamiya made them out of a material that makes them look less real than the ones provided with previous kits. Nice engine detail is provided as a molded-in upper section in the engine bay of the main body, but once all the engine parts are attached, you'll never know it isn't a completely separate assembly (there's a lot of stuff under that hood!).
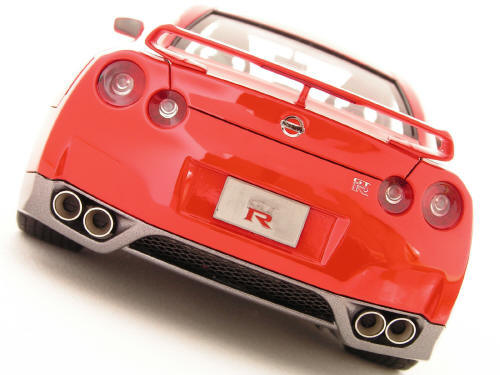
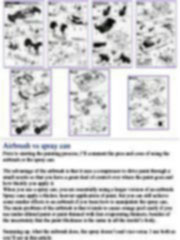
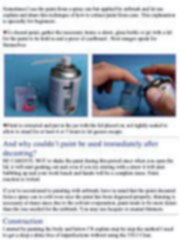
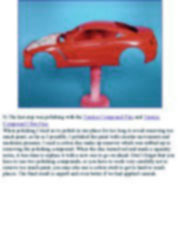
The aim of this article is to explain a simple painting process using common materials to get a stunning model with excellent finish without using automotive paints that can be quite complicated for novices. Airbrush vs spray can Prior to starting the painting process, I’ll comment the pros and cons of using the airbrush or the spray can. The advantage of the airbrush is that it uses a compressor to drive paint through a small nozzle so that you have a great deal of control over where the paint goes and how thickly you apply it. When you use a spray can, you are essentially using a larger version of an airbrush. Spray cans apply a thicker, heavier application of paint, but you can still achieve some similar effects to an airbrush if you learn how to manipulate the spray can.. The main problem of the airbrush is that it tends to cause orange peel easily if you use under-diluted paint or paint thinned with fast evaporating thinners, besides of the uncertainty that the paint thickness is the same in all the model’s body. Summing up, what the airbrush does, the spray doesn’t and vice-versa. I use both as you’ll see in this article. Esta Nota es ofrecida en formato PDF, el cual puede ser leído o impreso usando el Acrobat reader, contacte a nuestro webmaster > Aquí Incluye más de 72 imágenes, aquí solo mostramos las paginas de texto.
This note is offered in PDF format to be read or printed using Acrobat reader, contact our webmaster > Here Includes more than 72 pics, here we show only the text pages.
|
|||||||||||||||||||||||||||||||||||||||||