|
|
||||||||||||||||||||||||||||||||||||||||||
|
Cars |
|
|||||||||||||||||||||||||||||||||||||||||
|
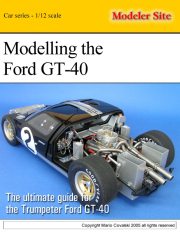
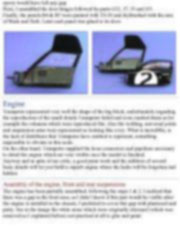
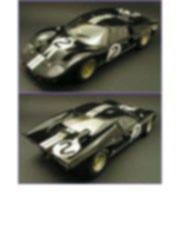
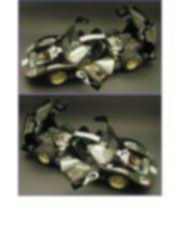
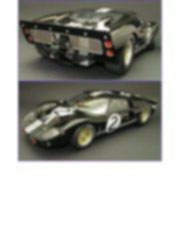
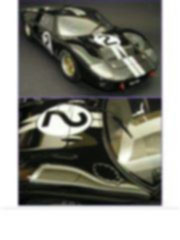
Ultimate guide for the Trumpeter Ford GT-40. Step by step build - 1/12 scale |
||||||||||||||||||||||||||||||||||||||||||
|
by Fabrice Marechal © Modeler Site |
||||||||||||||||||||||||||||||||||||||||||
|
Legal Notice No material from Modeler Site any Web site owned, operated, licensed, or controlled by Damian Covalski may be copied, reproduced, republished, uploaded, posted, transmitted, or distributed in any way, except that you may download one copy of the materials on any single computer for your personal, non-commercial home use only, provided you keep intact all copyright and other proprietary notices. Modification of the materials or use of the materials for any other purpose is a violation of Damian Covalski's copyright and other proprietary rights. Read More here > Legal notice Probably this has been for many years one of the most desirable kits in 1/12 scale. This article aims at leading the reader into the building process, solving several problems of the kit due to the lack of details or wrong represented and plastic injection problems lacking of the necessary quality of a kit in this scale.
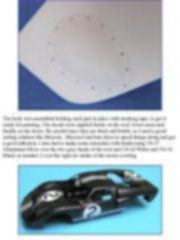
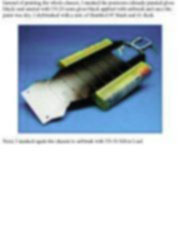
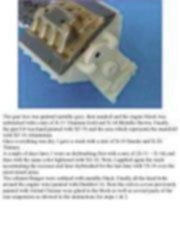
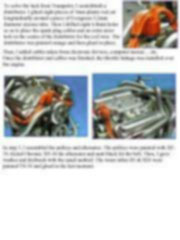
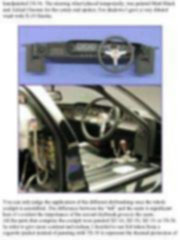
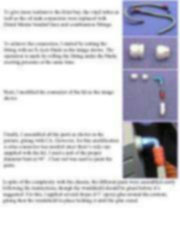
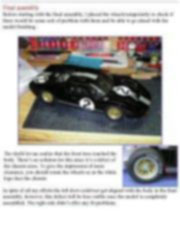
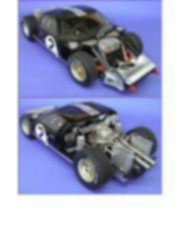
It’s not my intention to make a review, however, I want to draw your attention to the uselessness of supplying sprues with chromed parts if then they will have to be painted. In fact, the engine block, radiators, brake discs…..etc came also chromed. To accomplish a worthy assembly, with a correct painting work, it was necessary to remove the chrome from these parts. The best way to get the chrome off is by submerging the sprues in oven cleaner during the whole night and then cleaning them with a brush, abundant water and soap. Let's start As usual work starts by preparing the bodywork and in this case it’s even more necessary. The GT40 kit was designed to allow those parts such as doors, motor cowling…etc be opened. This is why first of all, we must be sure that all the body parts coincide with the rest.
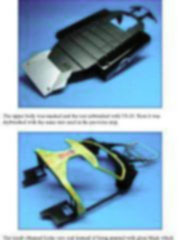
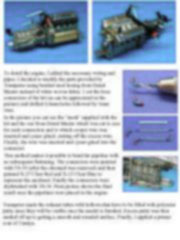
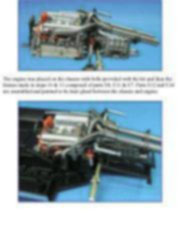
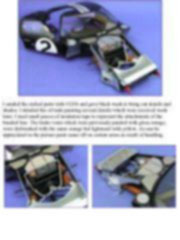
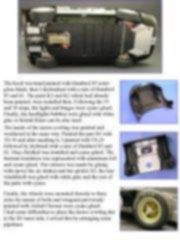
To assemble the chassis, I had to mount the frame with the bolts supplied. Next, I test fit the hood and was discouraging when realizing that it didn’t fit correctly with the frame and the chassis had a bending which didn’t allow the proper fit with the body’s frame. To solve the problem, I placed the chassis on a flat stable surface and using a hair dryer, I heated one side at a time. The plastic becomes malleable when heated then you just hold it in place with the fingers until it cools. Esta Nota es ofrecida en formato PDF, el cual puede ser leído o impreso usando el Acrobat reader, contacte a nuestro webmaster > Aquí Incluye más de 94 imágenes, aquí solo mostramos las paginas de texto.
This note is offered in PDF format to be read or printed using Acrobat reader, contact our webmaster > Here Includes more than 94 pics, here we show only the text pages.
|
||||||||||||||||||||||||||||||||||||||||||