|
|
|||||||||||||||||||||||||||||||||||||||||
|
Cars |
|
||||||||||||||||||||||||||||||||||||||||
|
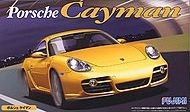
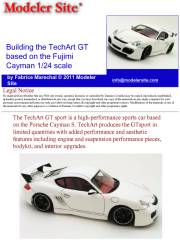
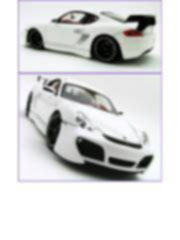
Building the TechArt GT based on the Fujimi Cayman 1/24 scale |
|||||||||||||||||||||||||||||||||||||||||
|
by Fabrice Marechal © Modeler Site |
|||||||||||||||||||||||||||||||||||||||||
|
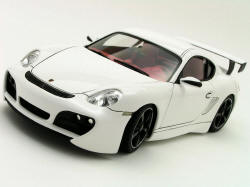
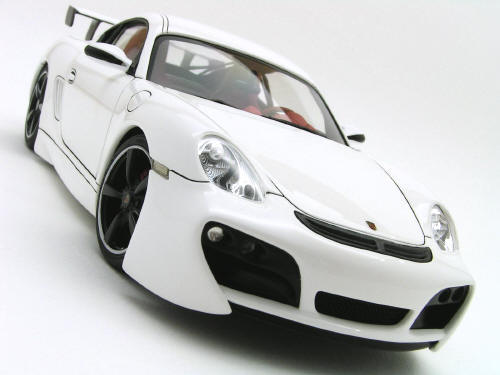
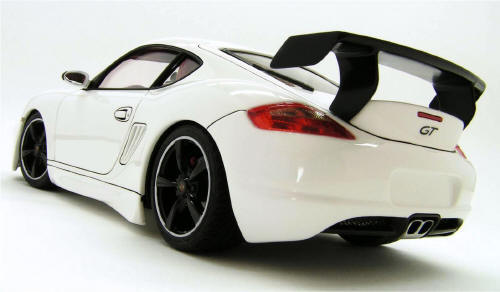
Legal Notice No material from Modeler Site any Web site owned, operated, licensed, or controlled by Damian Covalski may be copied, reproduced, republished, uploaded, posted, transmitted, or distributed in any way, except that you may download one copy of the materials on any single computer for your personal, non-commercial home use only, provided you keep intact all copyright and other proprietary notices. Modification of the materials or use of the materials for any other purpose is a violation of Damian Covalski's copyright and other proprietary rights. Read More here > Legal notice The TechArt GT sport is a high-performance sports car based on the Porsche Cayman S. TechArt produces the GTsport in limited quantities with added performance and aesthetic features including engine and suspension performance pieces, bodykit, and interior upgrades.
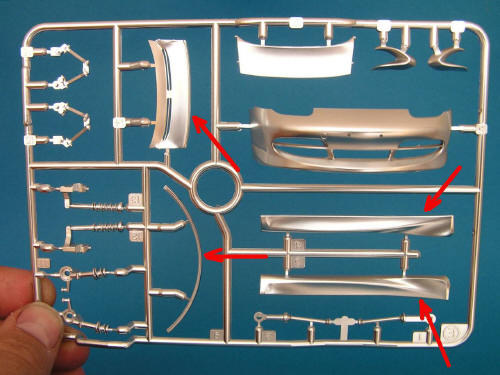
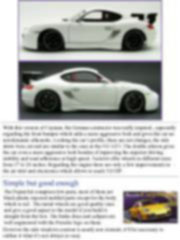
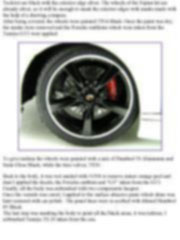
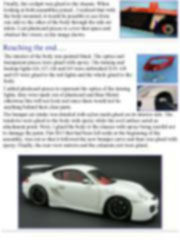
With this version of Cayman, the German contructor was really inspired., especially regarding the front bumper which adds a more aggressive look and gives the car an aerodynamic silhouette. Looking the car’s profile, there are not changes, the side skirts were cut and are similar to the ones in the 911 GT3. The double aileron gives the car even a more aggressive look besides of improving the superior driving stability and road adherence at high speed. TechArt offer wheels in different sizes from 17 to 20 inches. Regarding the engine there are only a few improvements in the air inlet and electronics which allows to reach 310 HP. Simple but good enough
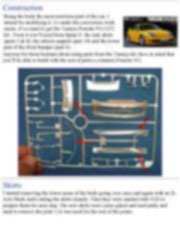
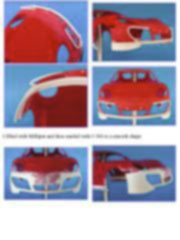
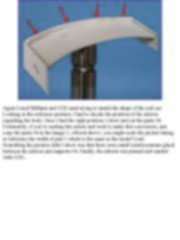
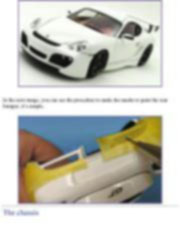
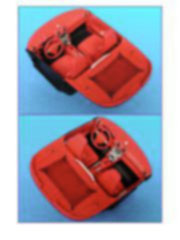
However the side windows contour is nearly non existent, it’ll be necessary to outline it what it’s not always so easy. Construction
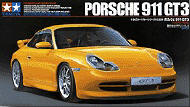
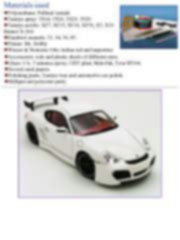
Anyway for those hesitant about using parts from the Tamiya kit, have in mind that you’ll be able to build with the rest of parts a common Porsche 911.
Esta Nota es ofrecida en formato PDF, el cual puede ser leído o impreso usando el Acrobat reader, contacte a nuestro webmaster > Aquí Incluye más de 75 imágenes, aquí solo mostramos las paginas de texto.
This note is offered in PDF format to be read or printed using Acrobat reader, contact our webmaster > Here Includes more than 75 pics, here we show only the text pages.
|
|||||||||||||||||||||||||||||||||||||||||