|
|
|||||||||||||||||||||||||||||||||
|
Airplanes |
|
||||||||||||||||||||||||||||||||
|
Building the Spad XIII Dragon 1/48 scale |
|||||||||||||||||||||||||||||||||
|
by Claudio Kalicinski © Modeler Site |
|||||||||||||||||||||||||||||||||
|
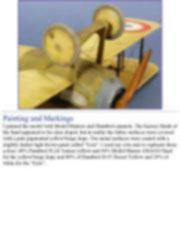
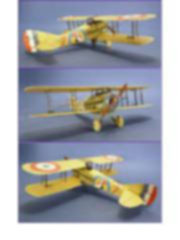
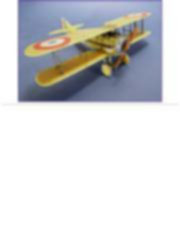
Legal Notice No material from Modeler Site any Web site owned, operated, licensed, or controlled by Damian Covalski may be copied, reproduced, republished, uploaded, posted, transmitted, or distributed in any way, except that you may download one copy of the materials on any single computer for your personal, non-commercial home use only, provided you keep intact all copyright and other proprietary notices. Modification of the materials or use of the materials for any other purpose is a violation of Damian Covalski's copyright and other proprietary rights. Read More here > Legal notice The Spad XIII is one of the most famous WW1 fighters as it was the main mount for many of France s top aces including Rene Fonck and Charles Nungesser as it was for many of the US aces including Eddie Rickenbacker and Frank Luke.
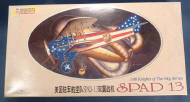
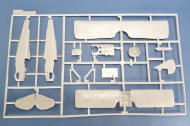
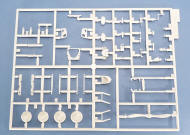
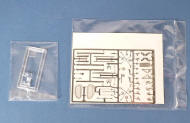
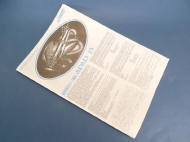
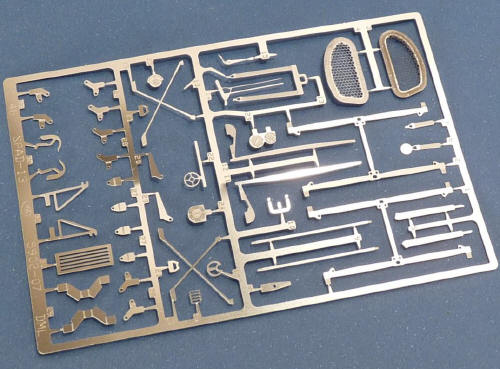
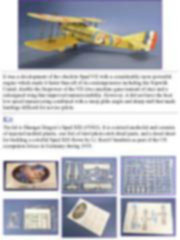
It was a development of the obsolete Spad VII with a considerably more powerful engine which made it faster than all of its contemporaries including the Sopwith Camel, double the firepower of the VII (two machine guns instead of one) and a redesigned wing that improved maneuverability. However, it did not have the best low speed maneuvering combined with a steep glide angle and sharp stall that made landings difficult for novice pilots. Kit The kit is Shangai Dragon’s Spad XIII (#5902). It is a mixed media kit and consists of injected molded plastic, one fret of steel photo-etch detail parts, and a decal sheet for building a colorful Spad XIII flown by Lt. Reed Chambers as part of the US occupation forces in Germany during 1919.
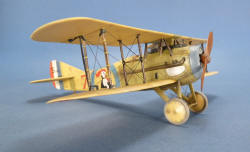
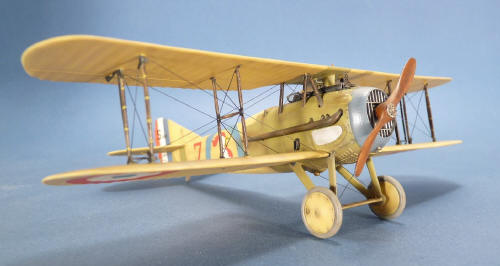
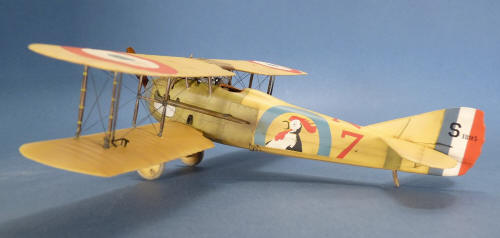
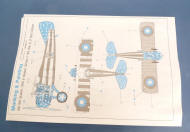
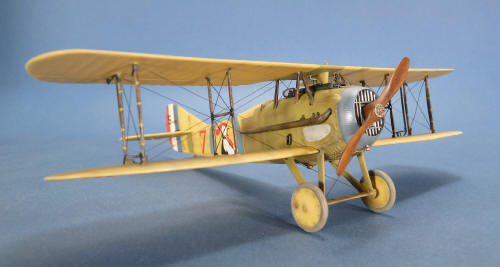
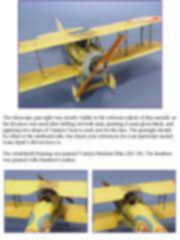
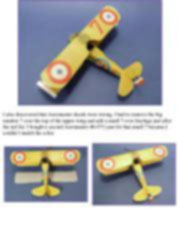
I replaced the kit’s decals with the Aeromaster Spads set (48-075). I chose to represent an early Spad XIII (S1893) of the Escadrille Spa.48 flown by the Adj. Jacques Roques during April-May of 1918.
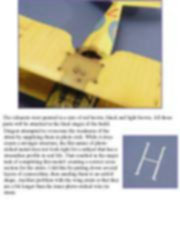
Construction This was an almost straight out-of-the-box build of the kit since it is highly accurate and no additional parts are really necessary to produce a quality model. The only problems is that the photo-etch material is rather difficult to work with because it is quite hard. I softened it by annealing (heat in a flame until red-hot) the parts that require bending.
This tutorial is offered in PDF format to be read or printed using Acrobat reader, contact our webmaster > Here Includes more than 51 pics, here we show only the text pages.
Esta Nota es ofrecida en formato PDF, el cual puede ser leído o impreso usando el Acrobat reader, contacte a nuestro webmaster > Aquí Incluye más de 51 imágenes, aquí solo mostramos las paginas de texto.
Support us ordering our notes in PDF > Here Apóyenos ordenando nuestras notas en PDF > Aquí |
|||||||||||||||||||||||||||||||||