|
|
|||||||||||||||||||||||||||||
|
Armor |
|
||||||||||||||||||||||||||||
|
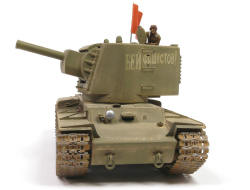
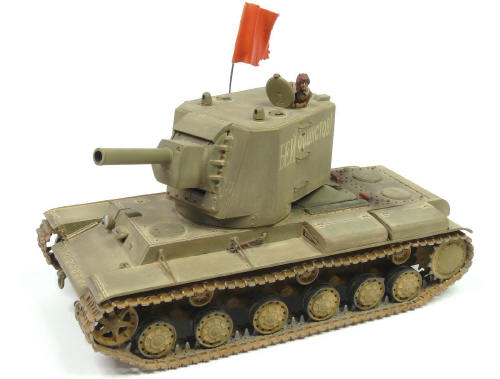
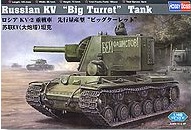
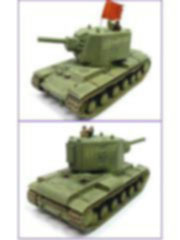
Building the Russian KV2 Hobby Boss 1/48 scale |
|||||||||||||||||||||||||||||
|
by Michael Capell © Modeler Site |
|||||||||||||||||||||||||||||
|
Legal Notice No material from Modeler Site any Web site owned, operated, licensed, or controlled by Damian Covalski may be copied, reproduced, republished, uploaded, posted, transmitted, or distributed in any way, except that you may download one copy of the materials on any single computer for your personal, non-commercial home use only, provided you keep intact all copyright and other proprietary notices. Modification of the materials or use of the materials for any other purpose is a violation of Damian Covalski's copyright and other proprietary rights. Read More here > Legal notice Imagine for a moment being a highly trained and motivated German soldier , with unit moral very high after successful campaigns in Poland and France. With every confidence in your superiors and equipment especially the Panzer spearhead of the advance sweeping every thing in its path. Quite impressive by any standard in history. Then comes the Russian invasion, Operation Barbarossa , and their version of how tanks should be made.
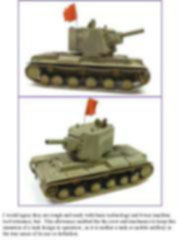
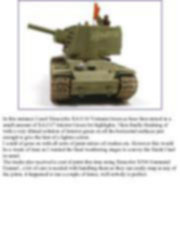
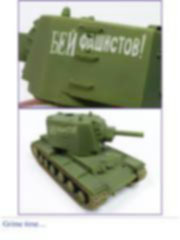
I would agree they are rough and ready with basic technology and lower machine tool tolerance, but . This allowance enabled the the crew and mechanics to keep this mutation of a tank design in operation , as it is neither a tank or mobile artillery in the true sense of its use or definition. Its 152mm Howitzer was tested on captured pillboxes achieving good results , allowing the KV2 to be accepted into service . However due to its slow speed and barn door size target for enemy guns , it soon fell from favor . Its one saving grace was its ability to withstand immense punishment with only the infamous Eighty Eight able to defeat it . There are many accounts of the German advance being held up by these colossal machines. So what do...
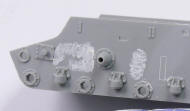
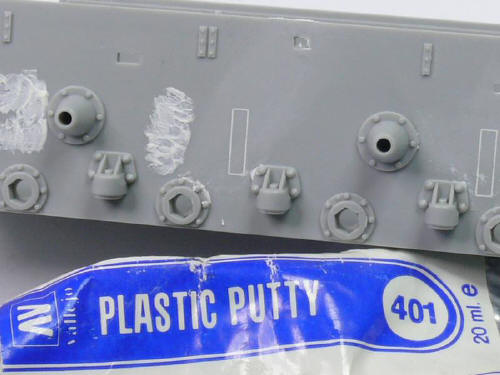
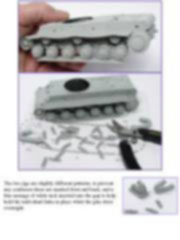
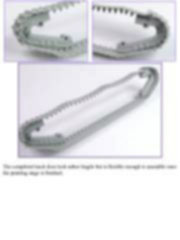
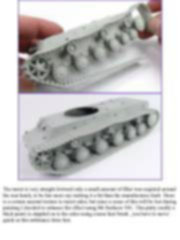
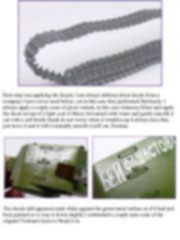
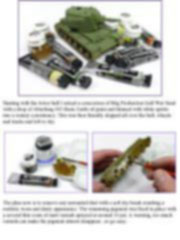
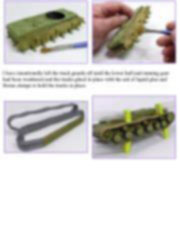
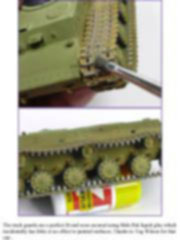
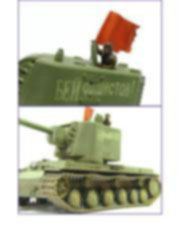
Also a small etch fret and a perfectly printed decal sheet with a patriotic slogan for the left and right side of the turret. Last but not least the instructions which are simple to follow. We have all experienced some really second rate attempts that look like a rush job and can lead to confusion and frustration. A closer look at the parts shows some really sharp detail in particular the plastic tracks which comes with realistic track sag , nice one. Plus as shown in step eight, parts B4 and B5 are used as a jig for the positioning of individual track links around the idler wheel and drive sprockets, a clever and very helpful idea. So lets get....
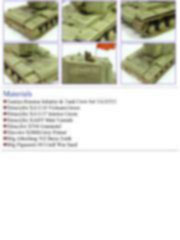
This tutorial is offered in PDF format to be read or printed using Acrobat reader, contact our webmaster > Here Includes more than 49 pics, here we show only the text pages.
Esta Nota es ofrecida en formato PDF, el cual puede ser leído o impreso usando el Acrobat reader, contacte a nuestro webmaster > Aquí Incluye más de 49 imágenes, aquí solo mostramos las paginas de texto.
Support us ordering our notes in PDF > Here Apóyenos ordenando nuestras notas en PDF > Aquí |
|||||||||||||||||||||||||||||