|
|
|||||||||||||||||||||||||||||||||||||||||||||||||||||
|
Motorcycle |
|
||||||||||||||||||||||||||||||||||||||||||||||||||||
|
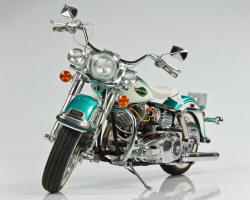
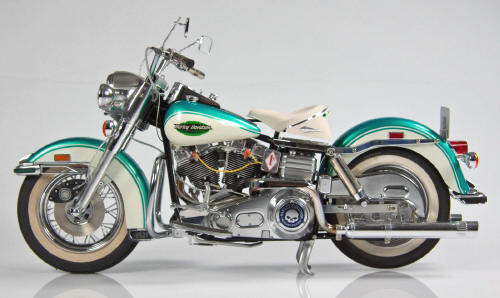
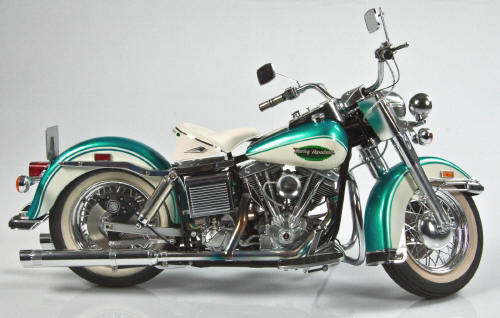
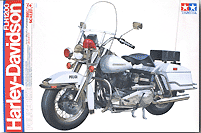
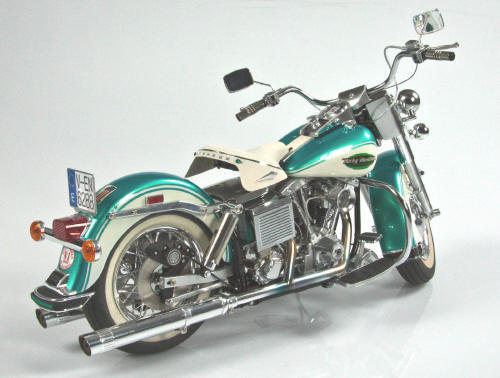
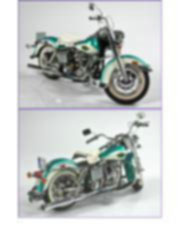
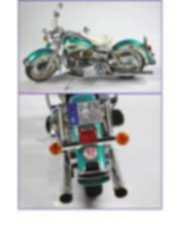
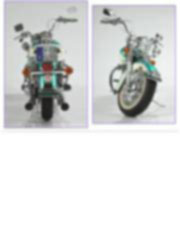
Customizing the Tamiya Harley Police: The green shovel 1/6 scale |
|||||||||||||||||||||||||||||||||||||||||||||||||||||
|
by Edwing E. Merlo Paredes © Modeler Site |
|||||||||||||||||||||||||||||||||||||||||||||||||||||
|
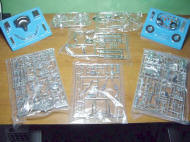
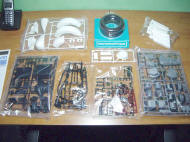
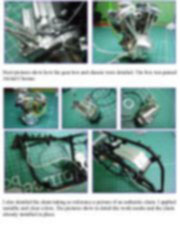
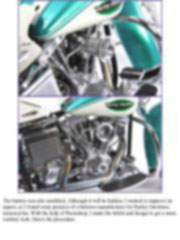
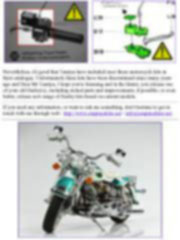
Legal Notice No material from Modeler Site any Web site owned, operated, licensed, or controlled by Damian Covalski may be copied, reproduced, republished, uploaded, posted, transmitted, or distributed in any way, except that you may download one copy of the materials on any single computer for your personal, non-commercial home use only, provided you keep intact all copyright and other proprietary notices. Modification of the materials or use of the materials for any other purpose is a violation of Damian Covalski's copyright and other proprietary rights. Read More here > Legal notice There are many Harley Davidson kits available from different manufacturers, but without any doubt Tamiya have produced the best versions. I refer to model kits, comprising a lot of parts, which were developed with a high level of detail and match the original models. And if that were not enough, in 1/6 scale. The Tamiya's Harley(s) were born at the beginning of the 70s, time when large scale models were preferred by hobby modelers. Nevertheless, the design of those models was adapted to the demands and techniques of those times and of course, they are completely different from nowadays assembling techniques. This means that today modelers will have to face certain obstacles at the time of giving the model a realistic look.
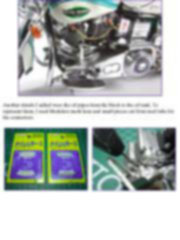
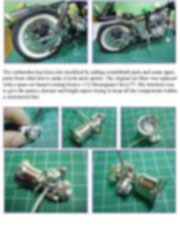
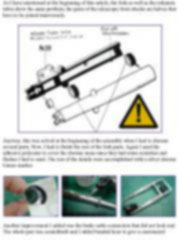
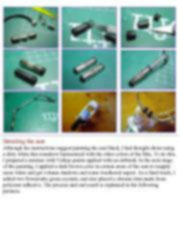
Let me tell you that during the building process, I ran into some difficulties I'll explain throughout this article probably due to a few minor mistakes about the way the manufacturer thought up for the assembly. Anyway, Tamiya, as usual, made an excellent work with the Harley Davidson kits.
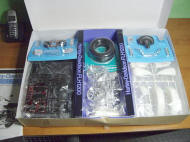
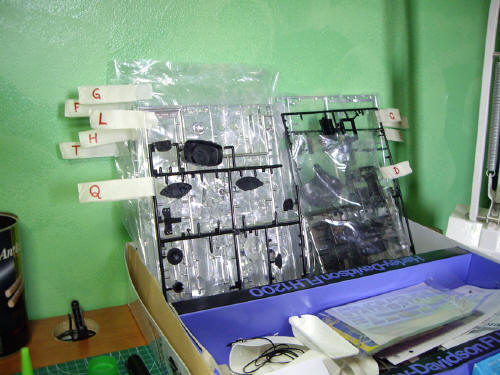
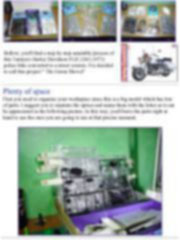
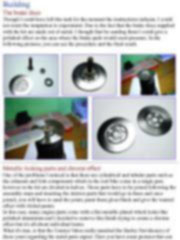
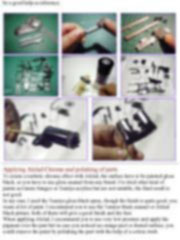
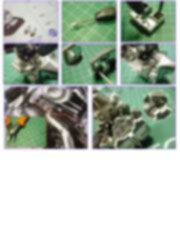
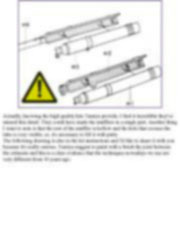
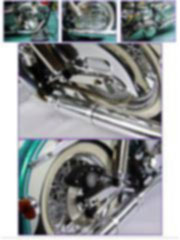
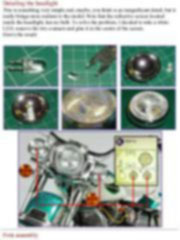
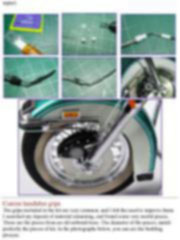
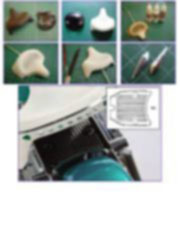
Plenty of space First you need to organize your workspace since this is a big model which has lots of parts. I suggest you to separate the sprues and name them with the letter as it can be appreciated in the following picture. In this way, you'll have the parts right at hand to use the ones you are going to use at that precise moment.
This tutorial is offered in PDF format to be read or printed using Acrobat reader, contact our webmaster > Here Includes more than 218 pics, here we show only the text pages.
Esta Nota es ofrecida en formato PDF, el cual puede ser leído o impreso usando el Acrobat reader, contacte a nuestro webmaster > Aquí Incluye más de 218 imágenes, aquí solo mostramos las paginas de texto.
Support us ordering our notes in PDF > Here Apóyenos ordenando nuestras notas en PDF > Aquí |
|||||||||||||||||||||||||||||||||||||||||||||||||||||