|
|
||||||||||||||||
|
Formula one |
|
|||||||||||||||
|
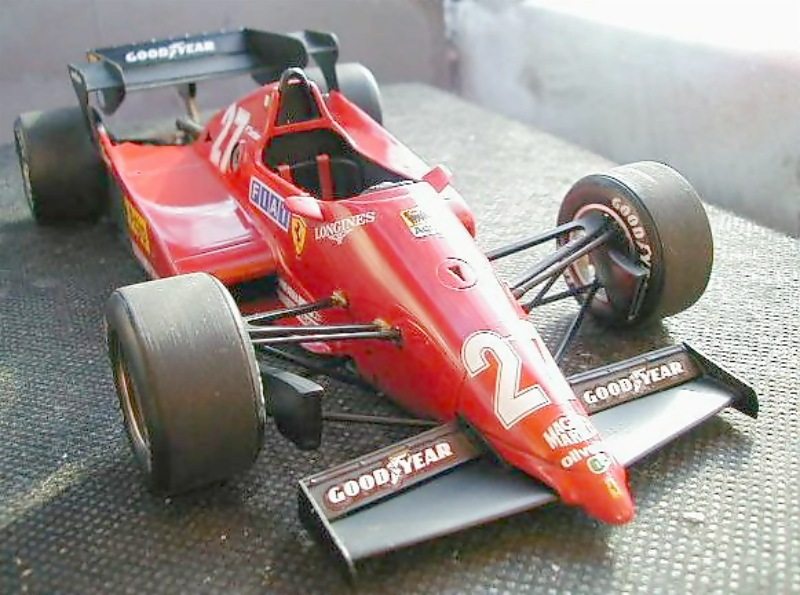
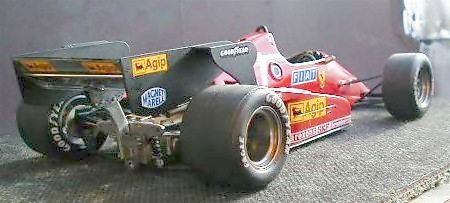
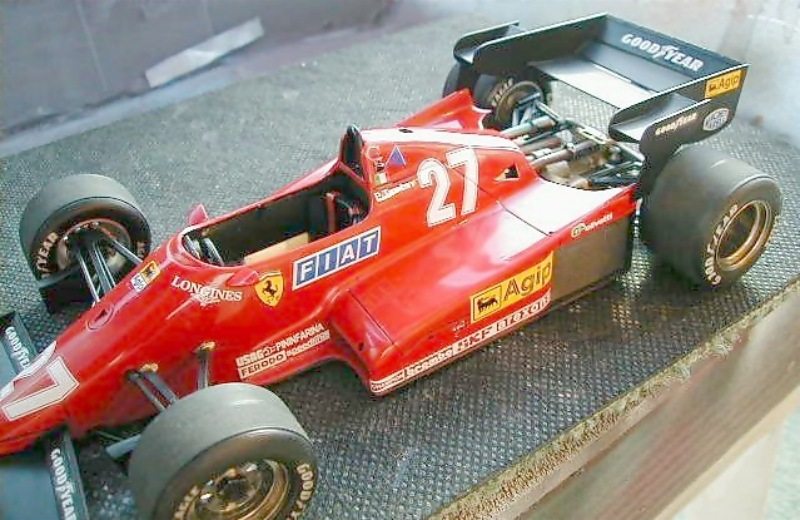
Studio 27 Ferrari 126 C3 1/20 scale |
||||||||||||||||
|
by Tony Allen |
||||||||||||||||
|
This is my first attempt to build a model by Studio 27 and I have to say my first impression was not very encouraging. On opening the box of a very expensive kit I found a very well moulded body with fine engraving of panels and fixings. The photoetch set again was very sharp as were the decals, but from there on things went downhill. The white metal castings I thought were crude in the extreme, suspension, engine detail exhausts etc were poor. However as this was a model for a friend I did my best.
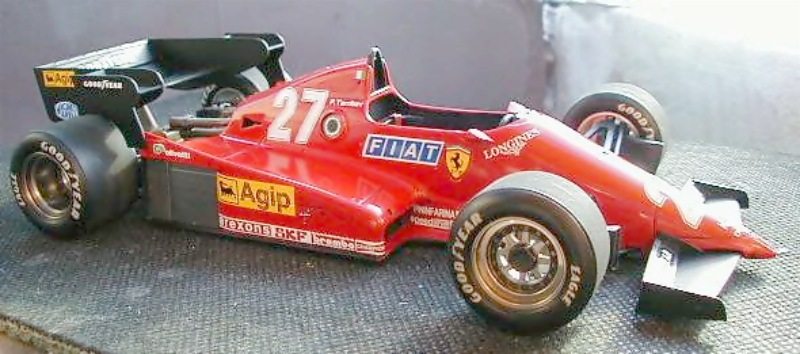
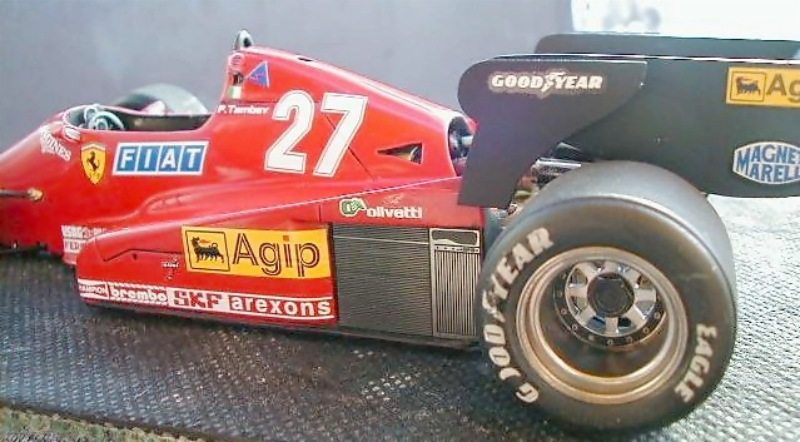
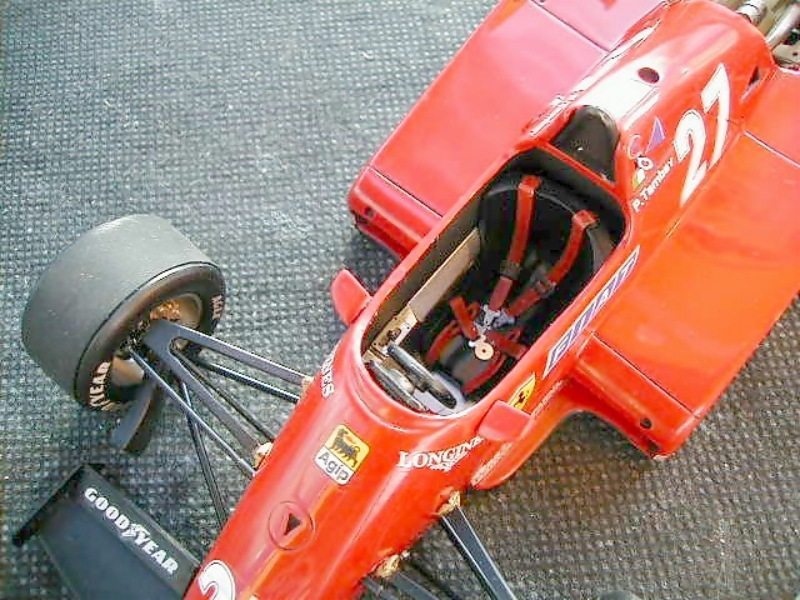
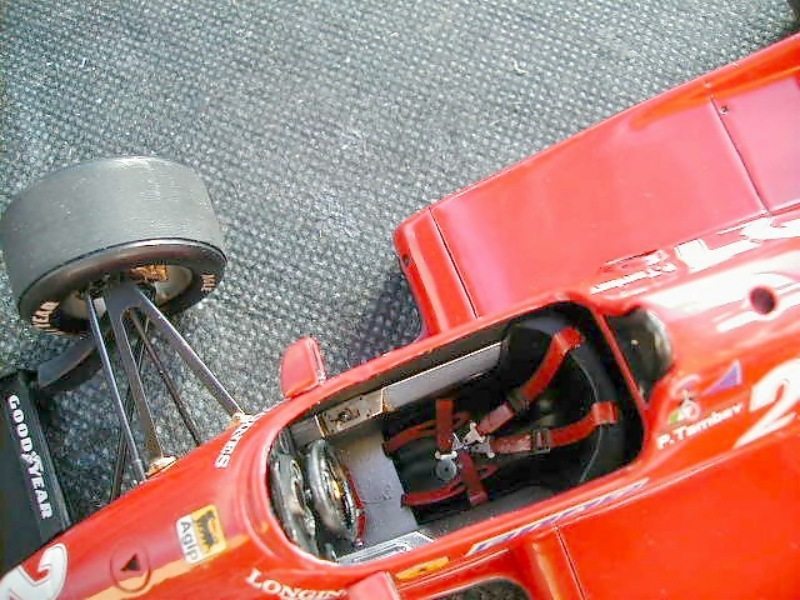
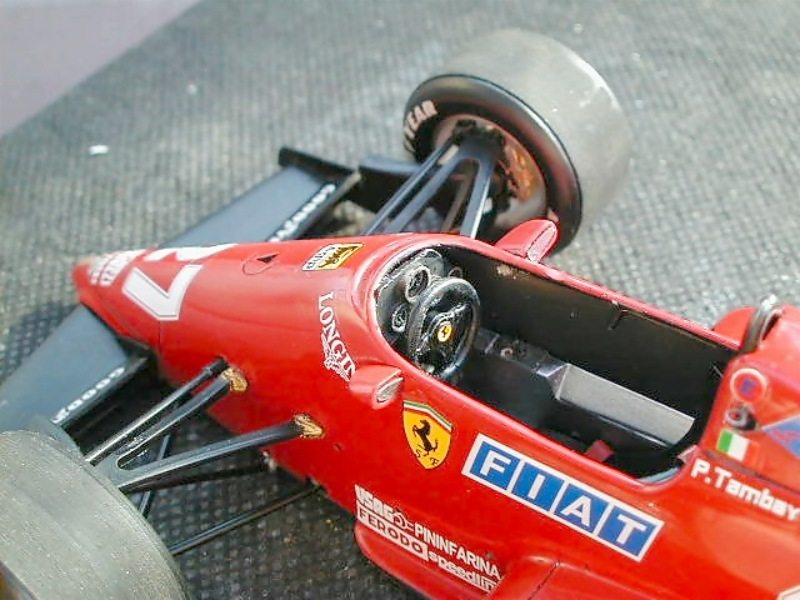
Body I decided to paint the body first so after washing it with warm soapy water and drying I primed as usual with Halfords grey primer. The surface detail stood out well and no problems with pinholes etc so I decided to spray gloss white first so the final colour would be bright. Before applying the red I Micromeshed the white to get rid of any orange peel. I then sprayed Nissan 526 red one coat only and the result was excellent, I then left to cure. Engine The engine was assembled having sprayed with Alclad II pale burnt metal (very pale gold). I then applied washes to bring out the detail. The instructions are very limited for this model so I used my own methods. The engine bay was fitted to the body without the engine and I was able to airbrush inside with Humbrol enamel coal black and also cockpit. I have found that doing things this way any over spray can easily be removed with white spirit without any damage to the paint finish. This saves a lot of masking, and to finish the job a polish with furniture polish removes any traces of black. The cockpit detail is mainly pe and once painted brings life to it.
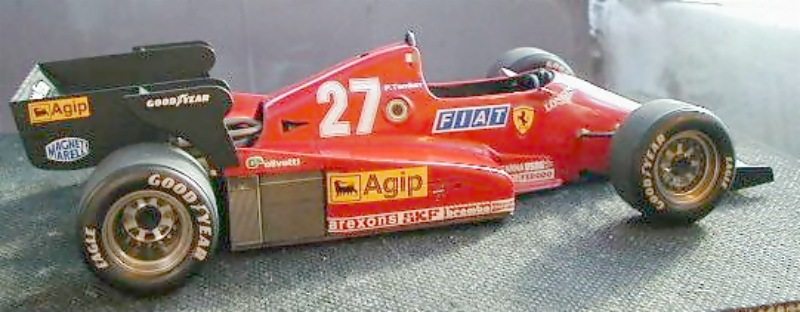
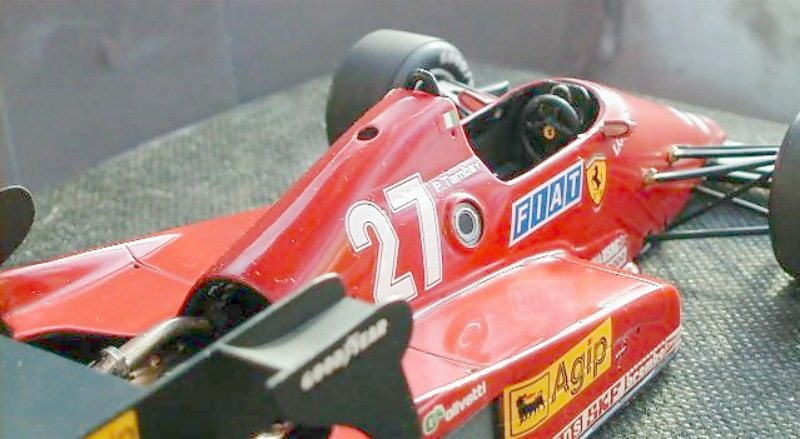
Wheels and Tyres The tyres once scrubbed and fitted to the wheels looked fine except the wheel rims are to narrow for the tyre so they have to be forced apart to fill the tyre! The decals were applied and the airbrushed over with a thinned out matt black enamel wash. Final assembly I completed all the components so that all was needed were to put everything together using two-pack epoxy. I then applied the various pe parts, radiator faces, emergency stop ring, wheel inner detail, etc and apply the decals. A final polish and the model was finished. This was a very quick model to build and I was very pleased with the end result, I will build another but not if I have to pay for it.
|
||||||||||||||||