|
The kit
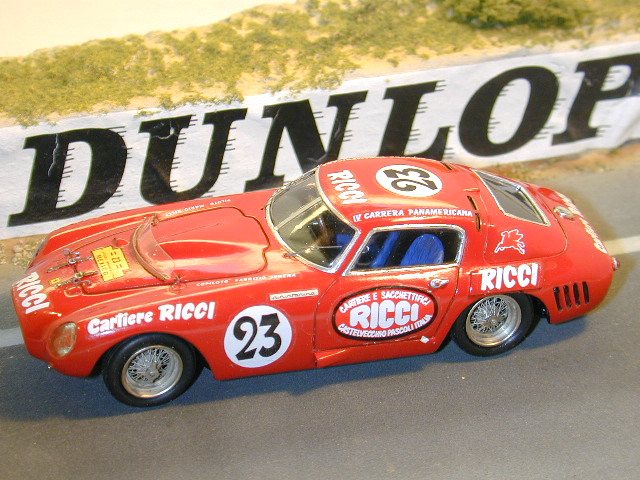
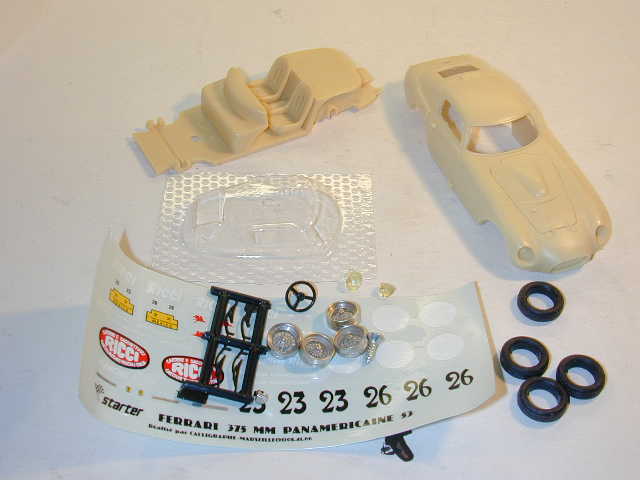
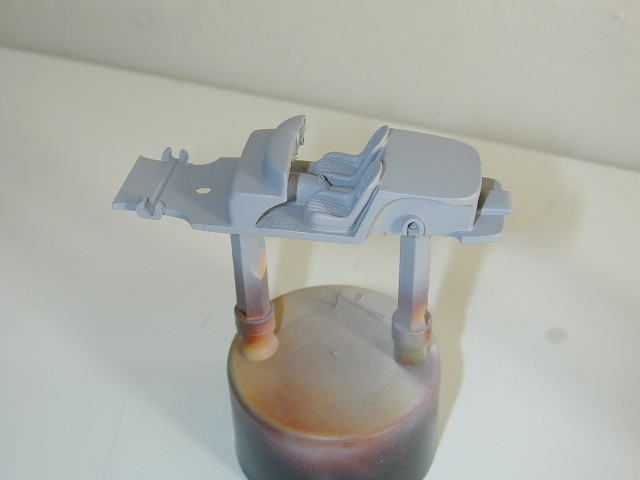
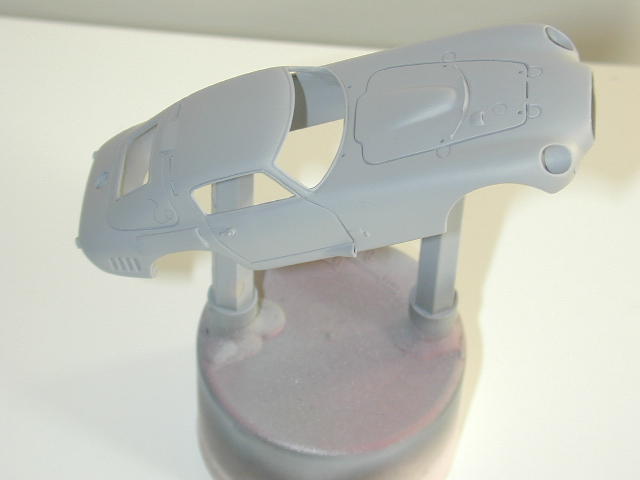
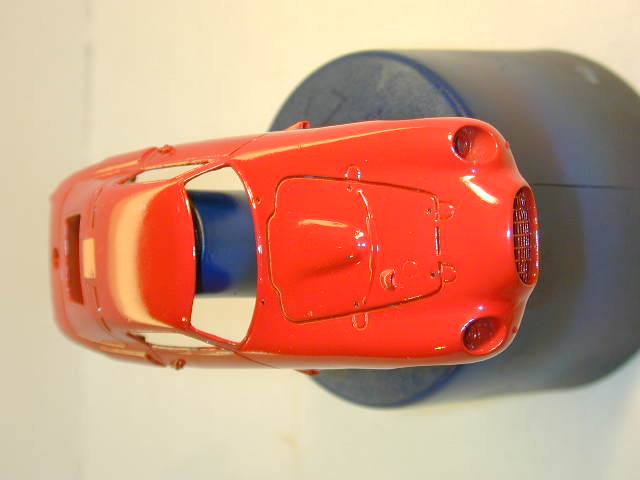
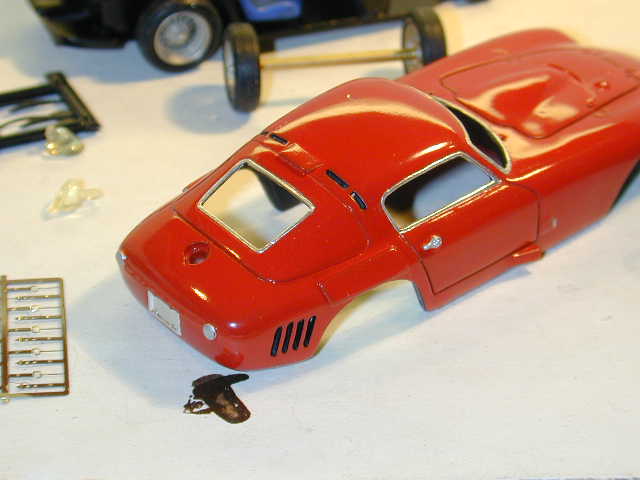
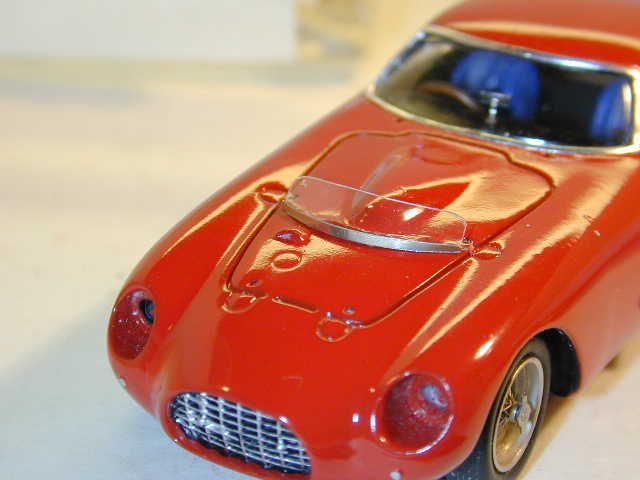
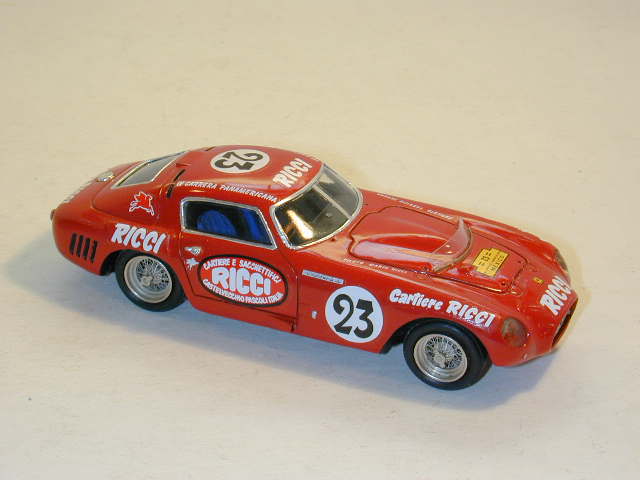
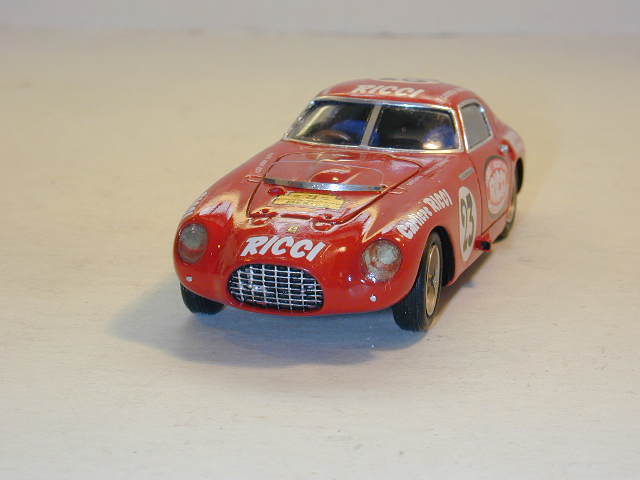
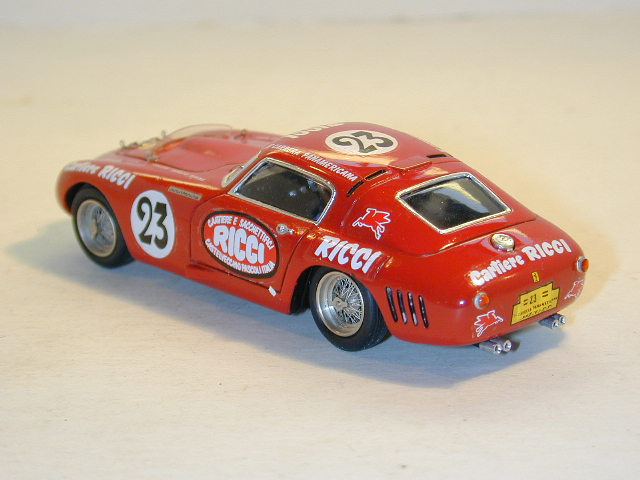
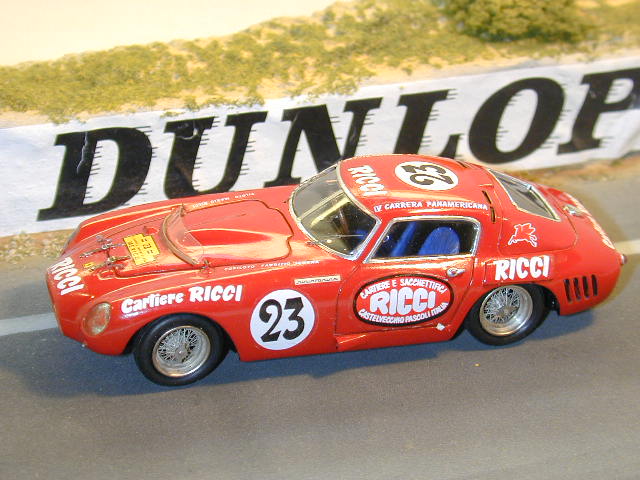
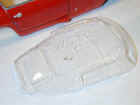
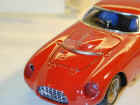
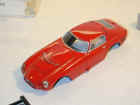
The kit is resin of two main parts, chassis and interior as one part with the body as a second. There are also very nice true wire wheels (these are not photoetched) Rubber tyres, Vacform for the windows, moulded plastic windscreen wipers and steering wheel, cast clear resin headlights, photoetch bonnet catches and wire wheel spinners and a sheet of decals which will build the 23 0r 36 car. I chose to build the #23 car which was started by Ricci and then taken over by Maglioli to finish 6th.
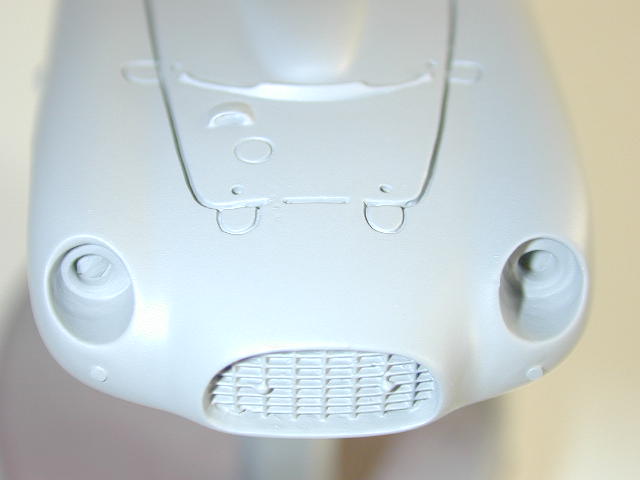
Before I start a kit I consider if I want to make any changes. It is important that these decisions are made before you start, ensure that you do have the improved parts you would like to use, make any changes to the kit parts before you start to paint or build the kit. I decided to replace the moulded on Bonnet straps, front sidelights, rear lights, windscreen wipers, steering wheel and the pin gear lever provided. I also decided to add an interior mirror and handbrake.
|
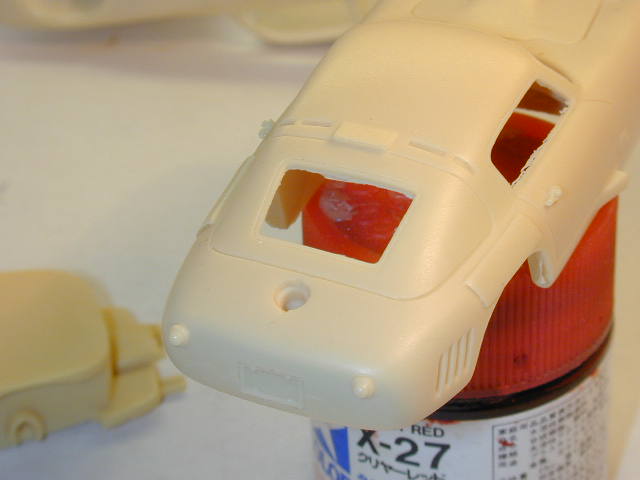
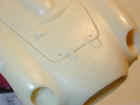
The moulded bonnet straps were removed as were the lenses of the front and rear lights, care was taken to leave the base of the light units.
|
|
|
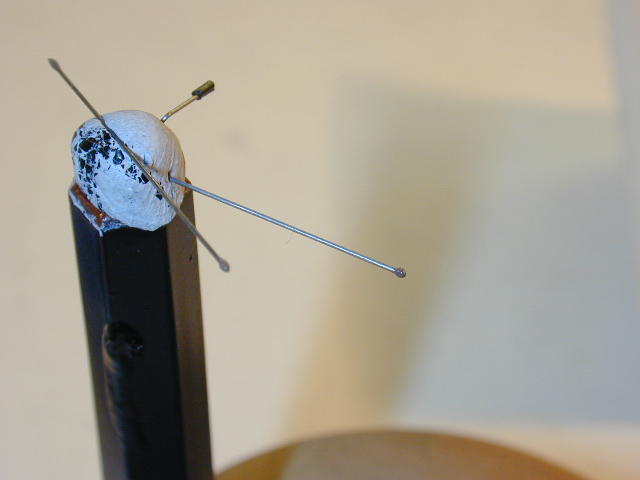
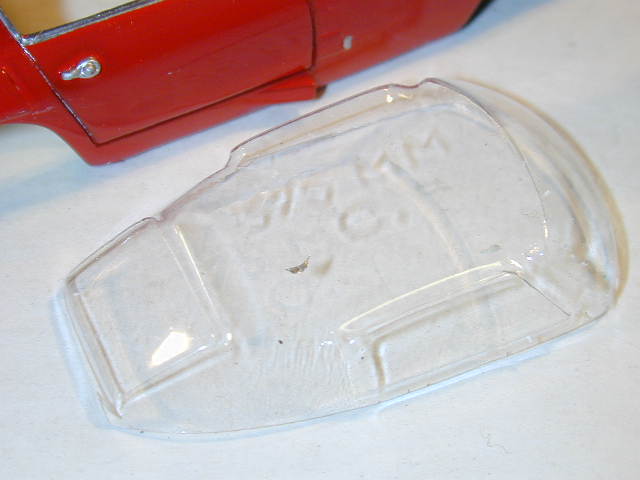
I always start by ensuring that all the parts will fit together before I paint or build anything. Check that the vacform windows fit, sometimes you may have to thin from the inside the window frames. Remember that the openings will be a little smaller when you have a thickness of paint on the model and you may also have some bare metal foil on the frames also.
At this stage the vacform should be a slightly loose fit. Any flash should be removed, moulding marks and blowholes should now be filled and smoothed and the parts washed well with an old toothbrush and some cream kitchen cleaner to remove dust and grease from the mould and your fingers. The parts should then be placed somewhere warm to dry completely. I hold the dry parts with paper towel to mount them on a spindle for painting.
|
The first coat is primer; I used grey to illustrate a problem which we will see later. This is a special primer for plastic for use on the colour plastic bumpers on modern cars.
|
|
|
This "plastic" primer works very well on resin. Spray one very thin coat and check that there are no imperfections or dust then after about 30 seconds spray one thick coat.
This should give an even finish which will require no preparation before the colour coat.
|
|
|
The colour is sprayed in the same way as the primer; one very thin mist coat followed about 30 seconds later with a single flood coat. This flood coat should be almost thick enough to run. The finished result should require little or no finishing.
|
|
|
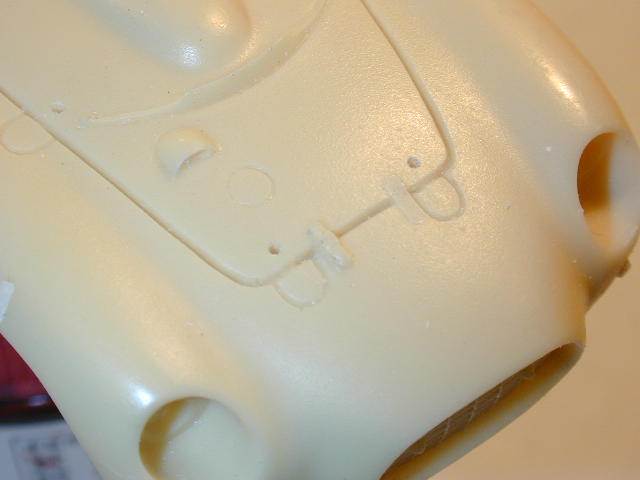
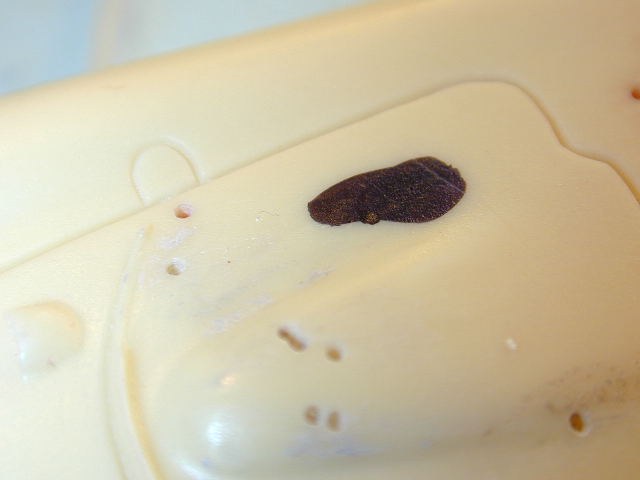
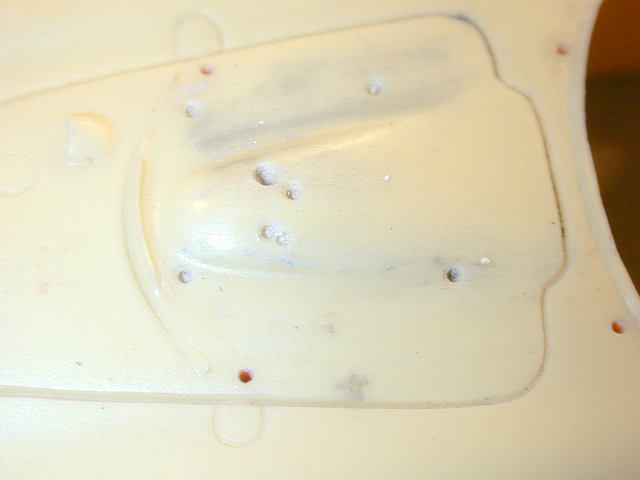
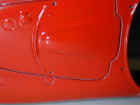
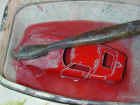
I use 3M Finesse-it to polish the hard paint, it contains no silicone or ammonia and is gentle enough to polish even after the decals have been applied. Image 16 shows two problems, one I expected the grey shows through the red on the panel lines but also I found some small holes in the paint on the bonnet. These holes are caused by some very small holes in the resin, they are common on the bottom of a resin body and usually much larger and easily seen.
|
|
|

|
|
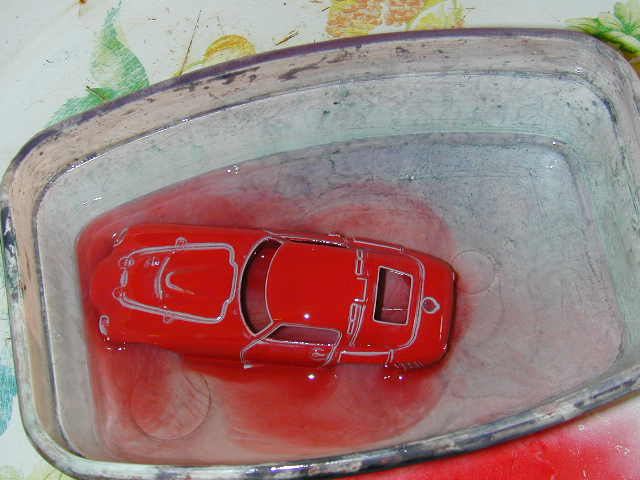
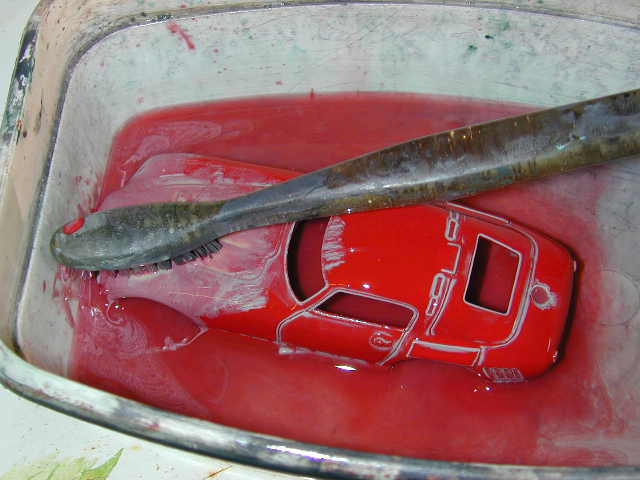
One of the nice things about resin or white metal is that when problems occur they are easy to fix. It is very easy to strip the paint off with cellulose paint thinners and an old toothbrush. Resin is inert and not damaged by thinner but don't leave the parts in longer than needed.
|
|
|

|
|
|
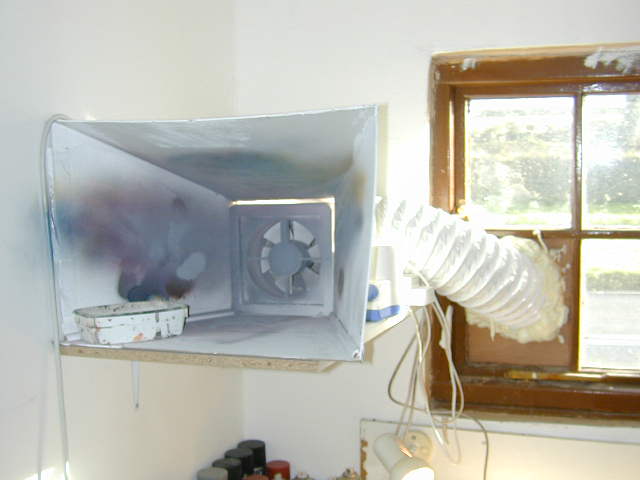
Use a well-ventilated room with if possible a fan to extract fumes. This should be if possible a fan which has a motor which is sealed away from the fumes so that the fumes can not ignite. I warm my cans of paint in a baby bottle warmer.
|
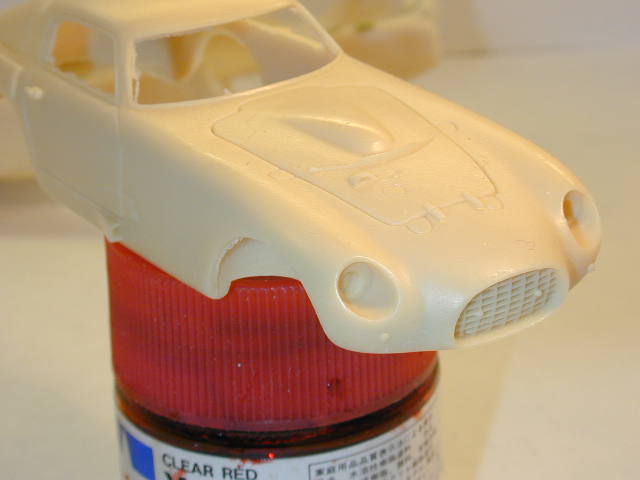
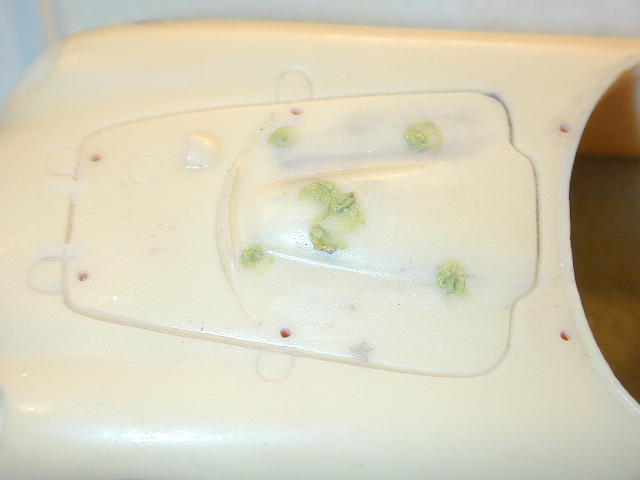
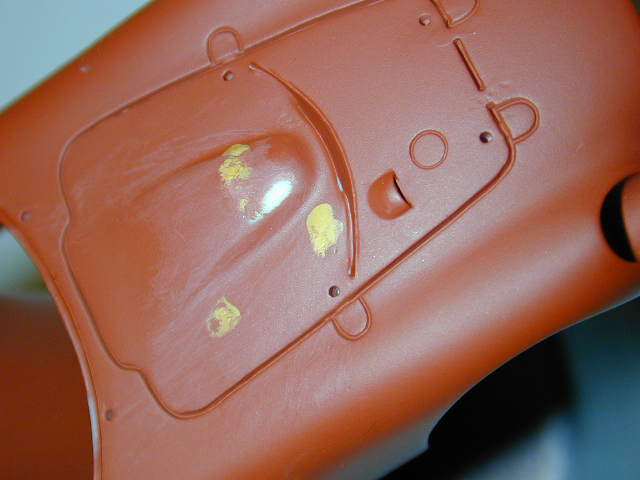
Once the paint is removed it is impossible to see the small holes. I colour the area with a spirit felt pen and then gently polish off the mark, A spot is left where the ink has entered the hole. The hole can then be made larger and filled with a little filler. This can then be sanded smooth and the body primed again. This time I used a red primer which will prevent the problems on the panel lines. A little yellow filler primer was brushed on and smoothed with very worn 1200 grit wet and dry paper where some very slight imperfections were found.
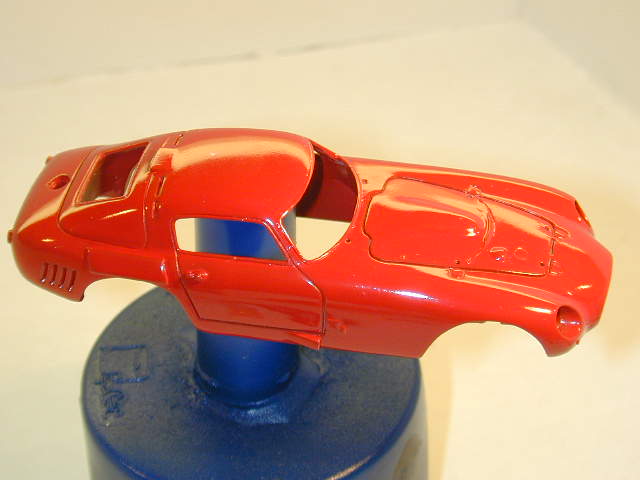
A final coat of red primer was applied to cover the yellow and when dry the colour coat painted and left to dry in the warm for several days. This shows the finish without any polishing.
I do not like lacquer on 1/43rd model cars and only use it very thinly on some metallic paints.
|
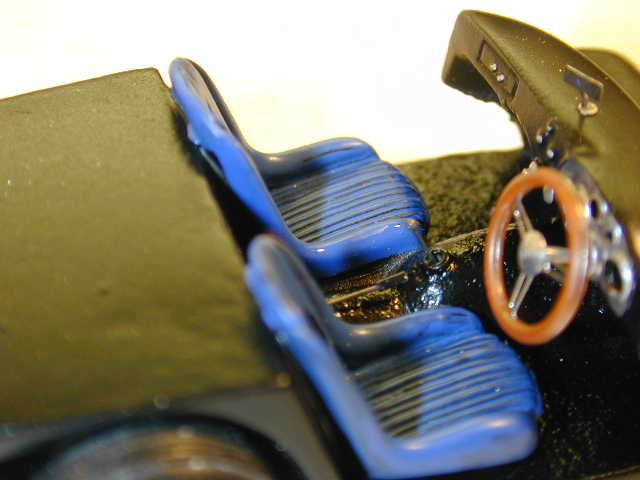
The gear lever and hand brake were made from very thin wire, the handle of the handbrake is very thin plastic cover from electrical wire and the gear lever knob is made by dipping the end of the wire in thick super glue, this is repeated 2 or three times until a suitable size and then it is dipped in brown paint.
|
|
|
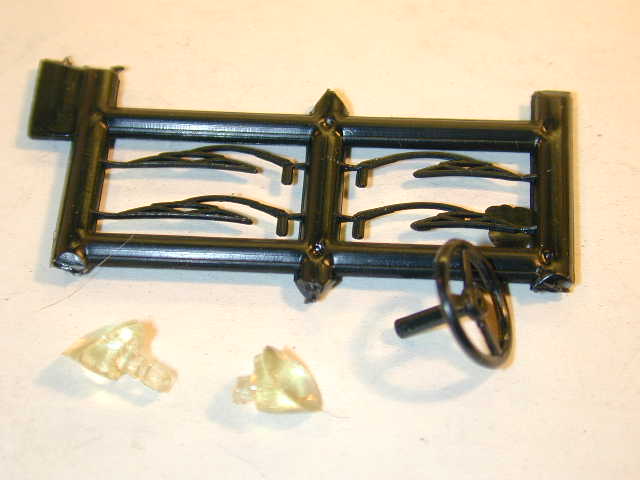
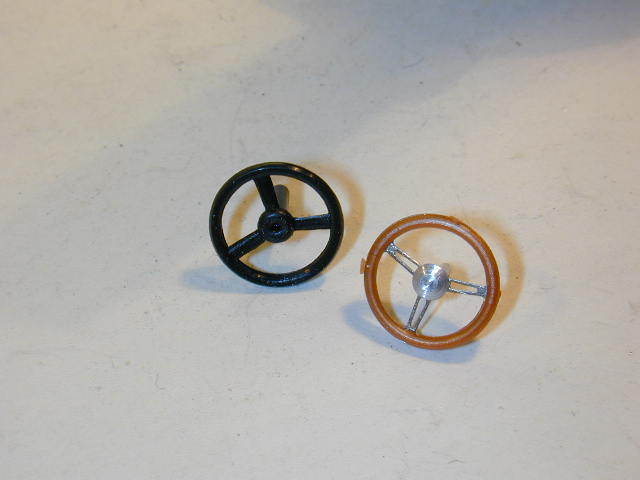
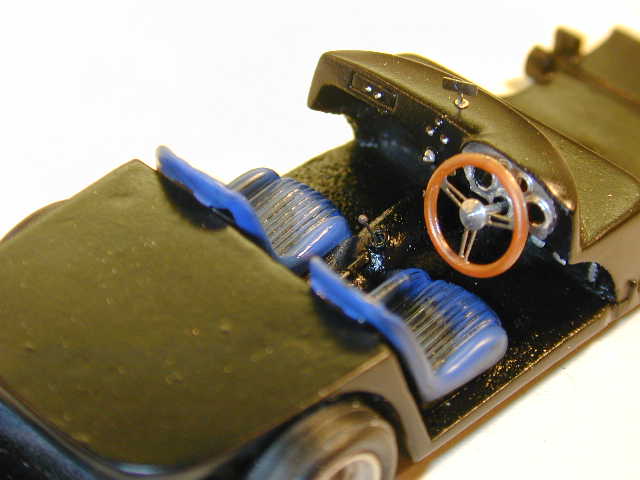
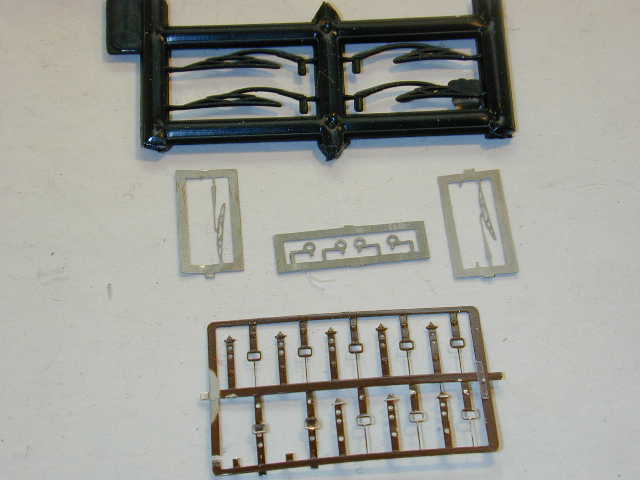
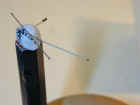
The steering wheel is replaced by one from Renaissance, photoetch rim and spokes with plastic rim, the flash is still to be removed from the "wood" rims.
|

|
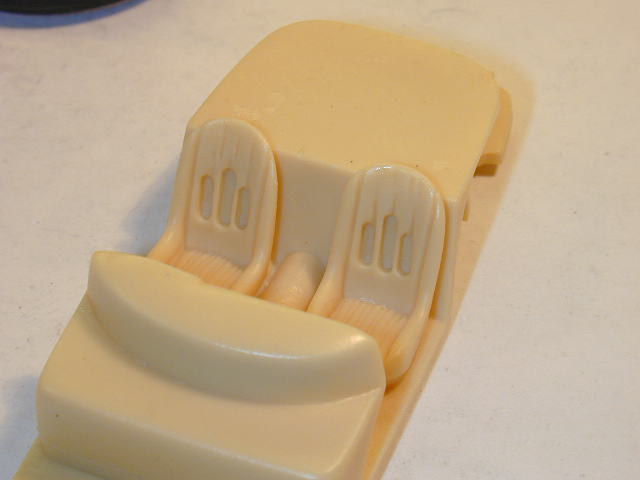
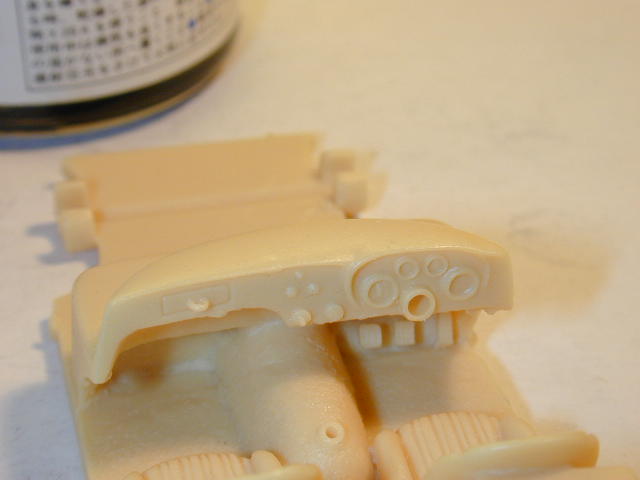
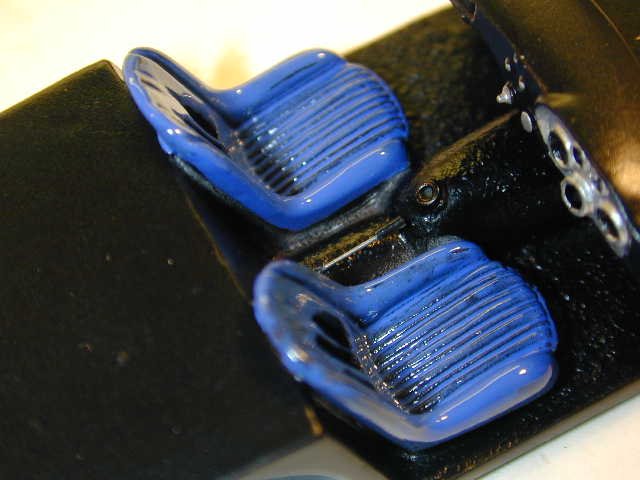
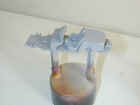
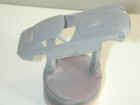
The ends of the exhaust pipes were removed from the base and a small hole drilled in the transmission tunnel for the hand brake and the dash top for an interior mirror. Then it was spray painted matt black and the seats brush painted blue. When the blue was dry a coat of satin varnish was applied to the seats to give them a more leather look. The instrument panel, pedals and switches were painted silver leaving the dial faces matt black. Steering wheel, hand brake, gear lever and interior mirror were glued in place. It is easy to knock off the mirror and I have to find and fit another as I lost it after taking these pictures!
A brass tube is provided for the axles, this is cut to length and the wheels glued in place. The rear axle passes through the chassis so be careful not to fit both wheels in place before passing the axle through its holes. The front axle is secured in position on the chassis with a little super glue after checking that the fit is "square" in the front arches. The rear axle is allowed to be a loose fit in its holes, a little 5-minute epoxy is mixed to secure the rear axle and the base quickly screwed to the body. Before the epoxy sets place the model on a flat surface and ensure all the wheels touch and are correctly positioned in the arches and then leave to cure.
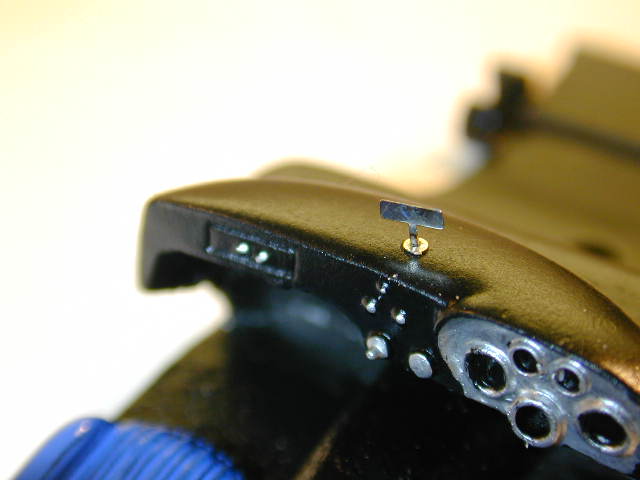
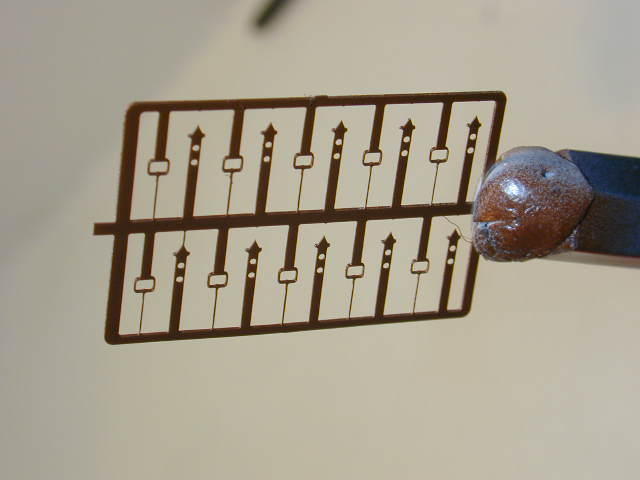
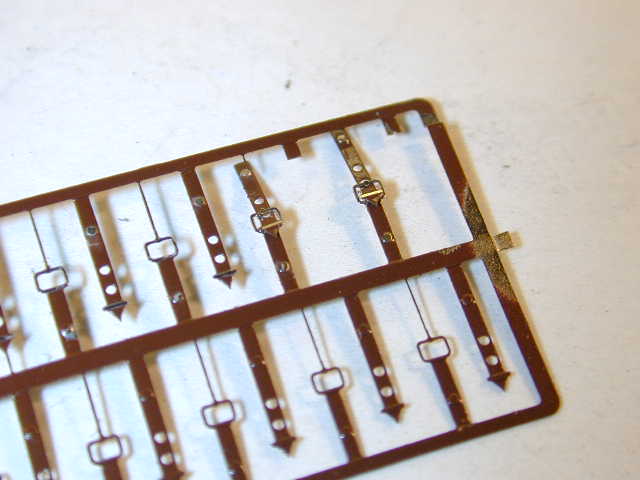
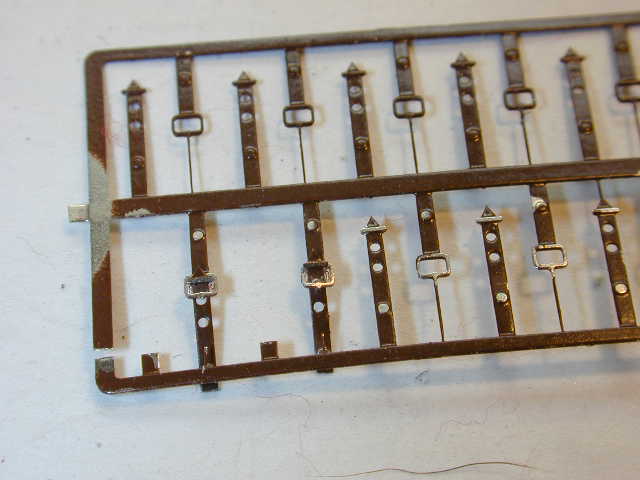
Whilst the axles set you can prepare the Bonnet straps, these are two part photoetch which were sprayed brown. The paint was carefully scratched from the buckles and rivets and the two halves joined with a drop of superglue applied from below.
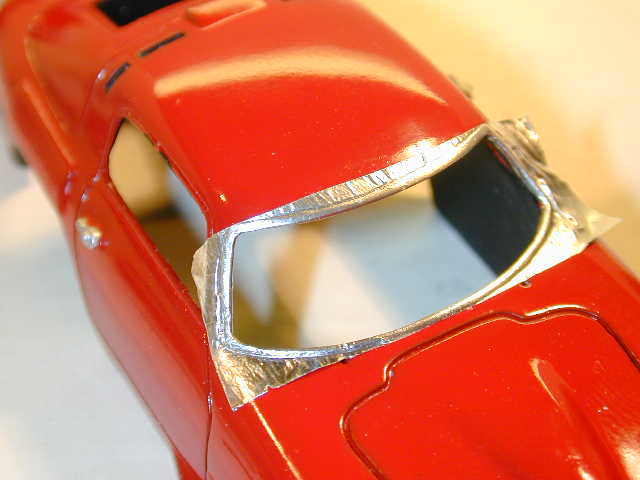
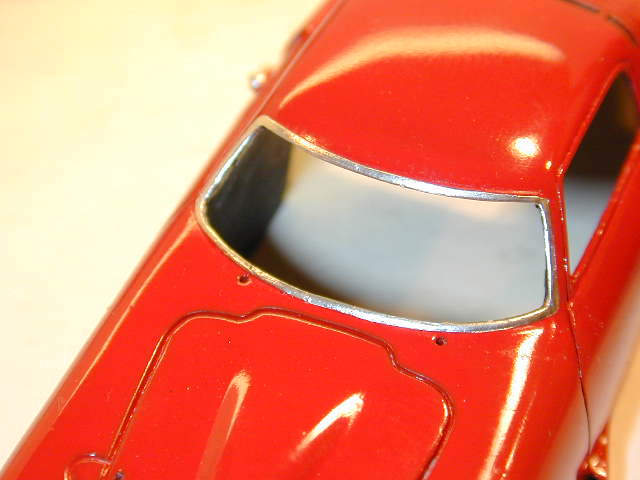
The window surrounds were covered with bare metal foil, I find this very useful for such fine detail. In this case I wanted a metal frame so the foil was used as shown but if I wanted a black frame bare metal foil is very good for masking. It cuts easily with a very sharp blade and adheres well.
|
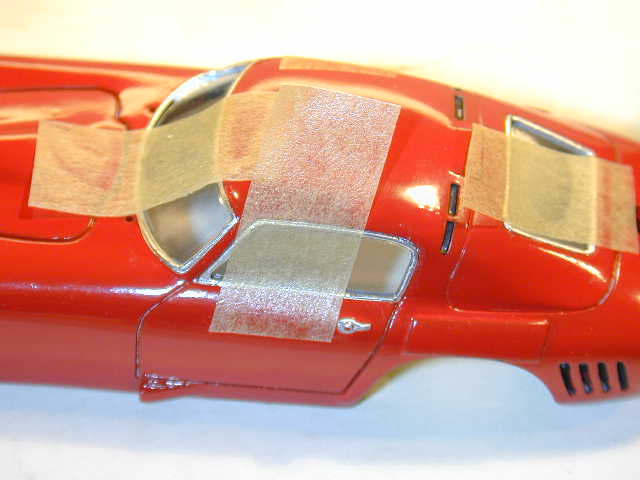
The vac form windows were held in place with masking tape, clear glue was run into the joint from inside. When the glue was nearly set the tape was removed and the windows firmly pushed in place and any excess glue was removed with the point of a cocktail stick. The body was then put aside until the clear glue was set hard.
|
|
|

|
|
The bug screen was made from clear acetate and the metal base was shaped from some photoetch fret.
|
|
|
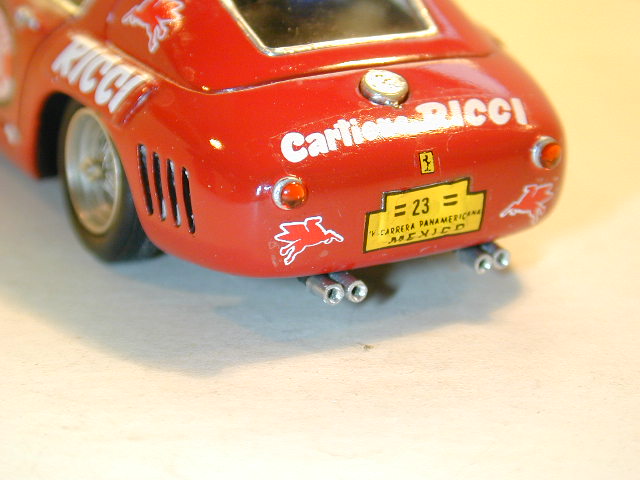
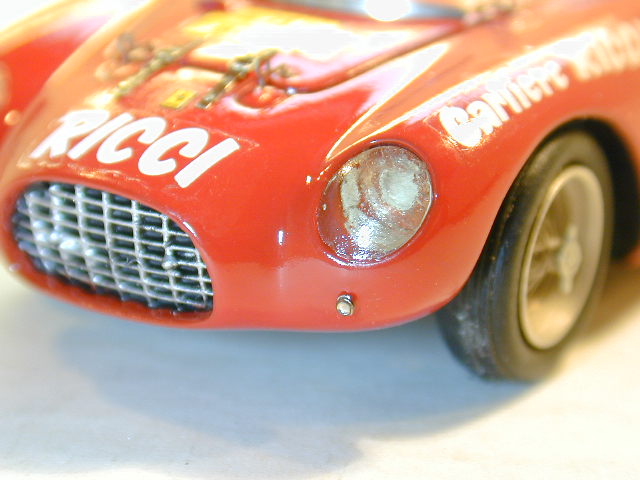
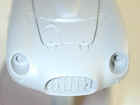
The resin headlights were glued in place and the chassis screwed in place.
|
|
Decals can deteriorate and can break up when put in water. I always try a decal which is not needed, the printer as in this case or the decals from the other car. If these test decals are fine then proceed with the decals for the car. If your test decals break up the remaining decals can be saved by painting them with a new carrier film.
I use microfilm but be careful to only paint the decal or carefully cut out each decal. If you paint the whole sheet with microfilm you will make one large decal. I cut out a few decals at a time and put them on a wet sponge to loosen from the paper.
I use Microsol with all my decals, I put a small drop where the decal is to go then place the decal on the drop
A little
more Microsol can be brushed on the surface of the decal where there is a lot of curvature to fit. When all the decals are in place the model is set aside to dry completely. When dry I check and make sure all the decals are secure and no edges have lifted. If an edge has lifted soften it with a little Microsol and brush gently into place. When the decals are dry the model can be lightly polished with Finesse-it to remove water and other marks and gives a good shine. A final polish with a little liquid furniture polish seems to seal decals and repel dust.
Final assembly can now be completed, new exhaust tail pipes ere made from thin tube. Clear lenses for the tail and front sidelights were glued in place, as were the bonnet catches, straps and replacement wipers to complete the model.
|