|
|
|||||||||||||||||||||||||||||||||||||||||||||
|
Armor |
|
||||||||||||||||||||||||||||||||||||||||||||
|
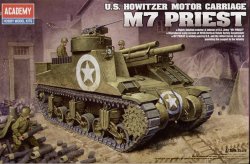
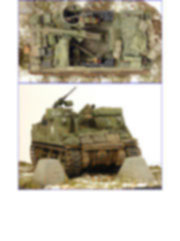
Building the Academy M7 Priest 1/35 scale |
|||||||||||||||||||||||||||||||||||||||||||||
|
by Federico Collada © Modeler Site |
|||||||||||||||||||||||||||||||||||||||||||||
|
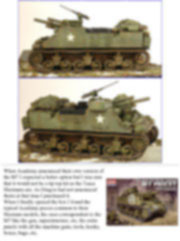
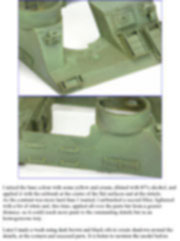
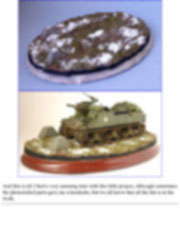
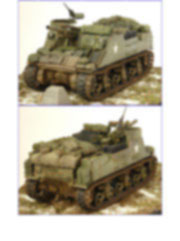
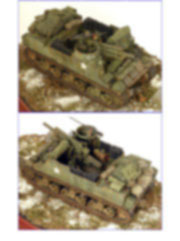
Legal Notice No material from Modeler Site any Web site may be copied, reproduced, republished, uploaded, posted, transmitted, or distributed in any way, except that you may download one copy of the materials on any single computer for your personal, non-commercial home use only, provided you keep intact all copyright and other proprietary notices. Modification of the materials or use of the materials for any other purpose is a violation of copyright and other proprietary rights. Read More here > Legal notice It is very easy to find information about the M7 HMC, there many books, websites and articles everywhere for you to consult anytime so I will not extend on this part of the article, instead I will tell you about the model and the work I done with it. Up to some years ago the only M7 you could find in this scale was the old Italeri kit, even if it was not a bad kit, if suffered from the lack of the fine details that are the standard nowadays so if you wanted your M7 to reach the level you had to work a lot on it.
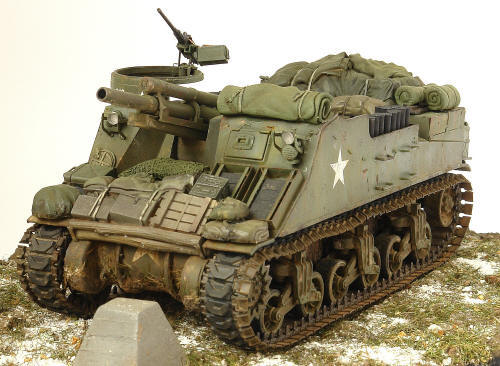
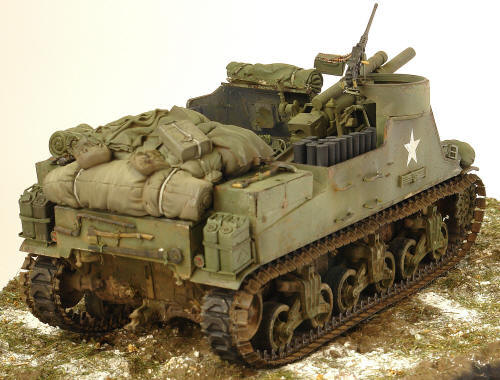
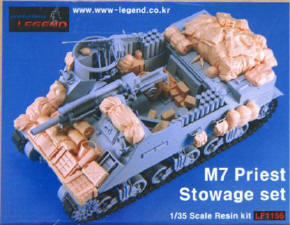
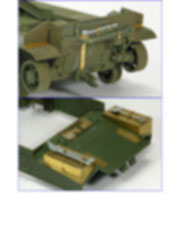
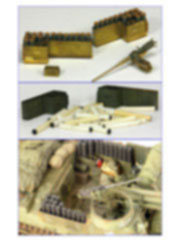
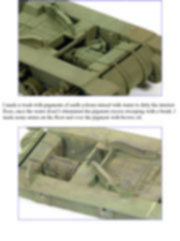
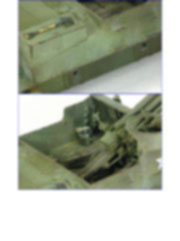
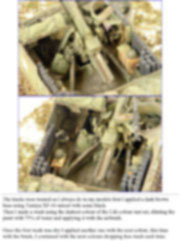
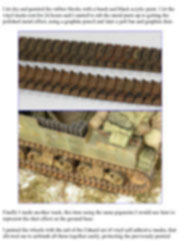
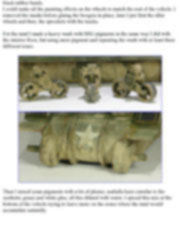
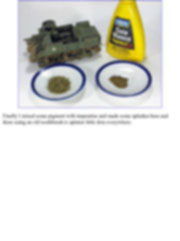
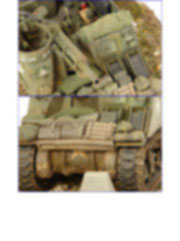
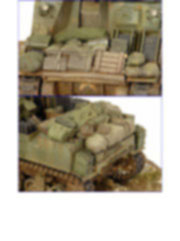
The vinyl tracks and the new early boogies corrected from the former M3 Lee model. Verifying the pieces more in detail I realized that even when it was a big improvement compared to the Italeri kit some details were still a bit coarse, some were wrong and some were missing so I would need some help to make it more accurate. I checked my PE sets and I found the ones I needed, some Eduard sets (36050, 36052 and 36053) specific for this kit provided by a friend some months after the kit was available. I also had the Voyager resin kit of equipage for the M7 that was a very nice complement to make the M7 look fully operative and the Tasca Browning M2 (35-L17) with the Adlers Nest turned aluminium barrel (ANM35024) would look far better than the kit one.
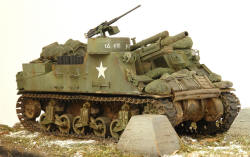
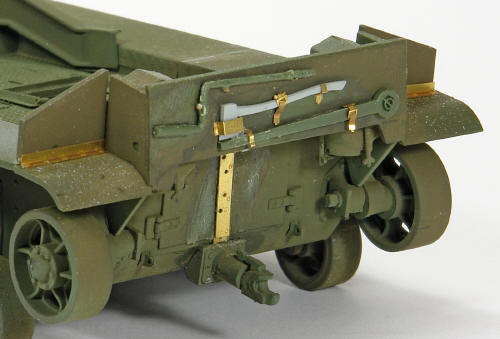
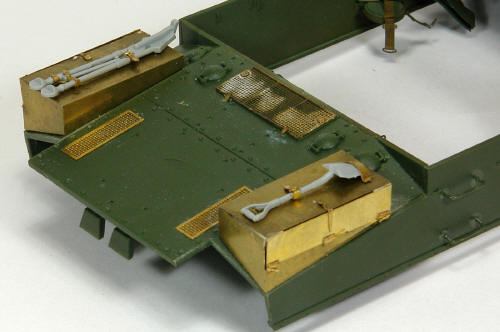
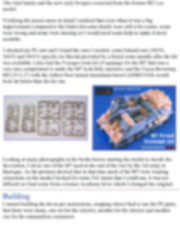
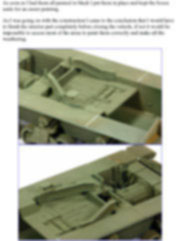
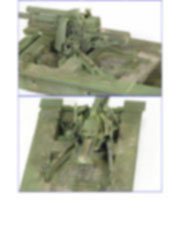
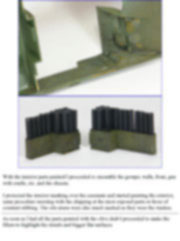
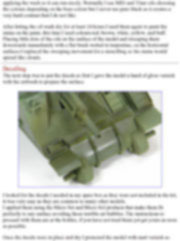
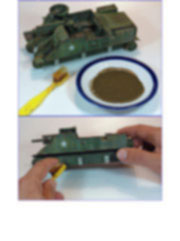
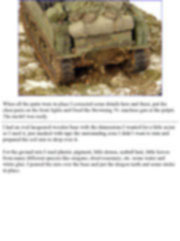
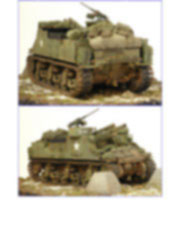
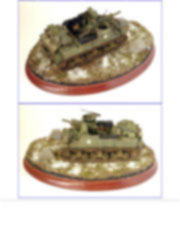
Looking at many photographs in the books before starting the model to decide the decoration, I chose one of the M7 used at the end of the war by the 3rd army at Bastogne. As the pictures showed that in that time most of the M7 were wearing extensions on the tracks I looked for some T41 tracks that I could use, it was not difficult as I had some from a former Academy kit to which I changed the original. Building I started building the kit as per instructions, stopping when I had to use the PE parts, that there were many, one set for the exterior, another for the interior and another one for the ammunition containers.
This article is offered in PDF format to be read or printed using Acrobat reader, contact our webmaster > Here Includes more than 68 pics, here we show only the text pages.
Esta Nota es ofrecida en formato PDF, el cual puede ser leído o impreso usando el Acrobat reader, contacte a nuestro webmaster > Aquí Incluye más de 68 imágenes, aquí solo mostramos las paginas de texto.
Big size photos are only available in our PDF format. Support us ordering our notes in PDF > Here |
|||||||||||||||||||||||||||||||||||||||||||||