|
|
|||||||||||||||||||||||||||||||||||||||||||||||
|
Cars |
|
||||||||||||||||||||||||||||||||||||||||||||||
|
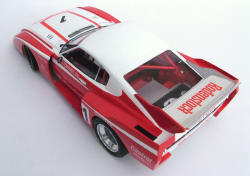
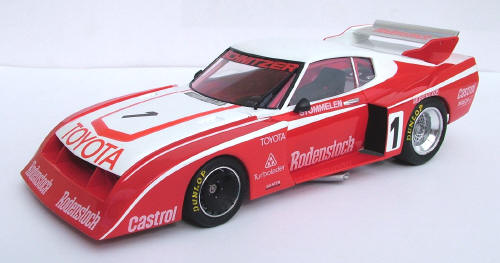
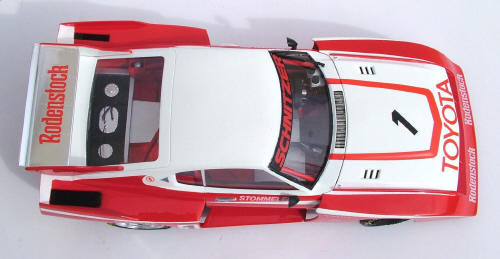
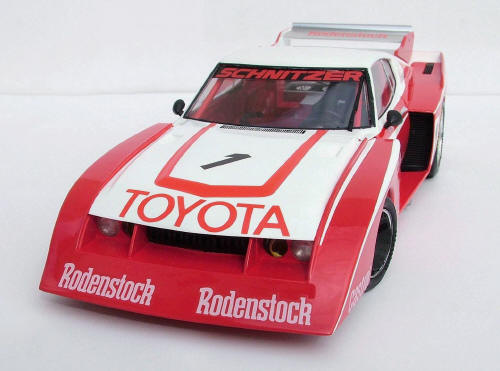
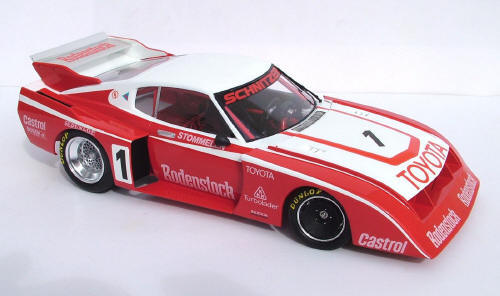
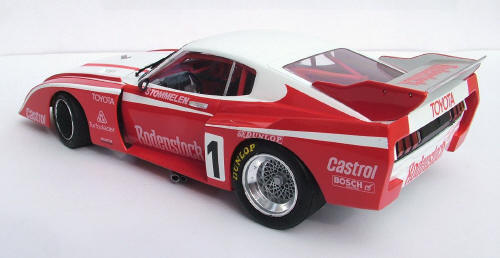
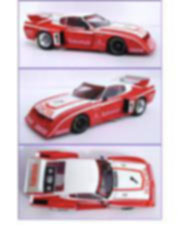
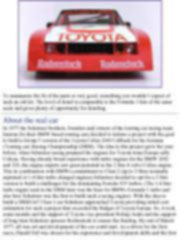
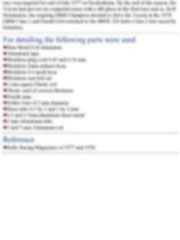
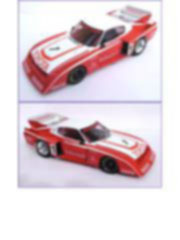
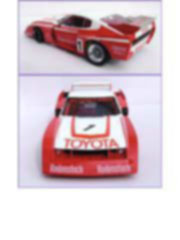
Building an improving the old Tamiya Toyota Celica Gr5 1/20 scale |
|||||||||||||||||||||||||||||||||||||||||||||||
|
by Martin Klein © 2009 Modeler Site |
|||||||||||||||||||||||||||||||||||||||||||||||
|
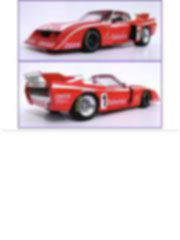
Legal Notice No material from Modeler Site any Web site owned, operated, licensed, or controlled by Damian Covalski may be copied, reproduced, republished, uploaded, posted, transmitted, or distributed in any way, except that you may download one copy of the materials on any single computer for your personal, non-commercial home use only, provided you keep intact all copyright and other proprietary notices. Modification of the materials or use of the materials for any other purpose is a violation of Damian Covalski's copyright and other proprietary rights. Read More here > Legal notice The 1/20 Tamiya kit provides full engine detail in contrast to the 1/24 version also available. Another difference between the two versions, is that the 1/20 kit also provides the decals for the 1978 version with red and white colour scheme (instead of blue) and so, I decided to build the 1978 version mainly because of the colour. One thing very difficult if you intend to detail such old kits is to find good references. So, I dived into my pile of old racing magazines and found a 1978 issue with a detailed development report of the car, containing several photos of car details.
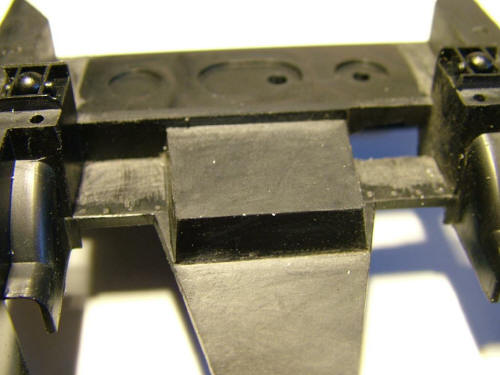
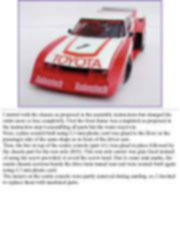
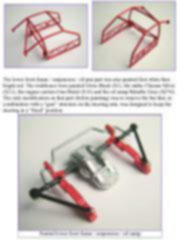
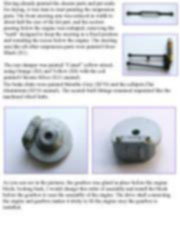
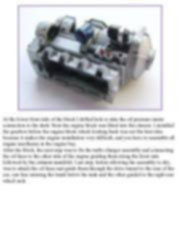
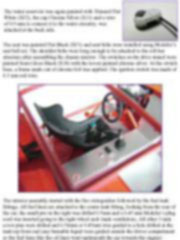
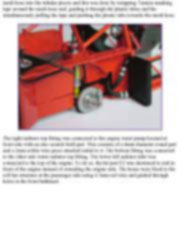
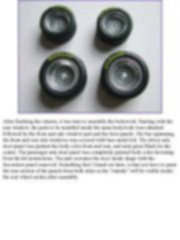
I started with the chassis as proposed in the assembly instructions but changed the order more or less completely. First the front frame was completed as proposed in the instruction step 4 assembling all parts but the water reservoir. Next, a plate scratch built using 0.3 mm plastic card was glued to the floor on the passenger side of the same shape as in front of the driver seat. Then, the bar on top of the centre console (part A1) was glued in place followed by the chassis part for the rear axle (B30). This rear axle carrier was glue fixed instead of using the screw provided, to avoid the screw head. Due to some sink marks, the inside chassis sections beside the drive train tunnel rear end were scratch built again using 0.3 mm plastic card. The meters on the centre console were partly removed during sanding, so, I decided to replace them with
machined parts.
This article is offered in PDF format to be read or printed using Acrobat reader, contact our webmaster > Here Includes more than 86 pics, here we show only the text pages.
Esta nota es ofrecida en formato PDF, el cual puede ser leído o impreso usando el Acrobat reader, contacte a nuestro webmaster > Aquí Incluye más de 86 imágenes, aquí solo mostramos las paginas de texto.
Big size photos are only available in our PDF format. Support us ordering our notes in PDF > Here |
|||||||||||||||||||||||||||||||||||||||||||||||