|
|
||||||||||||||||||||||||
|
Cars |
|
|||||||||||||||||||||||
|
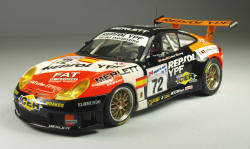
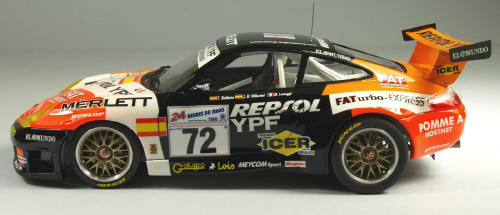
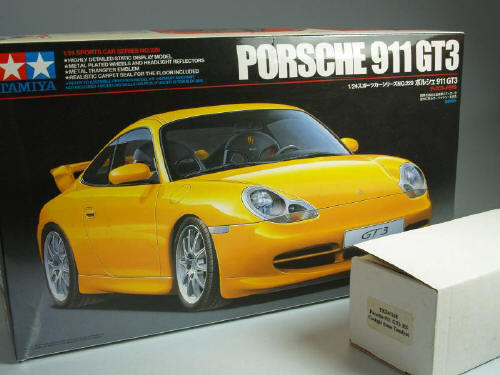
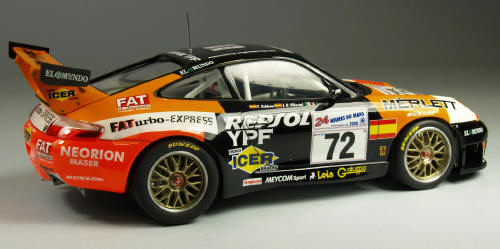
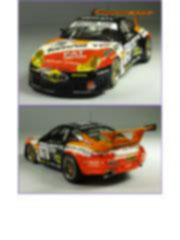
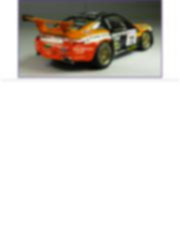
Building the Porsche 911 GT3 Le Mans 2000 from a Tamiya kit 1/24 scale |
||||||||||||||||||||||||
|
by Juan Layos © 2008 Modeler Site |
||||||||||||||||||||||||
|
Legal Notice No material from Modeler Site any Web site owned, operated, licensed, or controlled by Damian Covalski may be copied, reproduced, republished, uploaded, posted, transmitted, or distributed in any way, except that you may download one copy of the materials on any single computer for your personal, non-commercial home use only, provided you keep intact all copyright and other proprietary notices. Modification of the materials or use of the materials for any other purpose is a violation of Damian Covalski's copyright and other proprietary rights. Read More here > Legal notice It’s not usual to find in 1/24 scale, the model we like to build, just because they’re not available in the market, anyway you can get the transkit which includes parts and accessories that allows us to make conversions starting from one vehicle. In this case I’ll convert a Porsche 911 road car into GT3 Le Mans 2000.
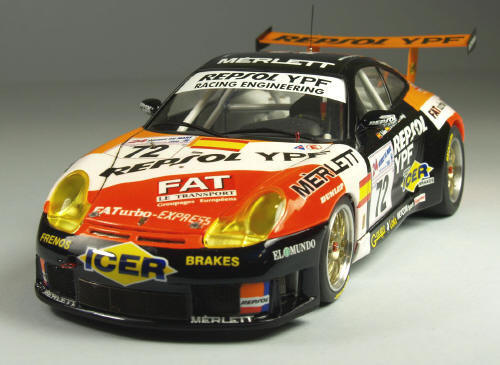
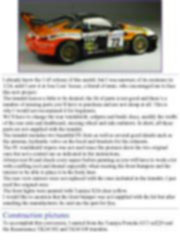
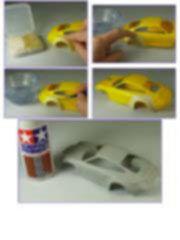
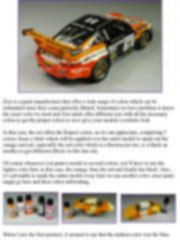
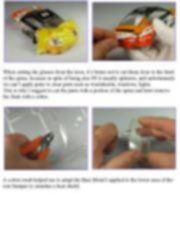
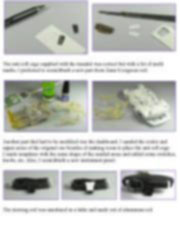
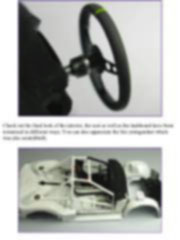
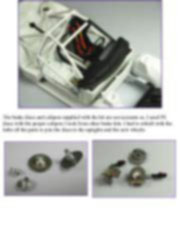
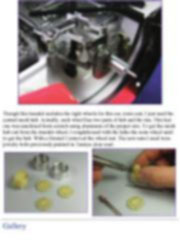
I already knew the 1/43 release of this model, but I was unaware of its existence in 1/24, until I saw it at Jose Luis’ house, a friend of mine, who encouraged me to face this new project. We’ll have to change the rear windshield, calipers and brake discs, modify the width of the rear axle and dashboard, steering wheel and side radiators. In short, all these parts are not supplied with the transkit. The transkit includes two beautiful PE frets as well as several good details such as the antenna, hydraulic valve on the hood and brackets for the exhausts. The PE windshield wipers was not used since the pictures show the two original ones but not a central one as indicated in the instructions. Always test fit and check every aspect before painting as you will have to work a lot with a milling tool and dremel especially when treating the front bumpers and the interior to be able to place it in the body later. The rear view mirrors were not replaced with the ones included in the transkit, I just used the original ones. The front lights were painted with Tamiya X24 clear yellow. I would like to mention that the front bumper was not supplied with the kit but after emailing the manufacturer, he sent me the part for free. Construction pictures To accomplish this conversion, I started from the Tamiya Porsche GT3 ref229 and the Renaissance TK24/182 and Tk24/168 transkits.
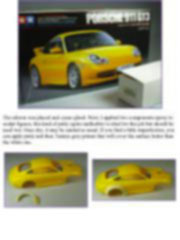
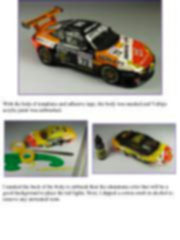
The aileron was placed and cyano glued. Next, I applied two components epoxy to sculpt figures, this kind of putty (quite malleable) is ideal for this job but should be used wet. Once dry, it may be sanded as usual. If you find a little imperfection, you can apply putty and then Tamiya grey primer that will cover the surface better than the white one. This article is offered in PDF format to be read or printed using Acrobat reader, contact our webmaster > Here Includes more than 46 pics, here we show only the text pages.
Esta Nota es ofrecida en formato PDF, el cual puede ser leído o impreso usando el Acrobat reader, contacte a nuestro webmaster > Aquí Incluye más de 46 imágenes, aquí solo mostramos las paginas de texto.
Big size photos are only available in our PDF format. Support us ordering our notes in PDF > Here |
||||||||||||||||||||||||