|
|
||||||||||||||||||||||
|
Techniques |
|
|||||||||||||||||||||
|
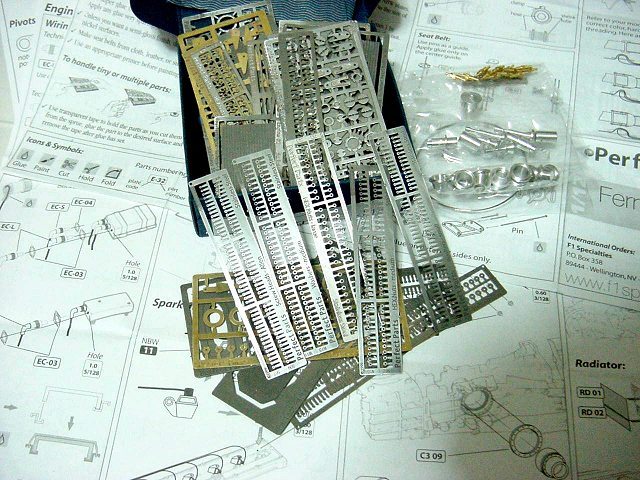
Perfect Parts' detail set # PE 641 for Tamiya Ferrari 641/2, 1/12 scale Analyzing it |
||||||||||||||||||||||
|
by Mario Covalski |
||||||||||||||||||||||
|
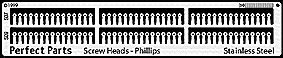
The mailman left a package in my hand, the 27x15cm box sent by F1Specialties; I felt everything was perfect. In less than five days I had received a package that had traveled almost 10,000 miles. I'm talking about the Perfect Parts set for Tamiya's Ferrari 641/2 in 1/12 scale. I was surprised when I opened the box, the box was empty except for a small 7x5cms. box; my first thought was… "I'm going to send an e-mail telling them that they had forgotten half the parts". Now I see that my reaction was funny, but consider that when you go to their F1 site, and you can see a big amount of PE frets and lots of turned aluminum parts; so, it was almost impossible to think that all that stuff (more than 200 parts) was "packed" inside such a small box. Although my logic was telling me the opposite, I decided to check what was inside the "tiny" box, before sending the e-mail. Well, you can imagine the rest of this short story. The little box contains all the necessary parts to superdetail a model that, as provided by Tamiya, is really beautiful. Talking about Perfect Parts Set #PE641 It can be said that I am a newcomer to the exciting world of PE parts, if we consider that airplane modelers are used to using several frets of PE in order to build a 1/48 scale model, and I've only used a couple of dozens in my whole life; that's why I consider myself a beginner in this subject. No matter the cause, I feel more comfortable working with plastic, and I consider that my models have a good quality level using simple techniques. But I must recognize that, in a couple of hours, this PE641 set, has changed my way of thinking This little box has all the necessary parts, which not only serve to replace the plastic ones, but they can help you to solve problems which are very complex to be built in plastic; such as: rivets, small philips screw heads, nuts, bolts, and so on.
But I think it is worth telling you my personal feelings about the set. If you are an expert with this kind of parts, it is obvious that you can start building your superdetailed model without reading this note.
Even if you only use the third part of all the pieces included, it is worth to buy this kit, and you'll have a great amount of beautifully detailed parts that you can use to detail other models.
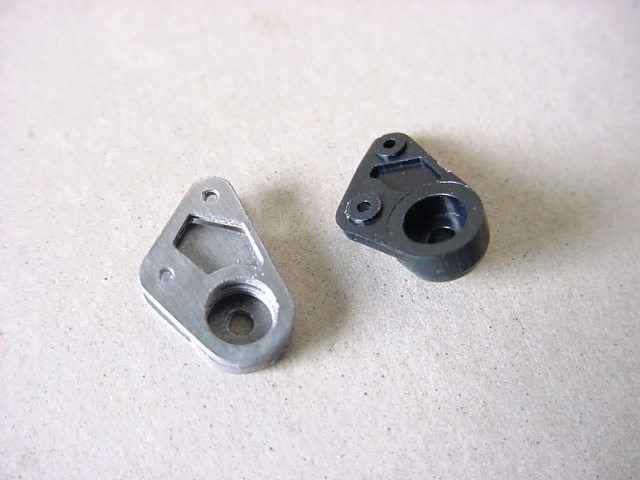
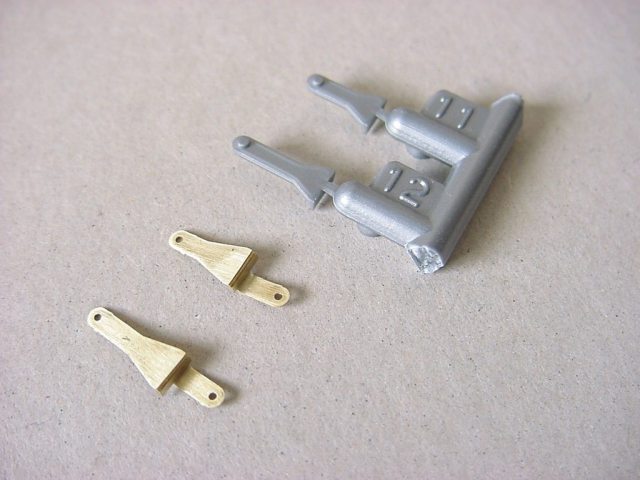
Another idea that I had to change, was about painting the parts. Most of these sets are made out of real steel, aluminum, and brass, which gives the appearance of a full size metal part. If you follow the instructions that come with the kit, you'll be able to duplicate the look of different kinds of metal, so you don't have to paint them. The instruction sheet tells us how to duplicate cast iron metal, stainless steel, polished aluminum, etc. As an example, lets take parts A20 and A22 (from the Tamiya kit), the PE replacement parts (made out of 8 pieces!!!) come in the correct metallic color, perhaps all you need is a little "wash", or a soft sanding, in order to achieve the right volume (although the fact of having so many pieces assembled gives the right volume already). This means time saving and a better final aspect.
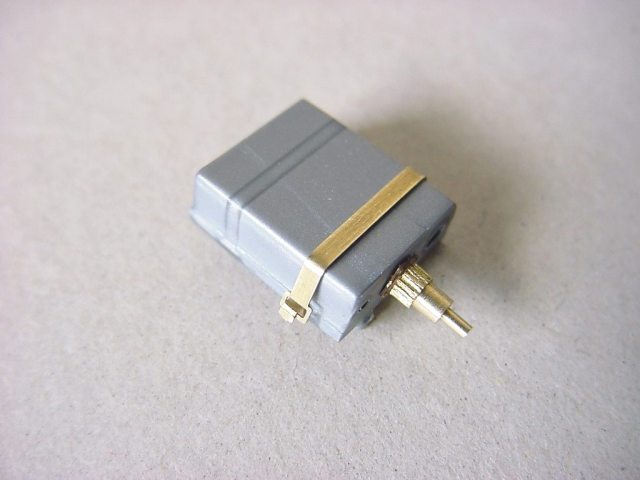
There is something missing although, the electrical system for the fuel injectors which is not properly detailed in the Tamiya kit. Because this is a very visible part, and difficult to detail in plastic, it would have been good some kind of help from Perfect Parts. The plan I have one 641 already built in my collection; you can see it in the back issues of Modeler Site. But, of course, "a lot of water has passed under the bridge" since I built that model, and what I considered a very well detailed model at that time, today can be considered an "out of the box" model; is incredible how fast is evolving our hobby.
So, I wanted to build another one taking advantage of all the experience acquired during the last years, including a good article in an old TMMI. But the main idea was to build a 642A, modifying the 641, to depict the car that Jean Alesi drove during his first races for Ferrari. Conversion work is not too complicated, although adding the "superdetailing kit" would put the whole project out of the 300 hours I was planning to put in the building (I'm planning on less that 250 hours).
I decided to do something different then, I'll build the 641 which Alesi tested at Fiorano during the first 1991 months, and including some small modifications as well as the number 28 (I have it in my spares box, from the F93 Intermodelli).
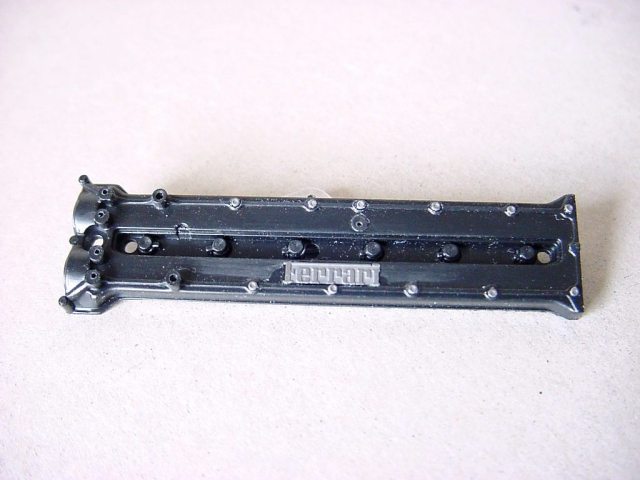
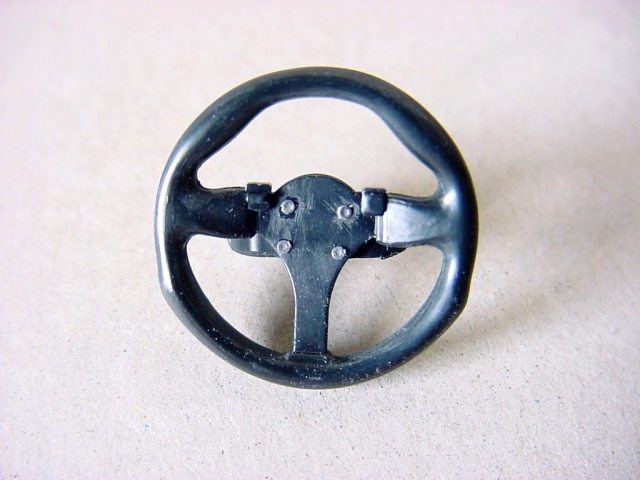
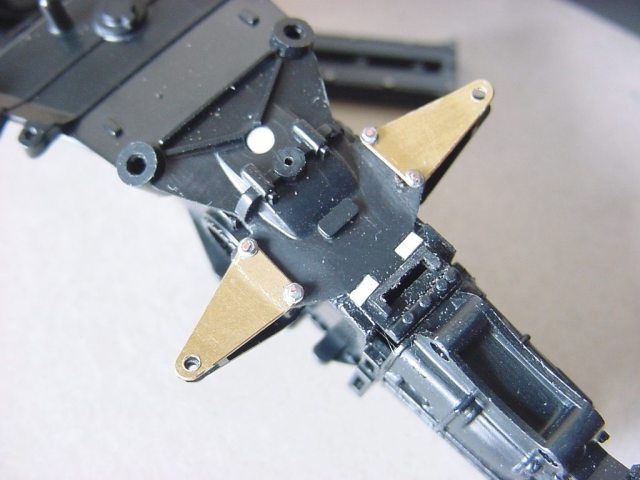
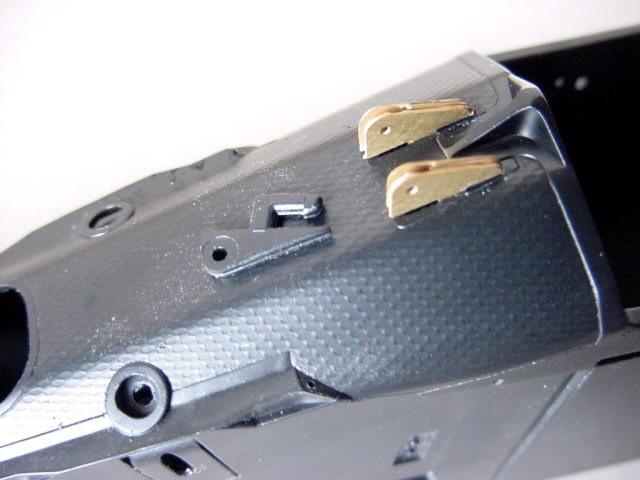
In coming months I'll write a note on my experiences and the preparations of this modern technology wonder for us plastic modelers. At the end, I'll write a full article with pictures on the finished model… God willing. Few examples of #PE641 parts added to Tamiya's kit
|
||||||||||||||||||||||