|
|
|||||||||||||||||||||||||||||||||||||||||||||||||||||||||||||||||||||||||||||||||||||||||||||||||||||||||||||||||
|
Armor |
|
||||||||||||||||||||||||||||||||||||||||||||||||||||||||||||||||||||||||||||||||||||||||||||||||||||||||||||||||
|
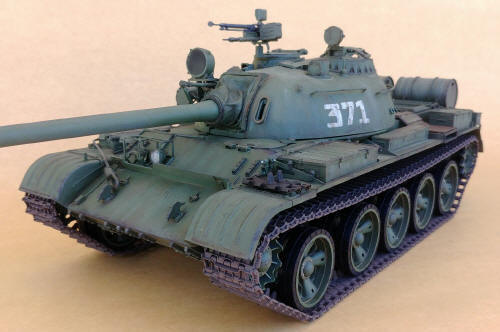
Building the Hooben Russian T-55 for R/C 1/16 scale (included both versions) |
|||||||||||||||||||||||||||||||||||||||||||||||||||||||||||||||||||||||||||||||||||||||||||||||||||||||||||||||||
|
by Mario Covalski © Modeler Site |
|||||||||||||||||||||||||||||||||||||||||||||||||||||||||||||||||||||||||||||||||||||||||||||||||||||||||||||||||
|
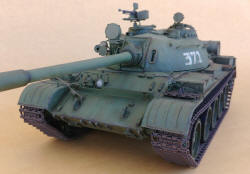
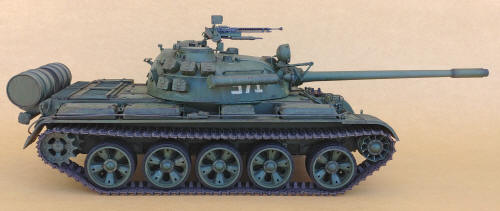
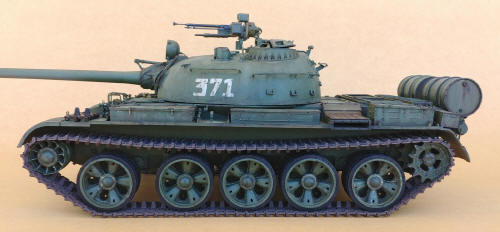
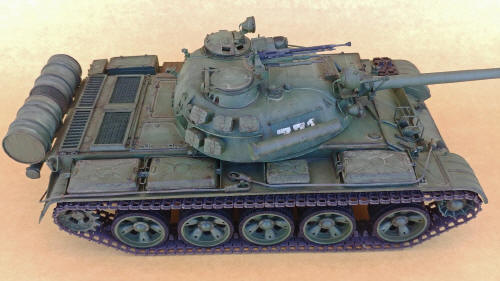
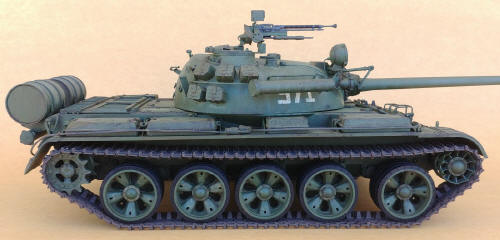
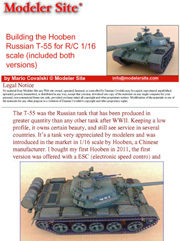
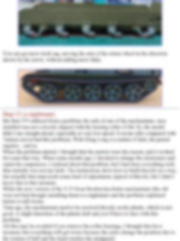
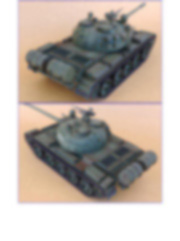
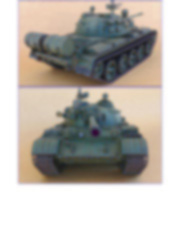
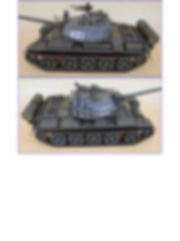
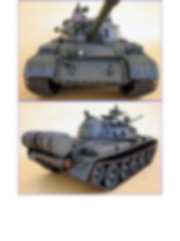
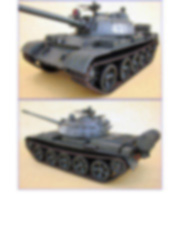
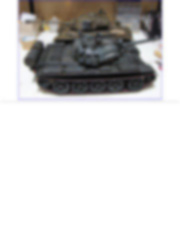
Legal Notice No material from Modeler Site any Web site may be copied, reproduced, republished, uploaded, posted, transmitted, or distributed in any way, except that you may download one copy of the materials on any single computer for your personal, non-commercial home use only, provided you keep intact all copyright and other proprietary notices. Modification of the materials or use of the materials for any other purpose is a violation of copyright and other proprietary rights. Read More here > Legal notice The T-55 was the Russian tank that has been produced in greater quantity than any other tank after WWII. Keeping a low profile, it owns certain beauty, and still see service in several countries. It’s a tank very appreciated by modelers and was introduced in the market in 1/16 scale by Hooben, a Chinese manufacturer. I bought my first Hooben in 2011, the first version was offered with a ESC (electronic speed contro) and MFU (multi function unit) from S.L.U. manufacturer. Unfortunately though I was able to build it, was full of problems. And those who had it in their hands, know what I’m talking about.
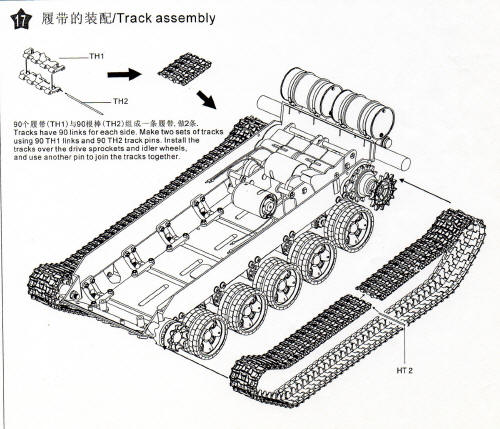
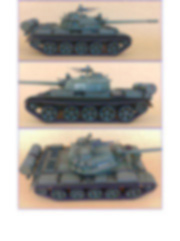
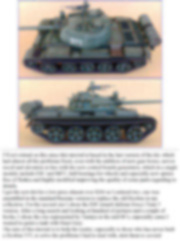
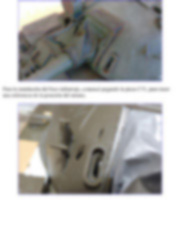
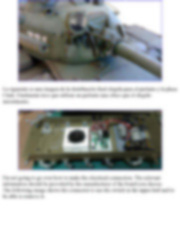
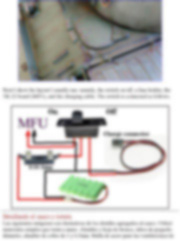
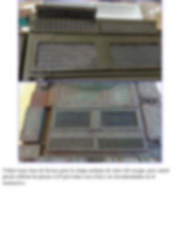
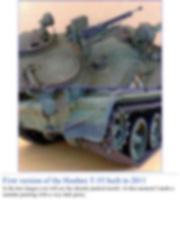
I’ll not extend on this since this tutorial is based in the last version of the kit, which had almost all the problems fixed, even with the addition of new gear boxes, servos recoil and elevation in line with the new control boards generation, which in a single module include ESC and MFU, ball bearings for wheels and especially new sprues free of flashes and highly modified improving the quality of some parts regarding to details. I got the new kit for a low price almost over $200 so I ordered two, one was assembled in the standard Russian version to replace the old Hooben in my collection. For the second one I chose the IDF (israeli defense force) Tiran 5 version. After a long search and looking at hundred of pictures and a couple of books, I chose the one represented by Tamiya in the mid 80’s, especially cause I wanted to paint a tank with Sinai Grey. The aim of this tutorial is to help the reader, especially to those who has never built a Hooben T55, to solve the problems I had to deal with, alert them to several problems that appears after some use, like it happened to me with the one built in 2011. As I said before, I built a regular T-55 of the Russian army and the IDF Tiran 5, but in the assembly steps, I’ll concentrate in the general points. Then in a later tutorial I will offer, it will show the variants needed for the Tiran 5. So here you will see pictures of different models, about the same topic. The Hooben T-55 In 2002/2003, when Tamiya offered the T-55B in 1/35 scale, it was the best T-55 available. I had the chance of having a kit and when I bought the 1/16 Hooben, I immediately realized that it was a copy of the Tamiya one, scaled to 1/16. Without improving the details that the scale deserves but without missing the ones Tamiya offered. The plastic they chose was a strong ABS difficult to handle and glue. The new sprues to which I referred above, are PS (polystyrene) injection. To facilitate this tutorial, I’ll follow the instruction steps, though not in the same order, as I have both it’ll be interesting to compare them. Construction Instructions are confusing cause they still show the use of the old SLU. If you’ve never seen one, you really may feel confused. On the other hand, there’s a page missing, note that it jumps from step 16 in page 22 to 19 (useless) in page 23. Step 17 shows the assembly and location of the tracks that have 90 links each one. Next, you may appreciate an image of step 17 in the instruction manual of the first kit version.
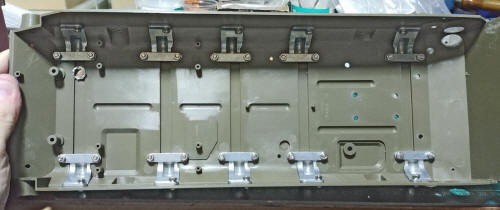
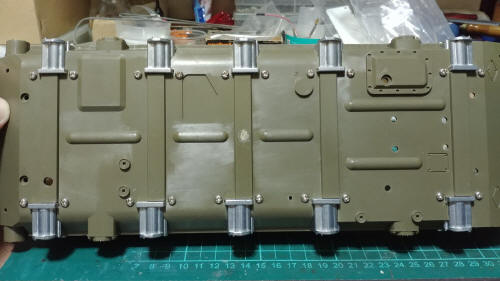
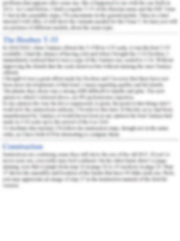
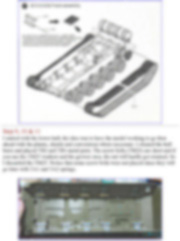
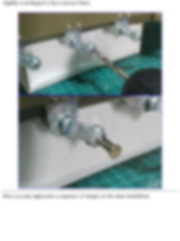
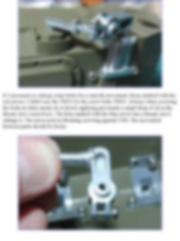
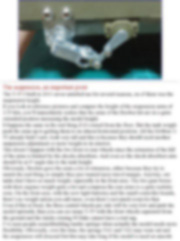
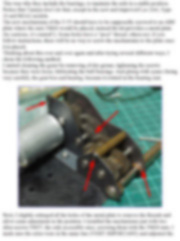
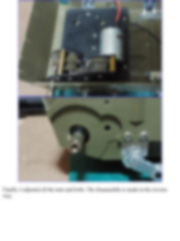
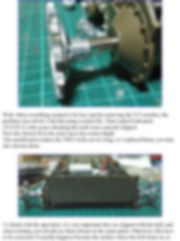
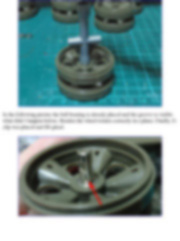
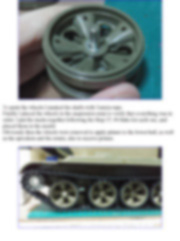
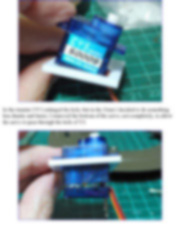
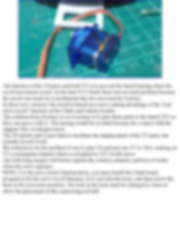
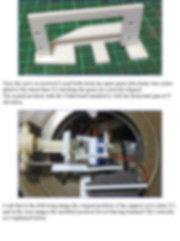
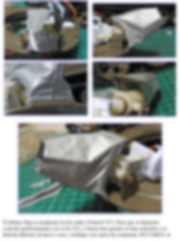
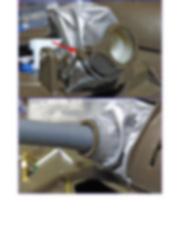
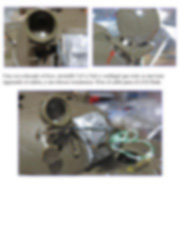
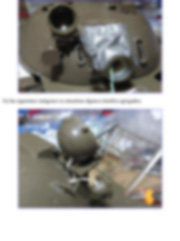
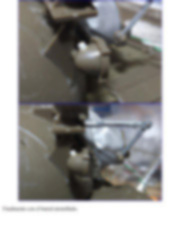
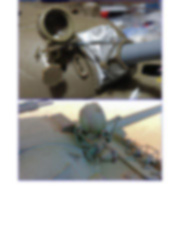
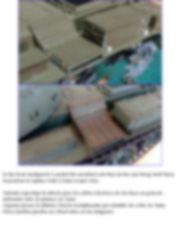
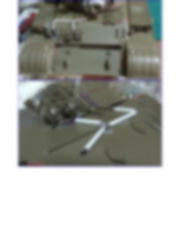
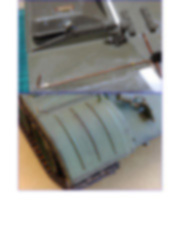
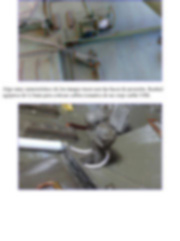
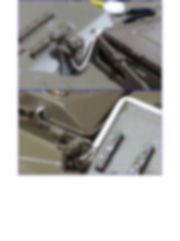
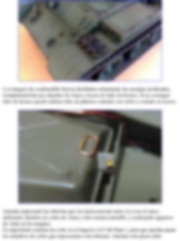
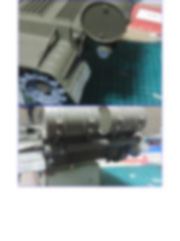
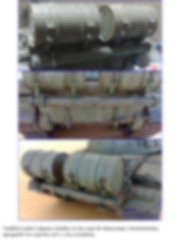
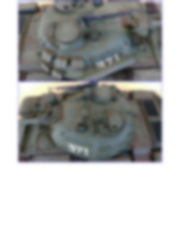
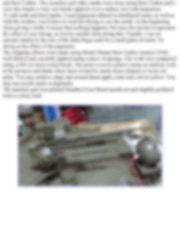
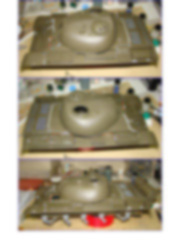
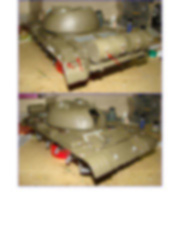
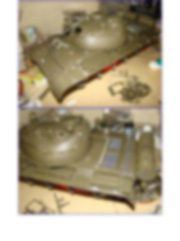
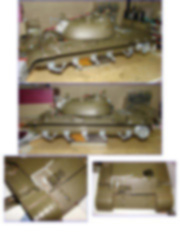
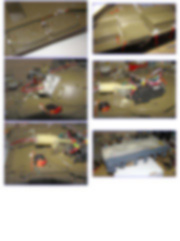
Step 9, 10 & 11 I started with the lower hull, the idea was to have the model working to go then ahead with the plastic, details and conversions where necessary. I cleaned the hull burrs and placed TB2 and TB1 metal parts. The screw bolts (TM20) are short and if you use the TM25 washers and the grower ones, the nut will hardly got retained. So I discarded the TM25. Notice that some screw bolts were not placed since they will go later with TA1 and TA2 springs.
Esta Nota es ofrecida en formato PDF, el cual puede ser leído o impreso usando el Acrobat reader, contacte a nuestro webmaster > Aquí Incluye más de 230 imágenes, aquí solo mostramos las paginas de texto.
This tutorial is offered in PDF format to be read or printed using Acrobat reader, contact our webmaster > Here Includes more than 230 pics, here we show only the text pages.
Big size photos are only available in our PDF format. Support us ordering our notes in PDF > Here |
|||||||||||||||||||||||||||||||||||||||||||||||||||||||||||||||||||||||||||||||||||||||||||||||||||||||||||||||||