|
|
||||||||||||||||||||||||||||||||||||||||||||
|
Formula one |
|
|||||||||||||||||||||||||||||||||||||||||||
|
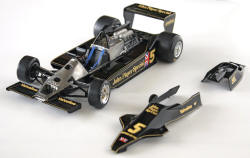
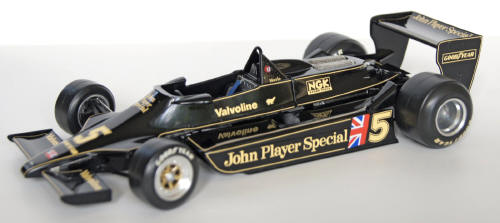
Building the Tamiya Lotus 79: for novices 1/20 scale |
||||||||||||||||||||||||||||||||||||||||||||
|
by Martin Klein © Modeler Site |
||||||||||||||||||||||||||||||||||||||||||||
|
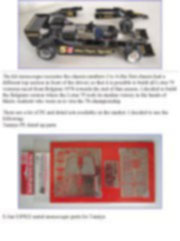
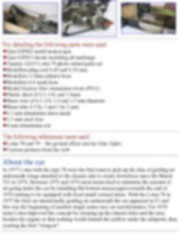
Legal Notice No material from Modeler Site any Web site owned, operated, licensed, or controlled by Damian Covalski may be copied, reproduced, republished, uploaded, posted, transmitted, or distributed in any way, except that you may download one copy of the materials on any single computer for your personal, non-commercial home use only, provided you keep intact all copyright and other proprietary notices. Modification of the materials or use of the materials for any other purpose is a violation of Damian Covalski's copyright and other proprietary rights. Read More here > Legal notice The Tamiya kit allows building two versions: the early version equipped with vertical oil coolers in the left sidepod and the later 79 version where the oil coolers had been rearranged in a similar (tilted) shape like the water radiator. The kit provides the coolers and corresponding fairings for both versions.
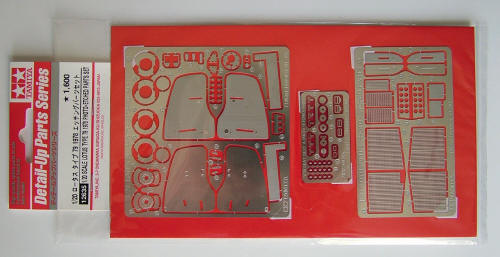
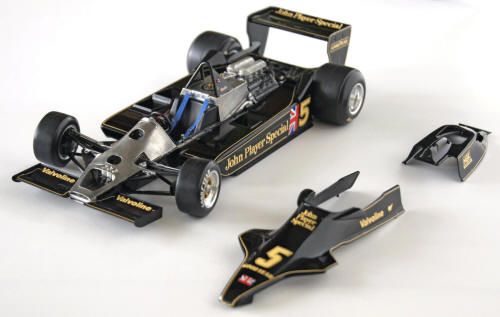
The kit monocoque recreates the chassis numbers 2 to 4 (the first chassis had a different top section in front of the driver) so that it is possible to build all Lotus 79 versions raced from Belgium 1978 towards the end of that season. I decided to build the Belgium version where the Lotus 79 took its maiden victory in the hands of Mario Andretti who went on to win the 78 championship. There are a lot of PE and detail sets available on the market. I decided to use the following: Tamiya PE detail up parts
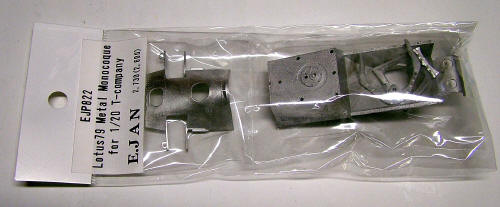
E-Jan EJP822 metal monocoque parts for Tamiya
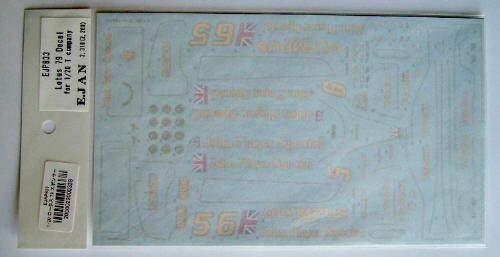
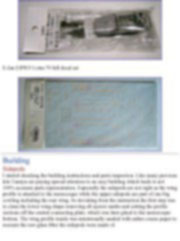
E-Jan EJP833 Lotus 79 full decal set
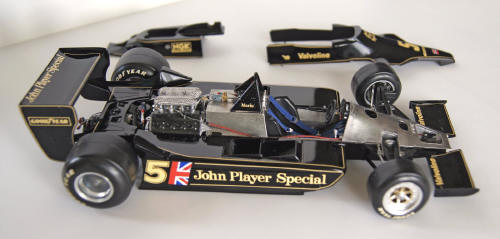
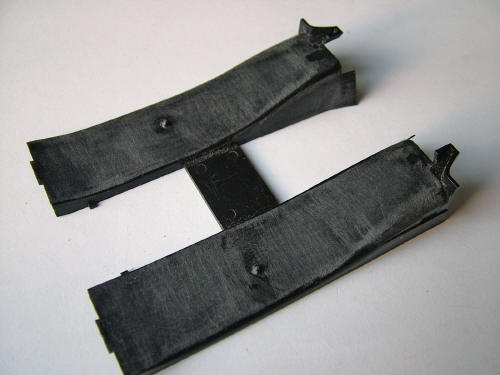
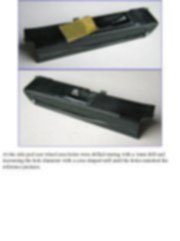
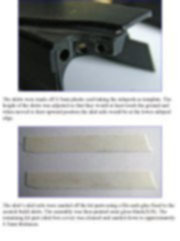
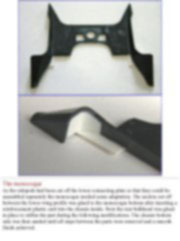
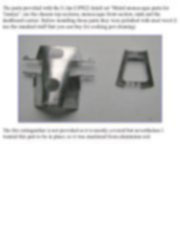
Building Sidepods I started checking the building instructions and parts inspection. Like many previous kits Tamiya are paying special attention to an easy building which leads to not 100% accurate parts representation. Especially the sidepods are not right as the wing profile is attached to the monocoque while the upper sidepods are part of one big cowling including the rear wing. So deviating from the instruction the first step was to clean the lower wing shape removing all ejector marks and cutting the profile sections off the central connecting plate, which was later glued to the monocoque bottom. The wing profile inside was intentionally sanded with rather coarse paper to recreate the raw glass fibre the sidepods were made of.
This note is offered in PDF format to be read or printed using Acrobat reader, contact our webmaster > Here Includes more than 70 pics, here we show only the text pages.
Esta Nota es ofrecida en formato PDF, el cual puede ser leído o impreso usando el Acrobat reader, contacte a nuestro webmaster > Aquí Incluye más de 70 imágenes, aquí solo mostramos las paginas de texto.
Big size photos are only available in our PDF format. Support us ordering our notes in PDF > Here |
||||||||||||||||||||||||||||||||||||||||||||