|
|
|||||||||||||||||||||||||||||||||||||||||||||||||||||||||||||||||||||||||||||||||||||||||||||||||||||||
|
Formula one |
|
||||||||||||||||||||||||||||||||||||||||||||||||||||||||||||||||||||||||||||||||||||||||||||||||||||||
|
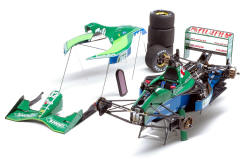
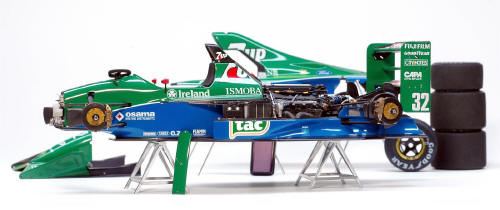
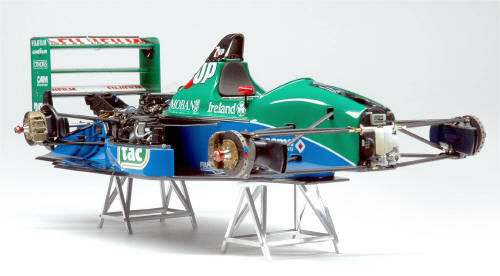
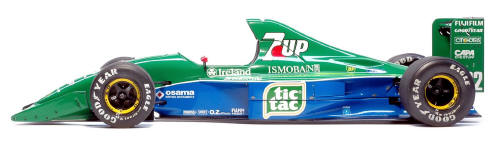
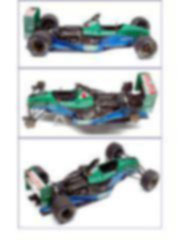
Superdetailing the Tamiya Jordan 191 – 1/20 scale |
|||||||||||||||||||||||||||||||||||||||||||||||||||||||||||||||||||||||||||||||||||||||||||||||||||||||
|
by Joachim Kutt © Modeler Site |
|||||||||||||||||||||||||||||||||||||||||||||||||||||||||||||||||||||||||||||||||||||||||||||||||||||||
|
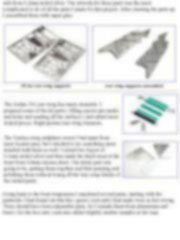
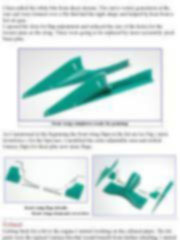
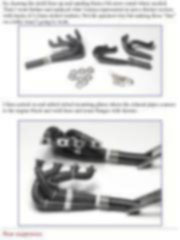
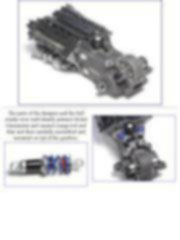
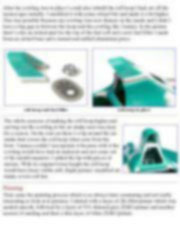
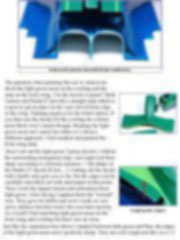
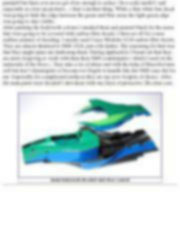
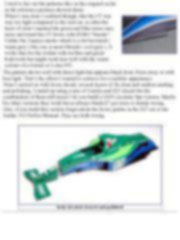
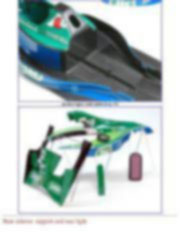
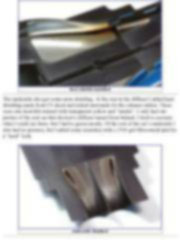
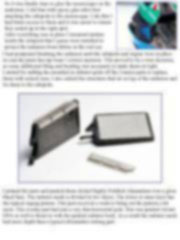
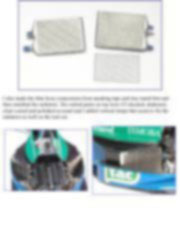
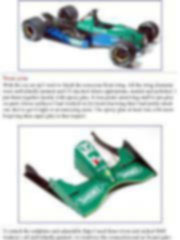
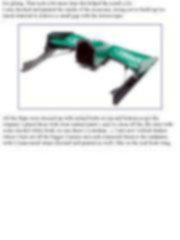
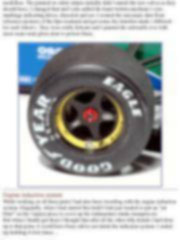
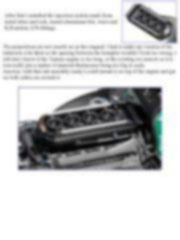
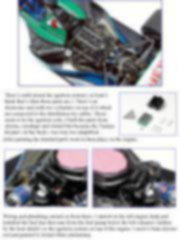
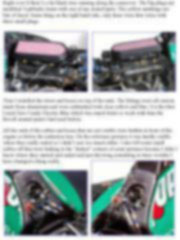
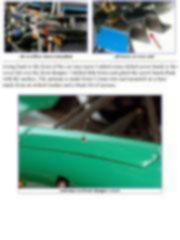
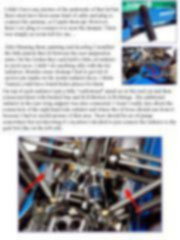
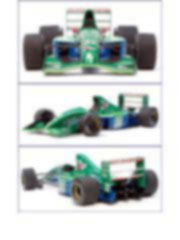
Legal Notice No material from Modeler Site any Web site owned, operated, licensed, or controlled by Damian Covalski may be copied, reproduced, republished, uploaded, posted, transmitted, or distributed in any way, except that you may download one copy of the materials on any single computer for your personal, non-commercial home use only, provided you keep intact all copyright and other proprietary notices. Modification of the materials or use of the materials for any other purpose is a violation of Damian Covalski's copyright and other proprietary rights. Read More here > Legal notice This build report is about superdetailing the 1/20 Tamiya kit and turning the Jordan 191 into Schumacher’s ride. The kit, a typical Tamiya product of the time, represents the Silverstone race version most closely, so some modifications were necessary besides adding the correct decals from Studio27. The front wing flaps had to be smaller, the rear wing needed some gurneyflaps and other bits, in the rear wing support there was an extra cooler for gearbox oil, the rear brakes needed additional “periscope” air ducts and there was a small extra tank at the front of the left cylinder bank. For reference I used the well known “Perfect File” book, the F1Modeling “Schumacher Special” and additional pictures I found online or received from other modelers.
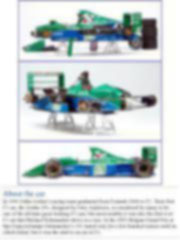
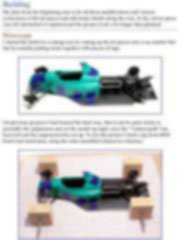
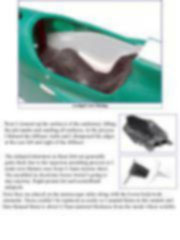
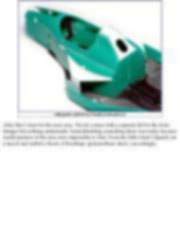
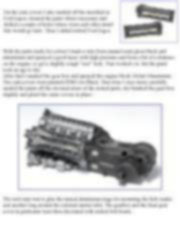
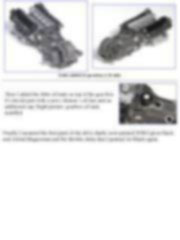
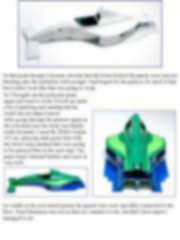
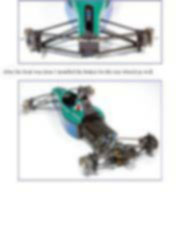
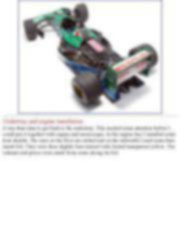
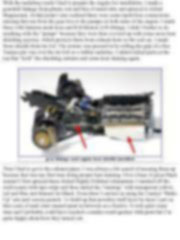
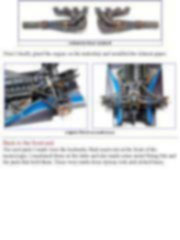
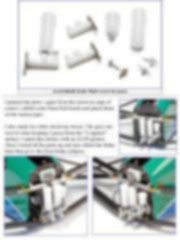
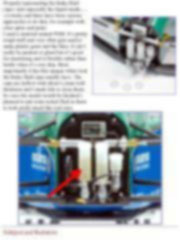
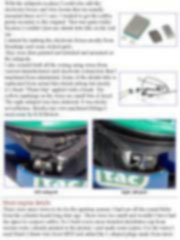
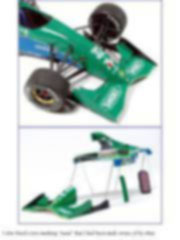
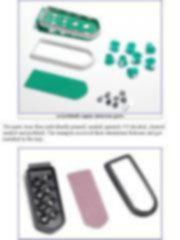
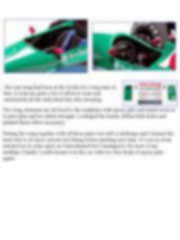
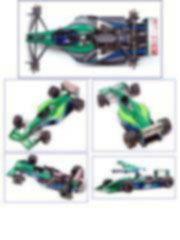
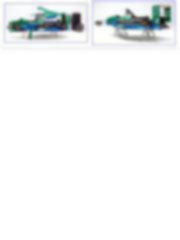
About the car In 1991 Eddie Jordan’s racing team graduated from Formula 3000 to F1. Their first F1 car, the Jordan 191, designed by Gary Anderson, is considered by many to be one of the all-time great looking F1 cars, but most notably it was also the first ever F1 car that Michael Schumacher drove in a race. In the 1991 Belgian Grand Prix at Spa Francorchamps Schumacher’s 191 lasted only for a few hundred meters until its clutch failed, but it was the start to an era in F1. Building My plan from the beginning was to do all these modifications and various corrections of the kit pieces and add many details along the way. In the end no piece was left untouched or replaced and the project took a lot longer than planned. Monocoque I started the build for a change not by cutting up the kit pieces into even smaller bits but by actually putting some together with pieces of tape.
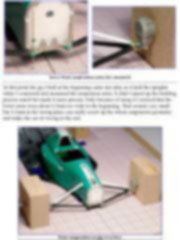
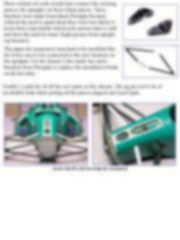
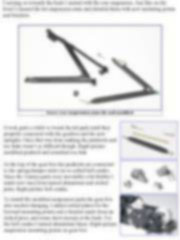
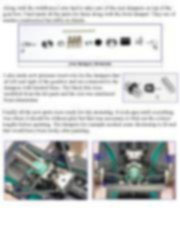
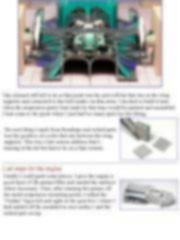
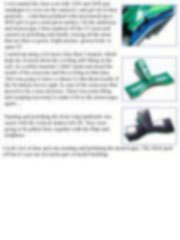
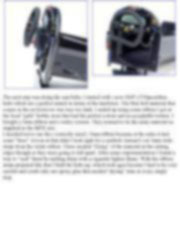
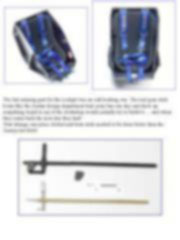
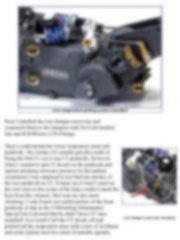
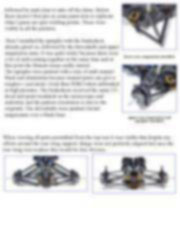
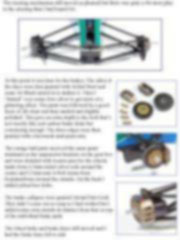
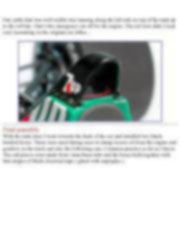
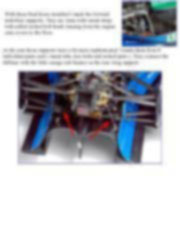
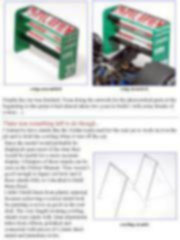
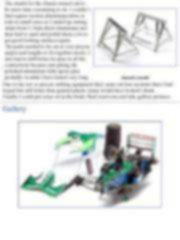
On previous projects I had learned the hard way, that it can be quite tricky to assemble the suspension and set the model up right, once the “Tamiya-path” has been left and the suspension bits cut up. So for this project I built a jig from MDF board and metal pins, using the semi assembled chassis as reference.
This tutorial is offered in PDF format to be read or printed using Acrobat reader, contact our webmaster > Here Includes more than 264 pics, here we show only the text pages.
Esta Nota es ofrecida en formato PDF, el cual puede ser leído o impreso usando el Acrobat reader, contacte a nuestro webmaster > Aquí Incluye más de 264 imágenes, aquí solo mostramos las paginas de texto.
Big size photos are only available in our PDF format. Support us ordering our notes in PDF > Here |
|||||||||||||||||||||||||||||||||||||||||||||||||||||||||||||||||||||||||||||||||||||||||||||||||||||||