|
|
|||||||||||||||||||||||||||||||||||||||||||||||||||||||||||||||||||||||||||||||||||||||||||||||||||||||||||||||||||||||||||||||||
|
Airplanes |
|
||||||||||||||||||||||||||||||||||||||||||||||||||||||||||||||||||||||||||||||||||||||||||||||||||||||||||||||||||||||||||||||||
|
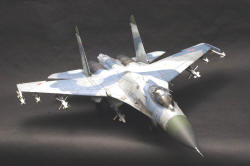
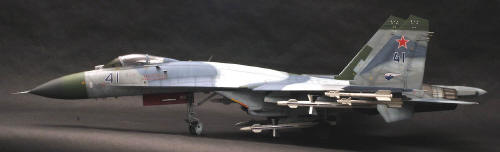
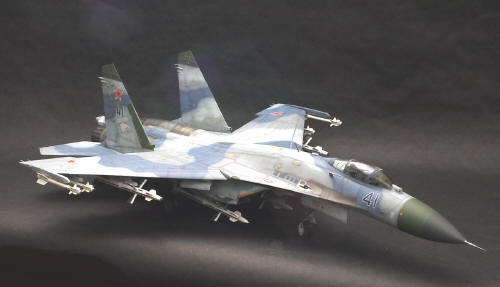
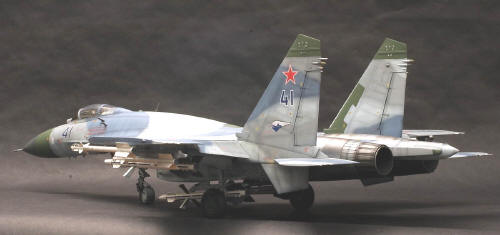
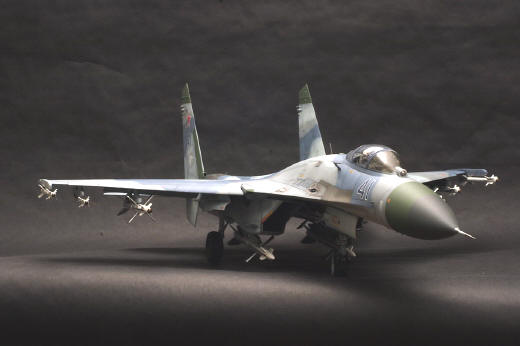
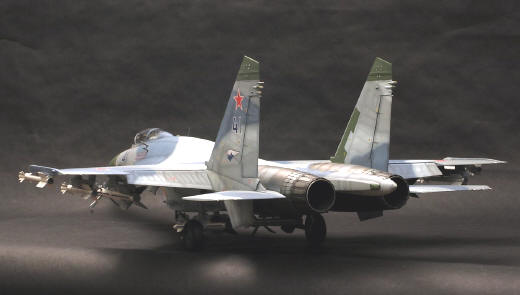
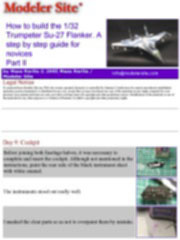
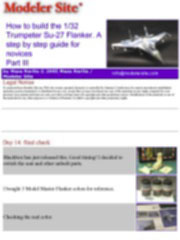
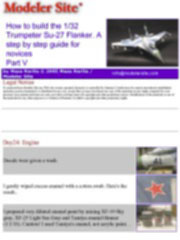
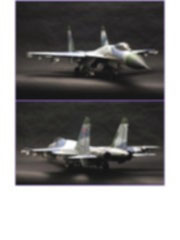
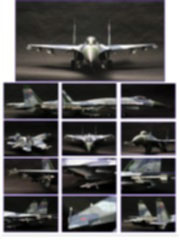
How to build the 1/32 Trumpeter Su-27 Flanker. A step by step guide for novices |
|||||||||||||||||||||||||||||||||||||||||||||||||||||||||||||||||||||||||||||||||||||||||||||||||||||||||||||||||||||||||||||||||
|
by Masa Narita © 2005 Masa Narita / Modeler Site |
|||||||||||||||||||||||||||||||||||||||||||||||||||||||||||||||||||||||||||||||||||||||||||||||||||||||||||||||||||||||||||||||||
|
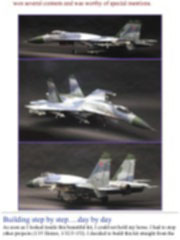
Legal Notice No material from Modeler Site any Web site owned, operated, licensed, or controlled by Damian Covalski may be copied, reproduced, republished, uploaded, posted, transmitted, or distributed in any way, except that you may download one copy of the materials on any single computer for your personal, non-commercial home use only, provided you keep intact all copyright and other proprietary notices. Modification of the materials or use of the materials for any other purpose is a violation of Damian Covalski's copyright and other proprietary rights. Read More here > Legal notice Big size photos are only available in our PDF format. Editor note: This month we’re showing the 1/32 SU-27 from Trumpeter, a scale the manufacturer is making good use of, introducing 2 or 3 new kits yearly. Masa Narita has accomplished a great job, not only on the model itself but also writing a step by step building diary which is useful either for novices or advanced modelers. This article was gently offered to Modeler Site and HLJ, by Masa Narita, and we’re proud to be able to have it online. I have to mention that the original note is online on Masa’s own site, with a simple text we’ve tried to polish it up, in order to offer it in a more easily comprehensive way for those who are less experienced in modeling. The article is really very extensive and though it will be offered for free, you may also get a PDF version with bigger pictures not only in the English but in the Spanish version as well. This model has won several contests and was worthy of special mentions.
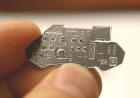
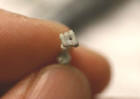
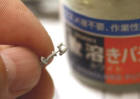
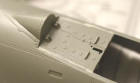
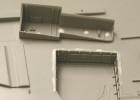
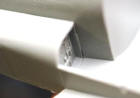
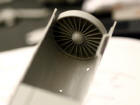
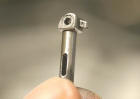
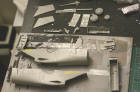
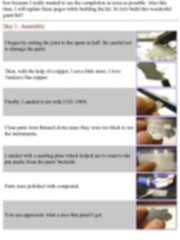
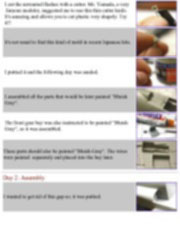
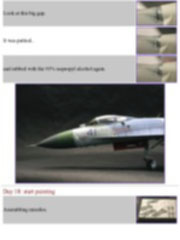
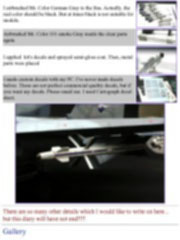
Building step by step….day by day As soon as I looked inside this beautiful kit, I could not hold my horse. I had to stop other projects (1/35 Hetzer, 1/32 F-15J). I decided to build this kit straight from the box because I really wanted to see the completion as soon as possible. Also this time, I will update these pages while building the kit. So let's build this wonderful giant kit!! Day 1: Assembly
Day 2: Assembly
This special issue is only available in pdf format. This is a technical article of 59 pages. Includes more than 380 high res pictures. > Here
Support us ordering our notes in PDF > Here |
|||||||||||||||||||||||||||||||||||||||||||||||||||||||||||||||||||||||||||||||||||||||||||||||||||||||||||||||||||||||||||||||||