|
Legal Notice
No material from Modeler Site any Web site owned, operated, licensed, or controlled by Damian Covalski may be copied, reproduced, republished, uploaded, posted, transmitted, or distributed in any way, except that you may download one copy of the materials on any single computer for your personal, non-commercial home use only, provided you keep intact all copyright and other proprietary notices. Modification of the materials or use of the materials for any other purpose is a violation of Damian Covalski's copyright and other proprietary rights.
Read More here > Legal notice
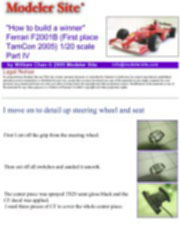
Editor overview
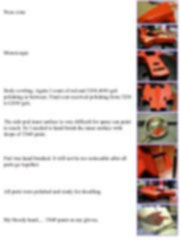
Again the modelling talent and patience of our Co-Editor for F1 1/20 models has borne fruit, and William could get the first place at the TamCon on past April (2005). Since I knew him several years ago, immediately I realized I was seeing a modeler with a great attitude for scratching, a lot of patience, perseverance, and skill…. but also a great guy. I’ve been modeling F1 models cars since 30 years ago, however the William’s models amazed me, and in spite of he had showed me how the model went during its construction… the final result was unexpected. Here William offers us a large article, step by step, with pictures during the whole building and a commentary about what we are looking, he calls this a diary, but I think that’s the state of the art of the patience to take pictures.
Thanks for the time and effort William spent on writing this article for Modeler Site.
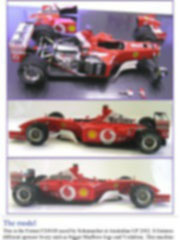
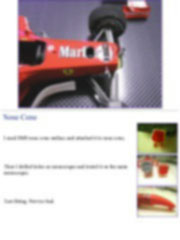
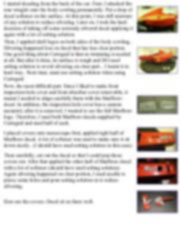
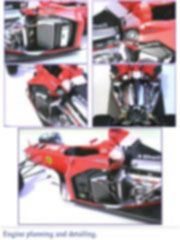
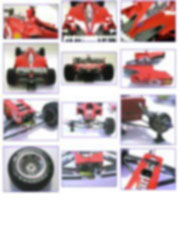
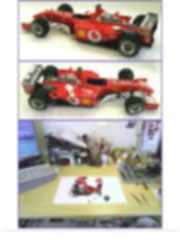
The model
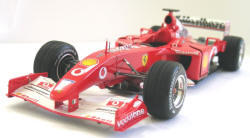
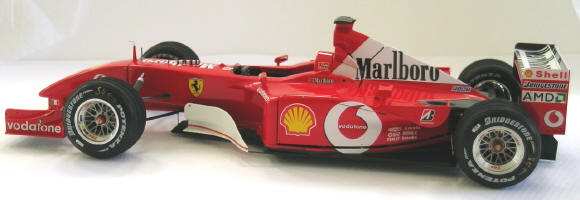
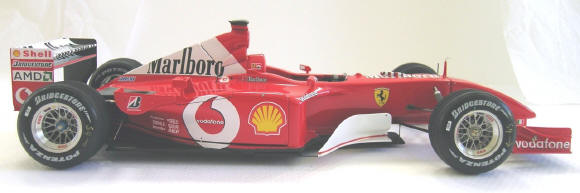
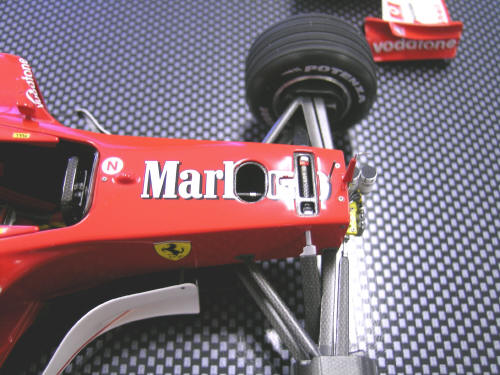
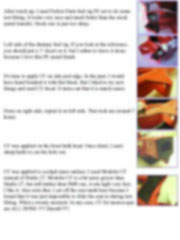
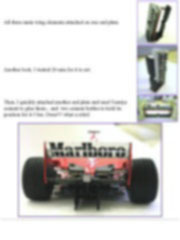
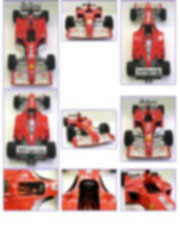
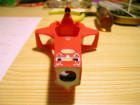
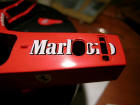
This is the Ferrari F2001B raced by Schumacher at Australian GP 2002. It features different sponsor livery such as bigger Marlboro logo and Vodafone. This machine was a modified version of the successful F2001 machine raced in 2001 season.
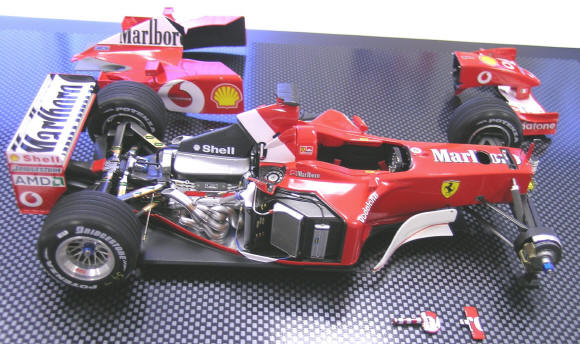
Here, I tried out few new things. Besides of detailing the engine and making the nose cone removable, I added:
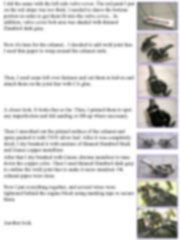
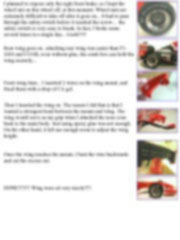
 Front shock absorber. Front shock absorber.
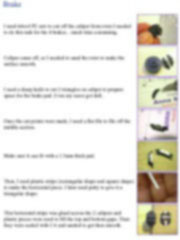
Throttle and brake unit.
Detail brake rotor and caliper
Refuelling rig (already supplied with the kit.)
I have always wanted to detail the engine intake too, but it's too difficult and is way beyond my skill.
Let's get started.
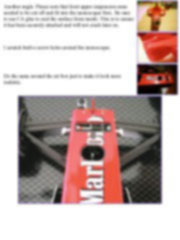
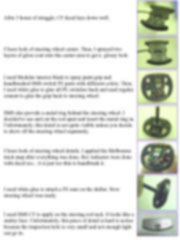
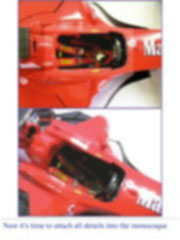
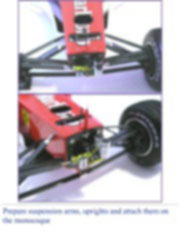
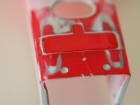
Monocoque
|
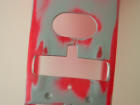
I cut out the front suspension cover and shave the inside with rotary tool and used SMS PE set to test fit the inner surface. It took a lot of patience to thin the monocoque's surface. |
 |
|
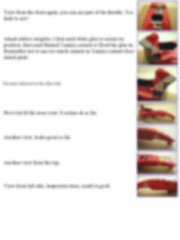
Another view from the top.
|
 |
|
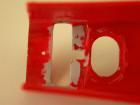
I used 2 thin plastic strips to fill the edge on both sides of the opening because it is too close to the side surface of the monocoque.
|
 |
|
Then, I puttied the inner surface to get it smooth and prepared to attach the PE part.
|
 |
|
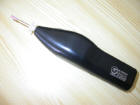
This Gunze battery powered rotary tool is very handy. It helps to thin out surface without melting the plastic.
|
 |
|
Now, you can see how thin the surface is compared to the original stock one. I sacrificed another kit to get the front suspension cover.
|
 |
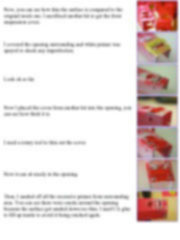
|
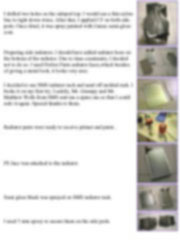
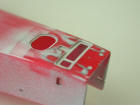
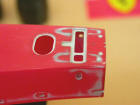
I covered the opening surrounding and white primer was spayed to check any imperfection. |
 |
|
Look ok so far.
|
 |
|
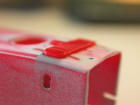
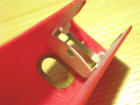
Now I placed the cover from another kit into the opening, you can see how thick it is. |
 |
|
I used a rotary tool to thin out the cover.
|
 |
|
Now it can sit nicely in the opening. |
 |
|
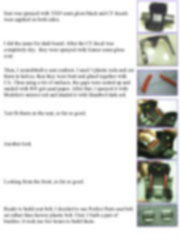
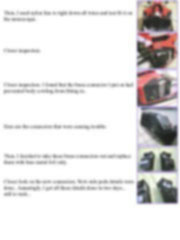
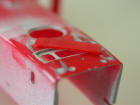
Then, I sanded off all the excessive primer from surrounding area. You can see there were cracks around the opening because the surface got sanded down too thin. I used CA glue to fill up inside to avoid it being cracked again.
|
 |
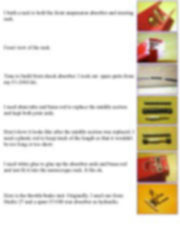
|
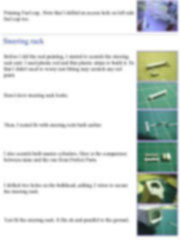
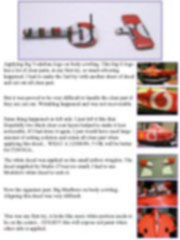
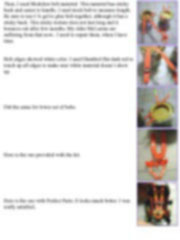
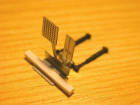
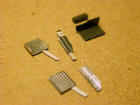
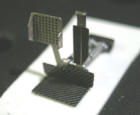
I built a rack to hold the front suspension absorber and steering rack. |
 |
|
Front view of the rack. |
 |
|
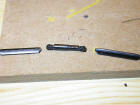
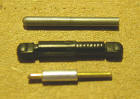
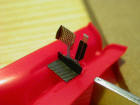
Time to build front shock absorber. I took out spare parts from my F1-2000 kit.
|
 |
|
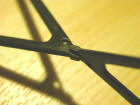
I used alum tube and brass rod to replace the middle section and kept both joint ends. |
 |
|
Here's how it looks like after the middle section was replaced. I used a plastic rod to keep track of the length so that it wouldn't be too long or too short.
|
 |
|
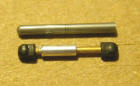
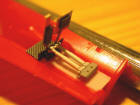
I used white glue to glue up the absorber ends and brass rod and test fit it into the monocoque rack. It fits ok.
|
 |
|
Here is the throttle/brake unit. Originally, I used one from Studio 27 and a spare F310B rear absorber as hydraulic.
|
 |
|
But it didn't look too good, so I switched to use the SMS one and then it looked very nice. The upper is from SMS and lower from Studio 27. I used some spare parts to make the throttle base.
|
 |
|
They were I glued up and tested on the monocoque floor.
|
 |
|
I used spare F310B parts to do the hydraulic unit behind the throttles.
|
 |
|
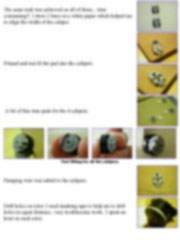
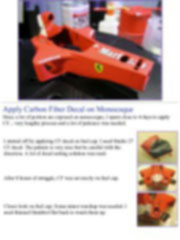
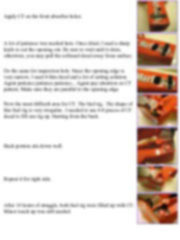
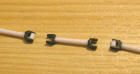
I finalized the front absorber and misc. throttle units by applying CF (SMS one) onto alum tube. I used thin wire to make coil and hand brushed the joints and hydraulics..
|
 |
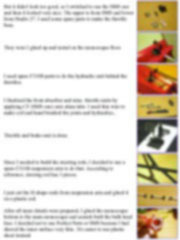
|
Throttle and brake unit is done. |
 |
|
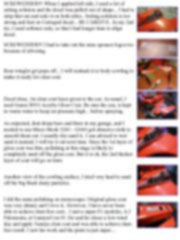
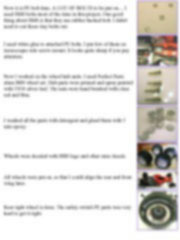
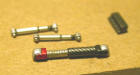
Since I needed to build the steering rods, I decided to use a spare F310B suspension arm to do that. According to reference, steering rod has 3 pieces.
|
 |
|
I just cut the H-shape ends from suspension arm and glued it on a plastic rod.
|
 |
|
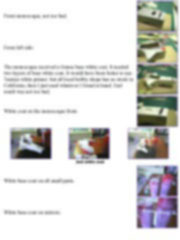
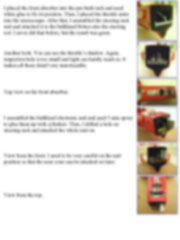
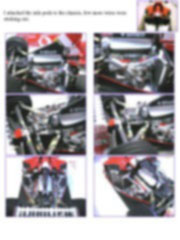
After all inner details were prepared, I glued the monocoque bottom to the main monocoque and scratch built the bulk head face. I decided not to use Perfect Parts or SMS because I had shaved the inner surface very thin.. It's easier to use plastic sheet instead.
|
 |
|
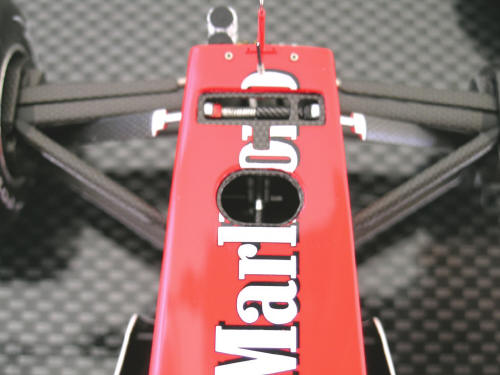
Another angle. Please note that front upper suspension arms needed to be cut off and fit into the monocoque first.. Be sure to use CA glue to seal the surface from inside. This is to ensure it has been securely attached and will not crack later on.
|
 |
|
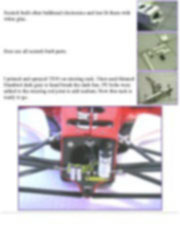
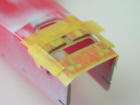
I scratch built a screw holes around the monocoque. |
 |
|
Do the same around the air box just to make it look more realistic.
|
 |
This special issue is only available in pdf format. This is a technical article of 66 pages. Includes more than 380 high res pictures. > Here
Support us ordering our notes in PDF > Here
|