|
|
|||||||||||||||||||||||||||
|
Airplanes |
|
||||||||||||||||||||||||||
|
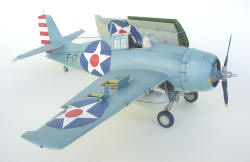
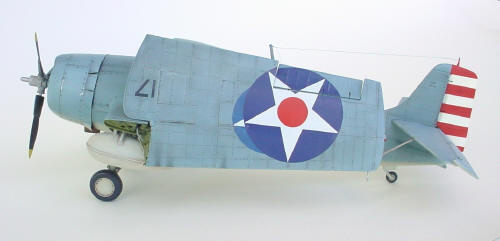
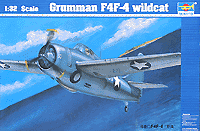
Grumamn F4F Wildcat A step by step guide for novices Trumpeter 1/32 scale |
|||||||||||||||||||||||||||
|
by Fabian Vera © Modeler Site |
|||||||||||||||||||||||||||
|
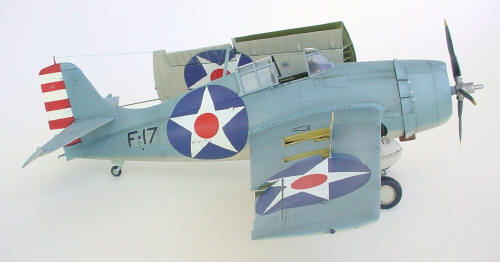
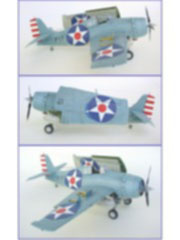
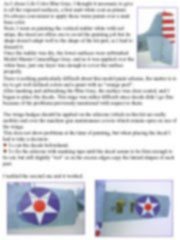
Legal Notice No material from Modeler Site any Web site owned, operated, licensed, or controlled by Mario Covalski & Associated may be copied, reproduced, republished, uploaded, posted, transmitted, or distributed in any way, except that you may download one copy of the materials on any single computer for your personal, non-commercial home use only, provided you keep intact all copyright and other proprietary notices. Modification of the materials or use of the materials for any other purpose is a violation of Mario Covalski & Associated's copyright and other proprietary rights. Read More here > Legal notice Some time ago Trumpeter had released a 1/32 F4F Wildcat which was postponed before being introduced to the US market because the kit had serious shape problems especially around the fuselage and nose. Nowadays, this company go on offering big size kits, very well detailed, even if built straight from the box, and have newly re-tooled a 1/32 scale F 4F Wildcat, which was thoroughly corrected, different and in my opinion excellent indeed.
The Wildcat, was the first of the famous “Wild Cats” from the Grumman company, it was predecessor of the Hellcat and Tomcat, and nearly the only huge aircraft available, to confront the powerful Japanese A6 M Zero in the Second World War.
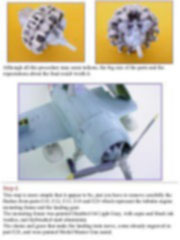
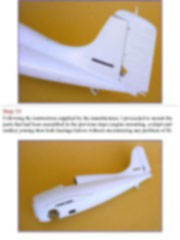
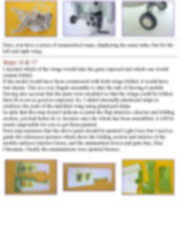
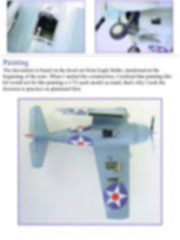
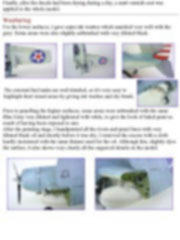
The decals were very well printed, but in spite of the correct use of decal set and sol, they didn't copy the surface correctly, as they appeared to be not so flexible, the reasons might respond either to the decals manufacturing date (1999) or to the kind of varnish used by the manufacturer. Anyway, a few tricks such as white glue and patience helped me to get an acceptable result. Assembly and detailing As this model was built straight from the box, I'll explain the assembly according to the instructions.
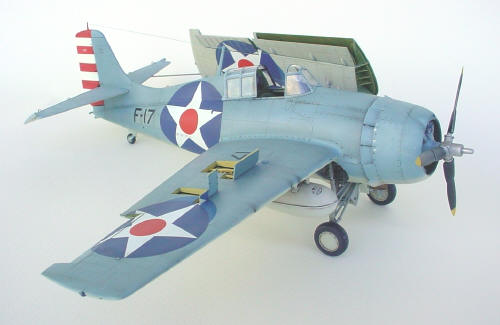
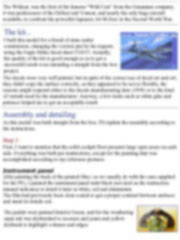
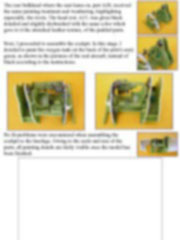
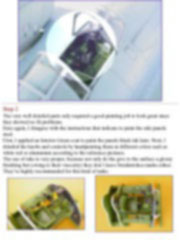
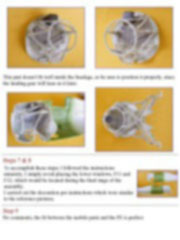
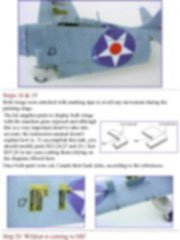
Step 1: First, I want to mention that the solid cockpit floor presents large open areas on each side. Everything was built per instructions, except for the painting that was accomplished according to my reference pictures.
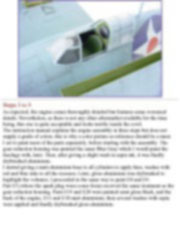
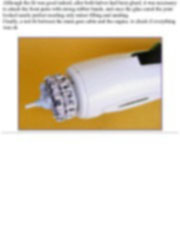
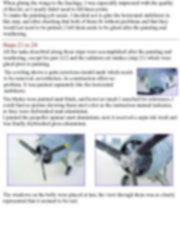
Instrument panel After painting the back of the printed film ( as we usually do with the ones supplied for the PE), I painted the instrument panel matt black (not steel as the instruction manual indicates) to detail it later in white, red and aluminium. The film had previously been clear coated to get a proper contrast between surfaces and stand its details out. This special issue is only available in pdf format. This is a technical article of 20 pages. Includes more than 70 high res pictures. > Here
Support us ordering our notes in PDF > Here |
|||||||||||||||||||||||||||