|
|
||||||||||||||||||||||||||||||||
|
Airplanes |
|
|||||||||||||||||||||||||||||||
|
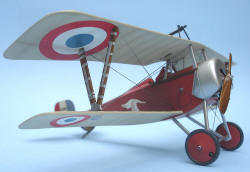
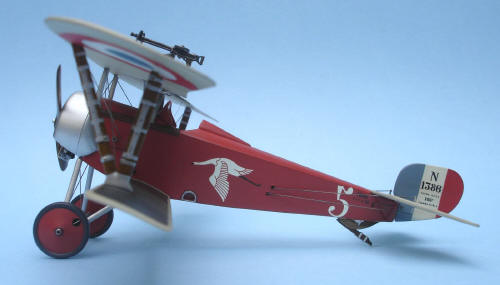
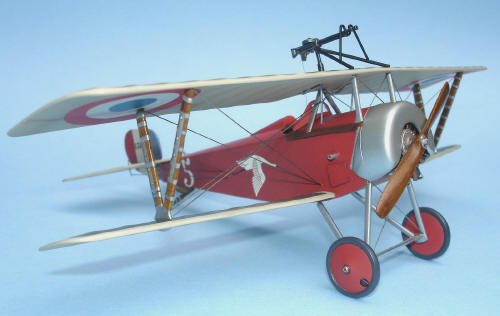
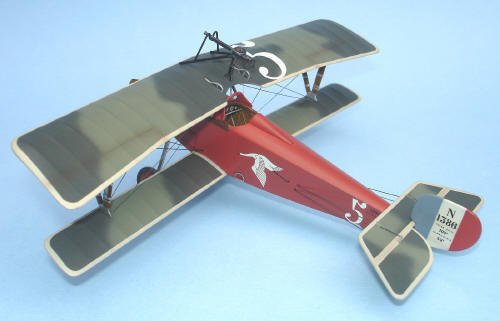
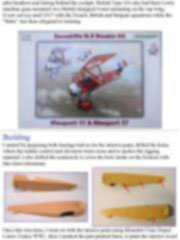
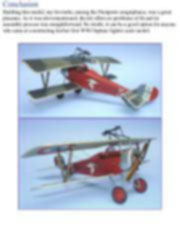
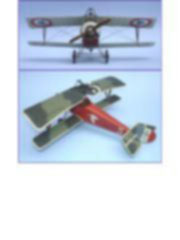
Building the Nieuport 16 Eduard 1/48 scale |
||||||||||||||||||||||||||||||||
|
by Walter Silva © 2008 Modeler Site |
||||||||||||||||||||||||||||||||
|
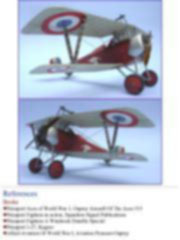
Legal Notice No material from Modeler Site any Web site owned, operated, licensed, or controlled by Damian Covalski may be copied, reproduced, republished, uploaded, posted, transmitted, or distributed in any way, except that you may download one copy of the materials on any single computer for your personal, non-commercial home use only, provided you keep intact all copyright and other proprietary notices. Modification of the materials or use of the materials for any other purpose is a violation of Damian Covalski's copyright and other proprietary rights. Read More here > Legal notice This Eduard kit can be compared with any Tamiya or Hasegawa release, dimensions of scale model are accurate if you take as reference the scale plans from Windsock Datafile Special "Nieuport Fighters Volume 1". It’s important to mention the detailed El Rhone engine and the three-piece figure the kit provides, something that can be used in dioramas.
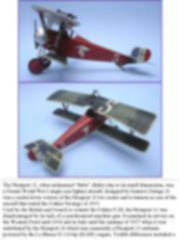
The Nieuport 11, often nicknamed “Bebe” (Baby) due to its small dimensions, was a French World War I single seat fighter aircraft, designed by Gustave Delage. It was a scaled down version of the Nieuport 10 two seater and is famous as one of the aircraft that ended the Fokker Scourge of 1915. Used by the British and French to counter the Fokker E.III, the Nieuport 11 was disadvantaged by its lack of a synchronized machine gun. It remained in service on the Western Front until 1916 and in Italy until the summer of 1917 when it was substituted by the Nieuport 16 which was essentially a Nieuport 11 airframe powered by the Le Rhone 9J 110 hp (82 kW) engine. Visible differences included a pilot headrest and fairing behind the cockpit. British Type 16's also had their Lewis machine guns mounted on a British designed Foster mounting on the top wing. It saw service until 1917 with the French, British and Belgian squadrons while the “Bebe” was then relegated to training.
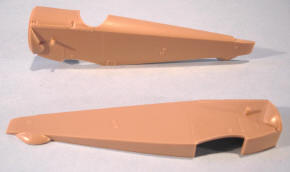
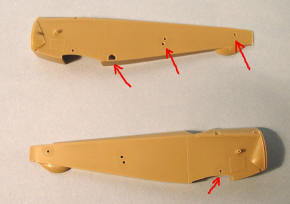
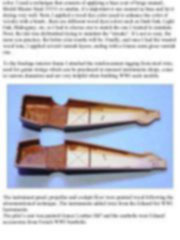
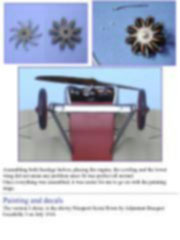
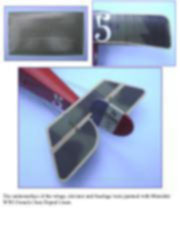
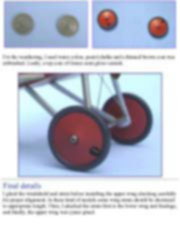
Building I started by preparing both fuselage halves for the interior paint, drilled the holes where the rudder control and elevators wires cross and to anchor the rigging material. I also drilled the semicircle to cover the hole inside on the footrest with thin sheet aluminum.
This article is offered in PDF format to be read or printed using Acrobat reader, contact our webmaster > Here Includes more than 30 pics, here we show only the text pages.
Esta Nota es ofrecida en formato PDF, el cual puede ser leído o impreso usando el Acrobat reader, contacte a nuestro webmaster > Aquí Incluye más de 30 imágenes, aquí solo mostramos las paginas de texto.
Big size photos are only available in our PDF format. Support us ordering our notes in PDF > Here |
||||||||||||||||||||||||||||||||