|
|
||||||||||||||||||||||||||||||||||||||||||||||
|
Motorcycles |
|
|||||||||||||||||||||||||||||||||||||||||||||
|
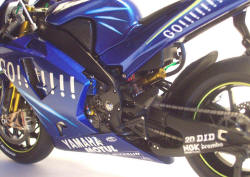
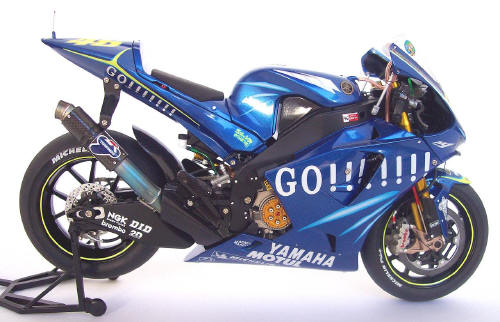
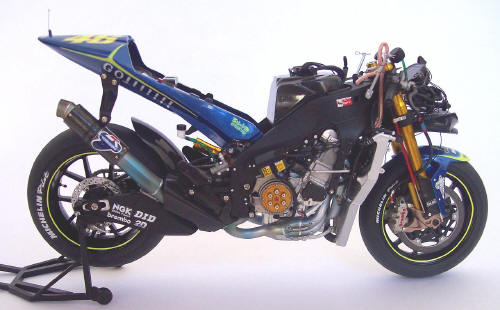
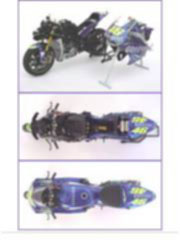
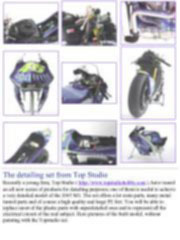
Detailing the 1/12 Tamiya Yamaha YZR M1-2004 #46 Tamiya 1/12 scale |
||||||||||||||||||||||||||||||||||||||||||||||
|
by Nicolas Perez Fiorentini © 2007 Modeler Site |
||||||||||||||||||||||||||||||||||||||||||||||
|
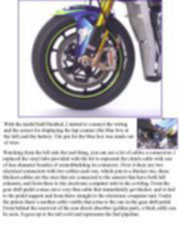
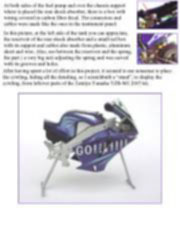
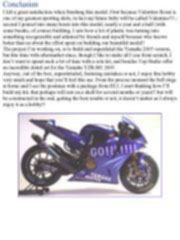
Legal Notice No material from Modeler Site any Web site owned, operated, licensed, or controlled by Damian Covalski may be copied, reproduced, republished, uploaded, posted, transmitted, or distributed in any way, except that you may download one copy of the materials on any single computer for your personal, non-commercial home use only, provided you keep intact all copyright and other proprietary notices. Modification of the materials or use of the materials for any other purpose is a violation of Damian Covalski's copyright and other proprietary rights. Read More here > Legal notice This Tamiya kit was released in 2004, and is an accurate replica of the motorcycle with which Valentino Rossi won his 6th riders championship. Nobody thought it possible that Valentino would win the rider’s title with Yamaha in the first year after the team’s change partly because Honda didn’t allow Valentino to test the Yamaha M1, up to only three months before the World Moto GP began. When at the end of last curve of Welkom Sud Africa circuit, Rossi overtaking his rivals, he demonstrated that he still was far beyond his limits.
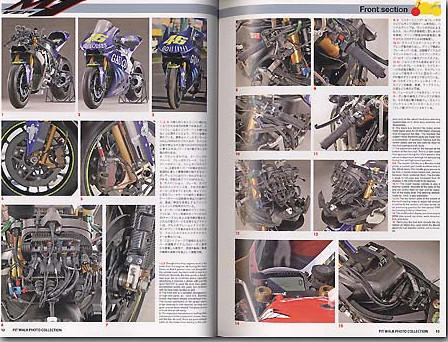
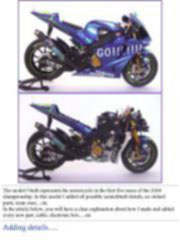
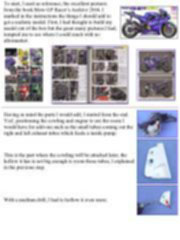
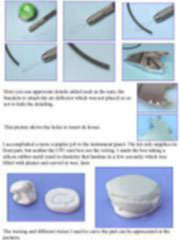
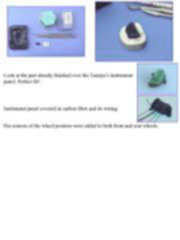
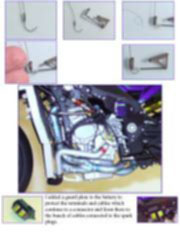
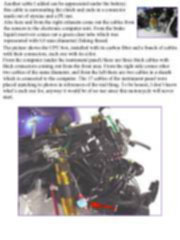
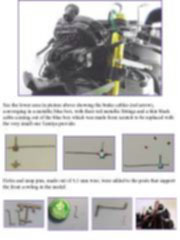
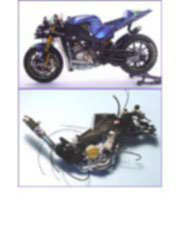
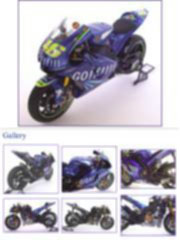
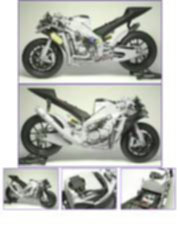
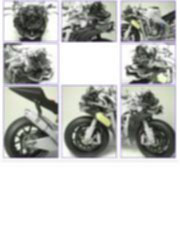
The model I built represents the motorcycle in the first five races of the 2004 championship. In this model I added all possible scratchbuilt details, no etched parts, resin ones…etc. In the article below, you will have a clear explanation about how I made and added every new part, cable, electronic box,…etc Adding details….
This note is offered in PDF format to be read or printed using Acrobat reader, contact our webmaster > Here Includes more than 150 pics, here we show only the text pages (28).
Esta Nota es ofrecida en formato PDF, el cual puede ser leído o impreso usando el Acrobat reader, contacte a nuestro webmaster > Aquí Incluye más de 150 imágenes, aquí solo mostramos las paginas de texto (28).
Big size photos are only available in our PDF format. Support us ordering our notes in PDF > Here |
||||||||||||||||||||||||||||||||||||||||||||||