|
Legal Notice
No material from Modeler Site any Web site owned, operated, licensed, or controlled by Mario Covalski & Associated may be copied, reproduced, republished, uploaded, posted, transmitted, or distributed in any way, except that you may download one copy of the materials on any single computer for your personal, non-commercial home use only, provided you keep intact all copyright and other proprietary notices. Modification of the materials or use of the materials for any other purpose is a violation of Mario Covalski & Associated's copyright and other proprietary rights.
Read More here > Legal notice
In 1974 the Japanese Touring Championship (JTCC) for class II, began under the FIA regulations. This international classification restricts the use of 4 doors sedan cars, powered by two liters aspirated engines.
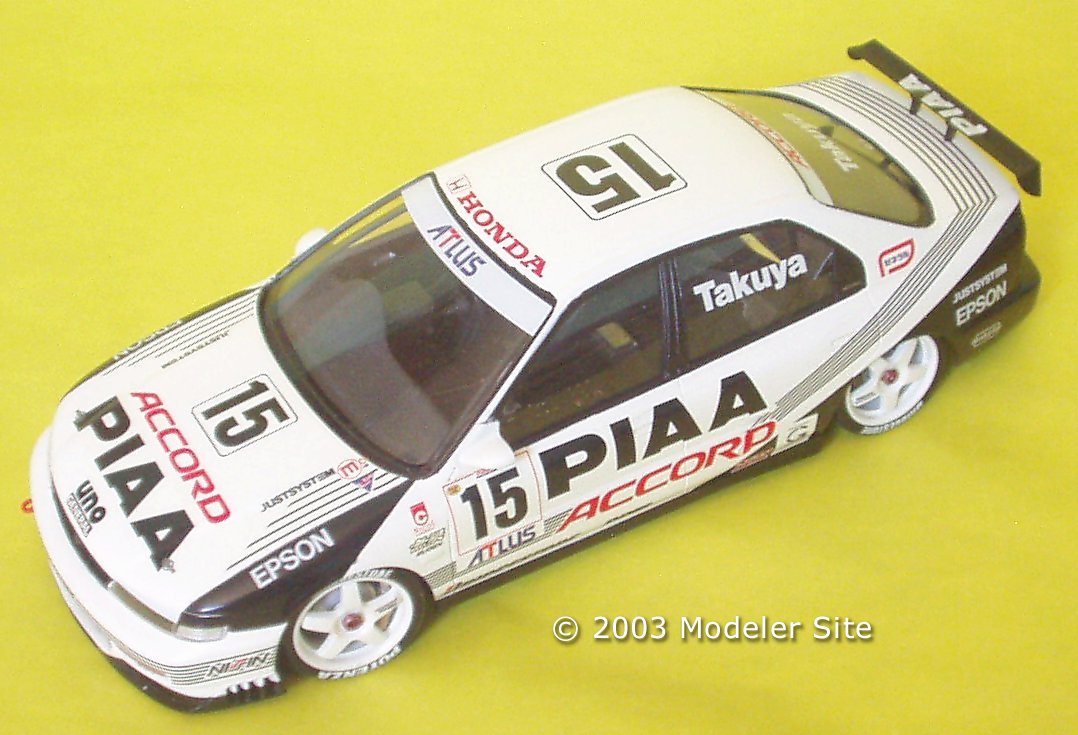
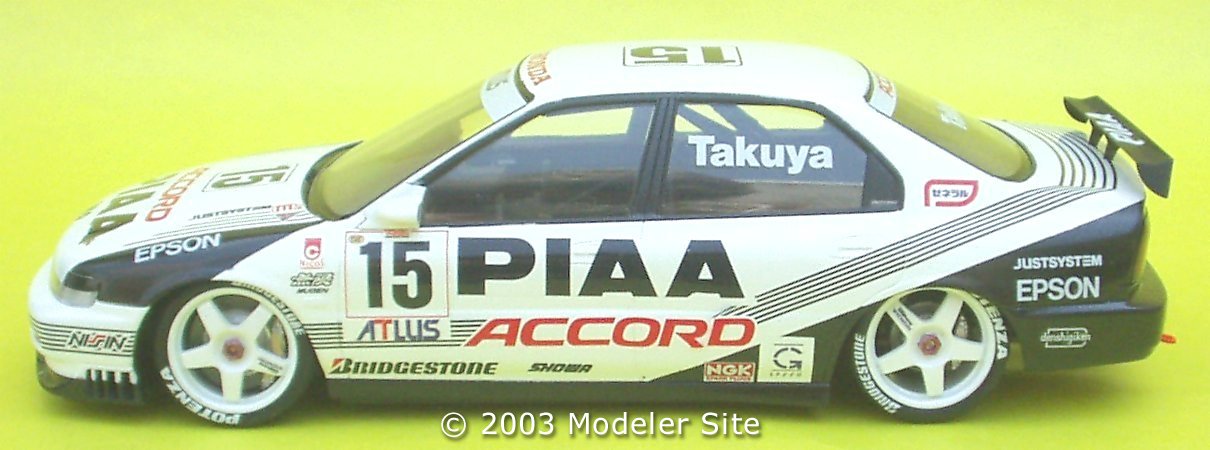
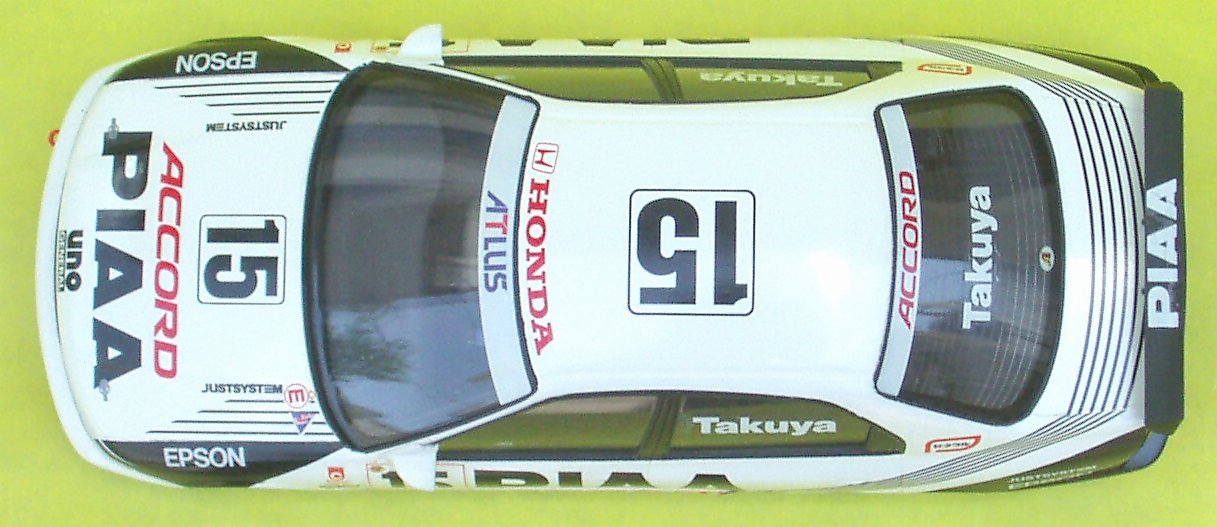
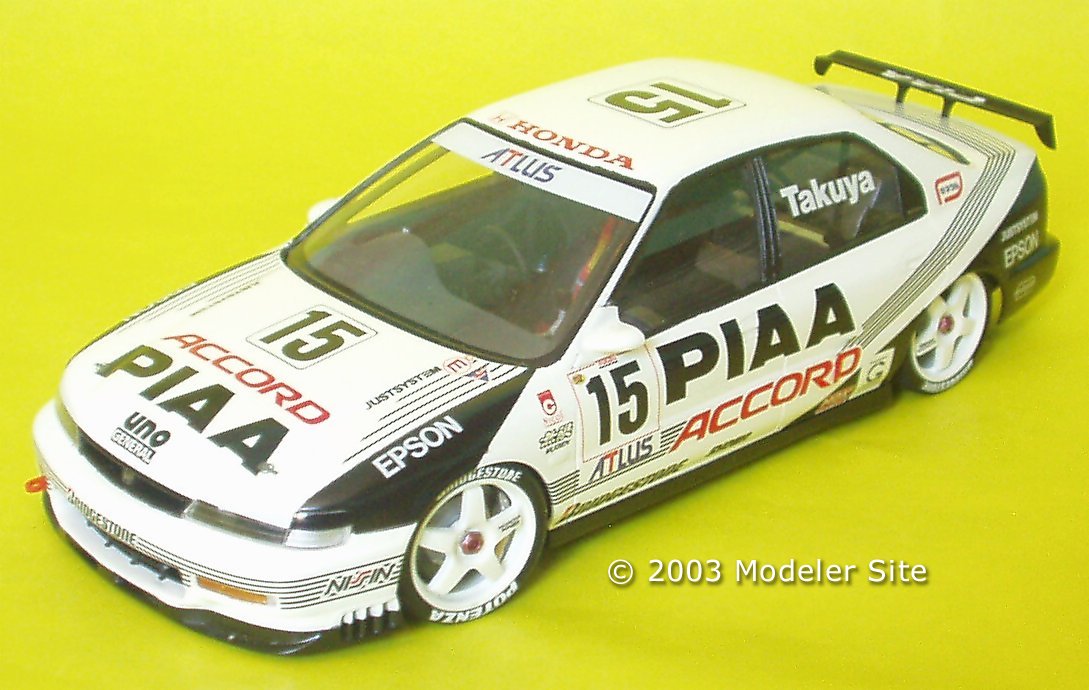
Honda presented the Accord in 1996 with three different teams, one of them was the represented in this kit: The PIAA ACCORD.
The kit
|
As usual, this kit from Tamiya is excellent; with its body moulded in only one part, a very good fitting of parts and besides the provided instructions are clear and easy to be followed. The negative point is the lack of the engine and that some parts need to be painted in several colors what means a more complex painting task.
|
|
As I said above, this is a very good quality kit, so I decided to build it straight from the box, giving more attention to the building and painting processes since this last one is very important and difficult to achieve, in civil vehicles.
Building
Once the instruction manual was carefully analyzed, we'll have to plan a sequence about how to build and paint the kit, detecting any trouble that could exist.
I took the parts away from the sprue, classifying them as they should have to be painted, having in mind the main color or the lighter one.
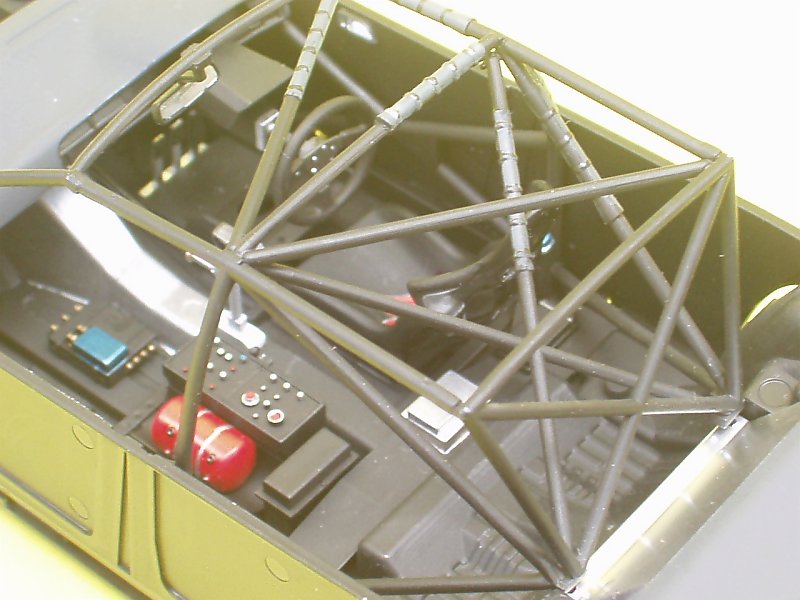
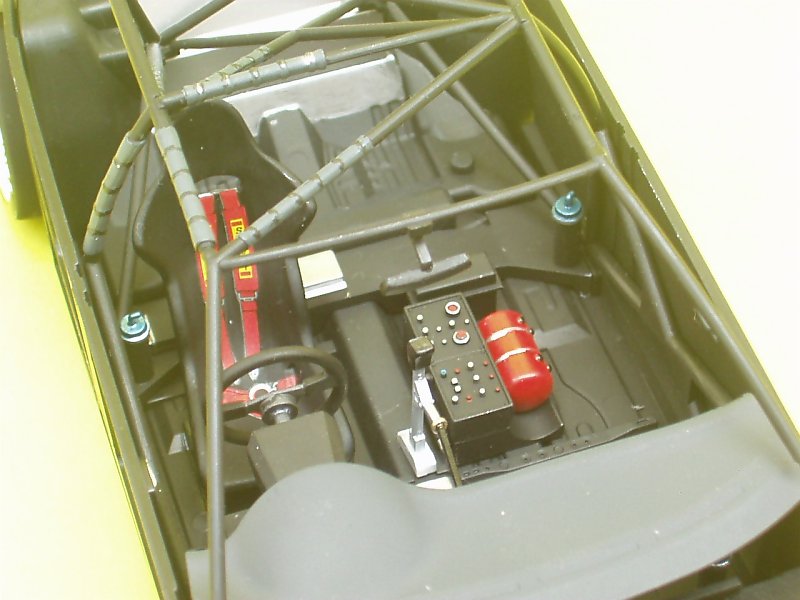
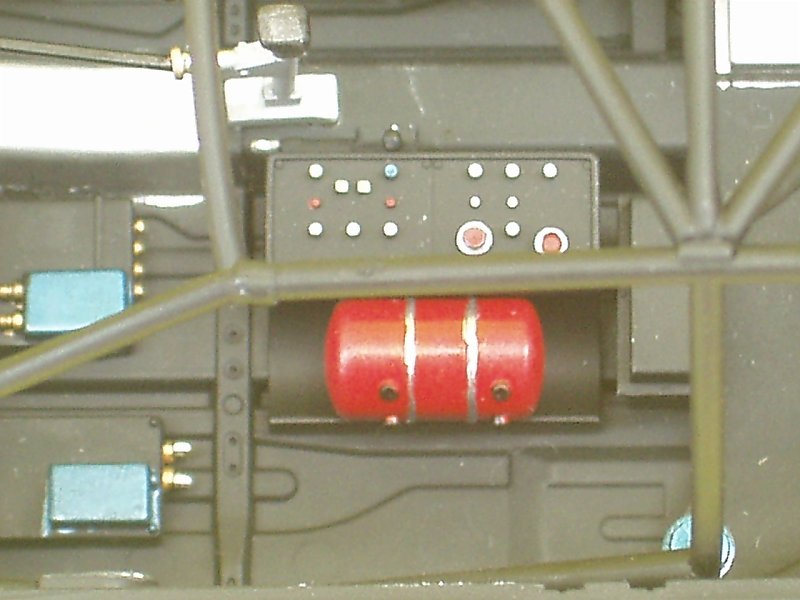
After removing all mould marks, I glued together those parts which should be painted in the same color, for example, the chassis and the fuel tank or the antiroll cage.
Once I cleaned the parts, I fastened them to a cardboard using masking tape in order to paint them with an airbrush. This simple task allowed me to paint quickly those parts of different sizes, and take advantage of the full charge of the airbrush, besides the task of painting problematic colors like white or yellow seems to be simplified.
As some parts needed to be painted in more than one color, I waited until the paint was dry, then I masked with tape or liquid (i.e. Maskol, etc.) and went on applying the next one.
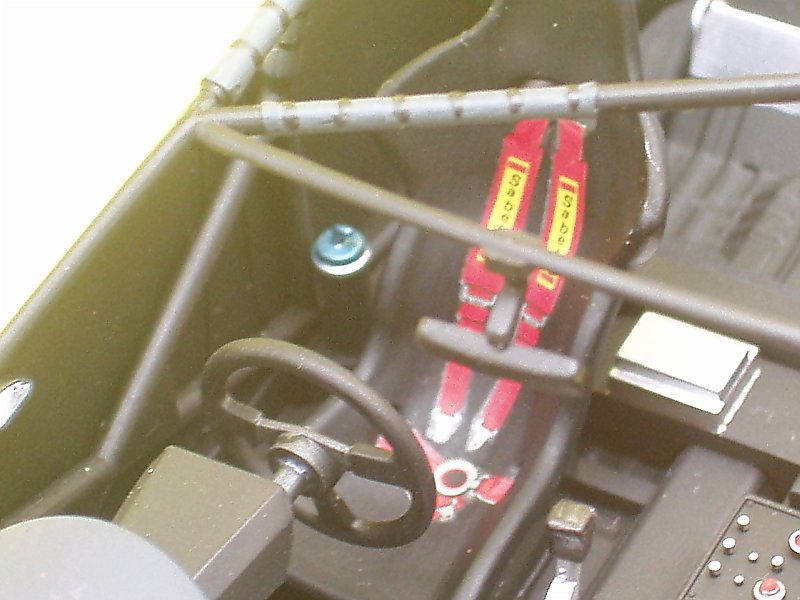
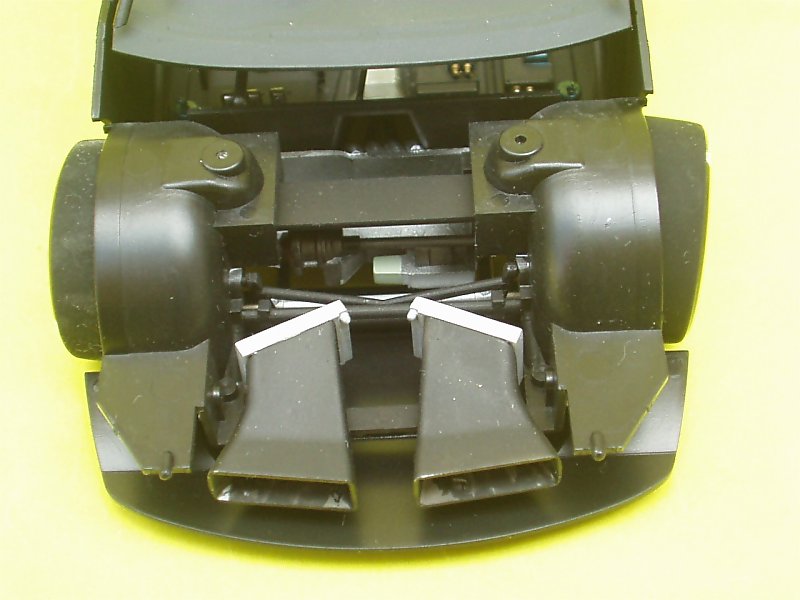
Some details as the shock springs were very difficult to be masked, so I decided to handpaint them.
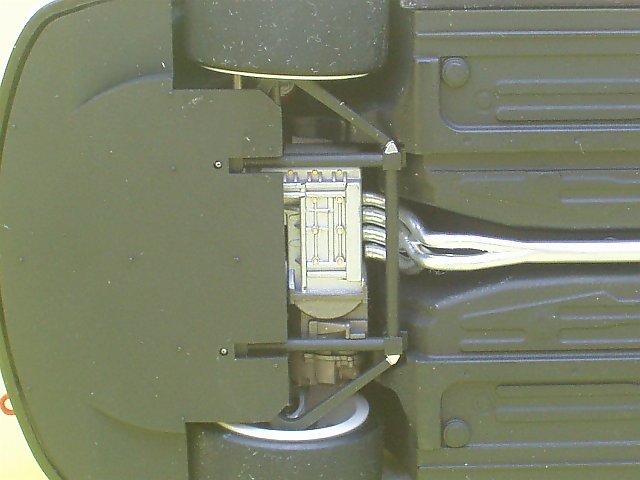
After painting the brake disks in steel using Molak, I polished them using a cotton swab.
The exhaust system was polished with Tamiya compound and then painted it with chrome silver, the muffler was painted aluminum from Model Master.
After all parts were painted, I went on with the building process following the instruction manual to avoid overlooking some detail or making mistakes.
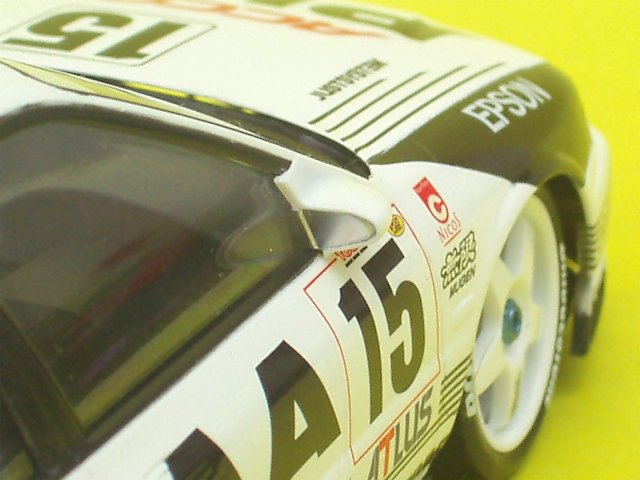
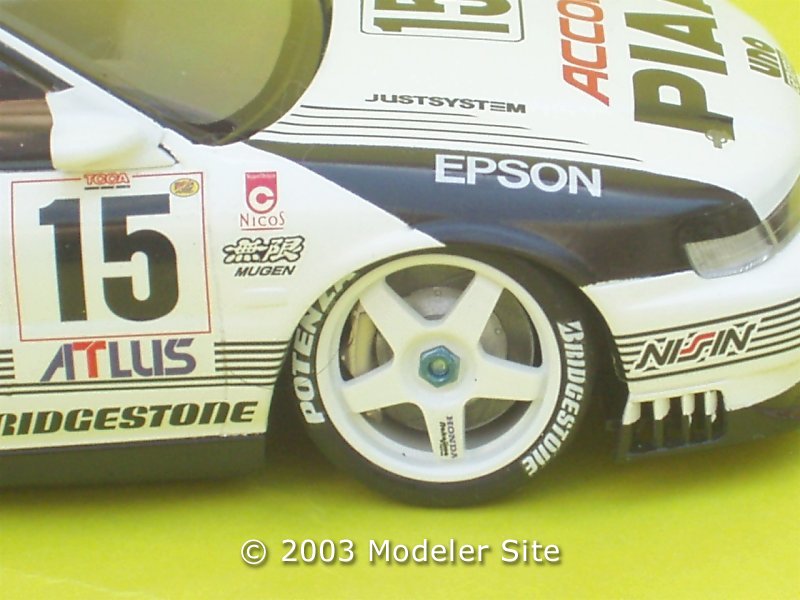
Using #200 sandpaper, I removed the mould marks from the tires and once they were placed on the wheels, then I applied the decals. As they're transfers, I placed them on the surface, adding water (with a brush), after a few seconds I detached them from the paper. These decals don't have carrier film, so you will have not a second chance.
As the transparent are provided in only one part, I had to paint the edges of the windshields and the rear sit windscreen from inside.
Painting
After removing all mould marks from the body, I sanded it very slightly with #1200 sandpaper, then I washed it with water and soap.
At first I applied a very diluted and light coat of paint letting it dry during 10-15 minutes to create the necessary "teeth" for the next coats. Then I applied three layers more, being the last one "heavier", but trying to avoid the paint running. I used an air pressure of 24 lbs.
During the painting, some troubles turned up: I could either appreciate that there were lint on the surface, or the paint looked like orange peel or I couldn't get the brightness I expected to.
After removing the paint, repeating the work over and over, I got a very good result: a smooth brightness with no strange particles.
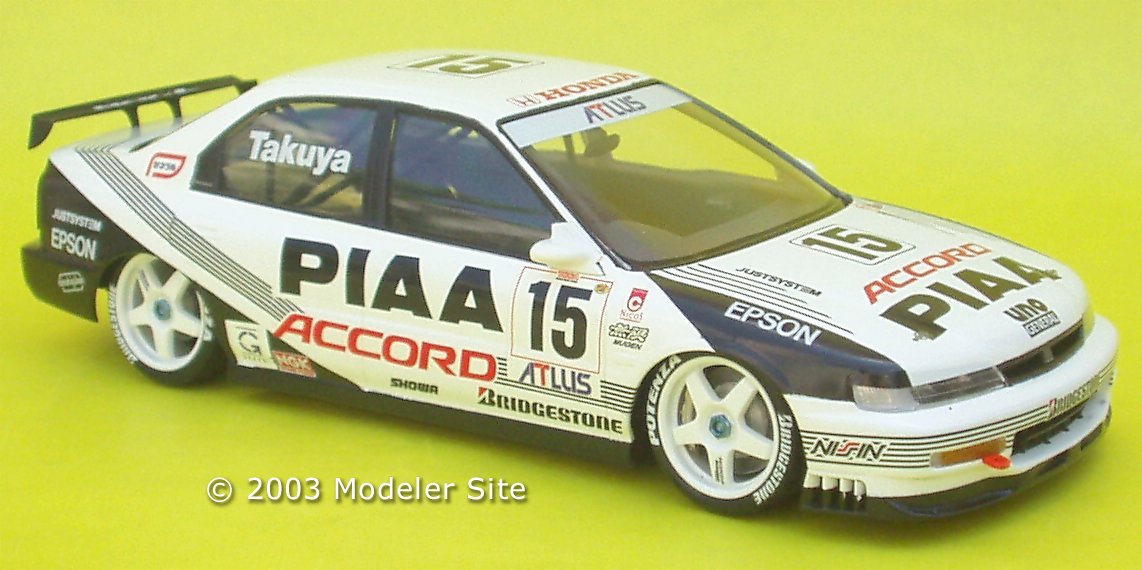
For the black areas, I decided to mask and paint them instead of using the decals the kit provides. Actually this job was easier than applying them with softener solvents.
Both paint used were enamels; for the white areas: 2710 Classic White from Model Master; and for the black ones , Tamiya X1.
The weatherstrips around the windows and windshields should be previously masked and can be painted with Tamiya X18 using airbrush. Nevertheless It's easier to use a marker (Tamiya XF-1) and my advice is to use a new one if you want to get a perfect finishing.
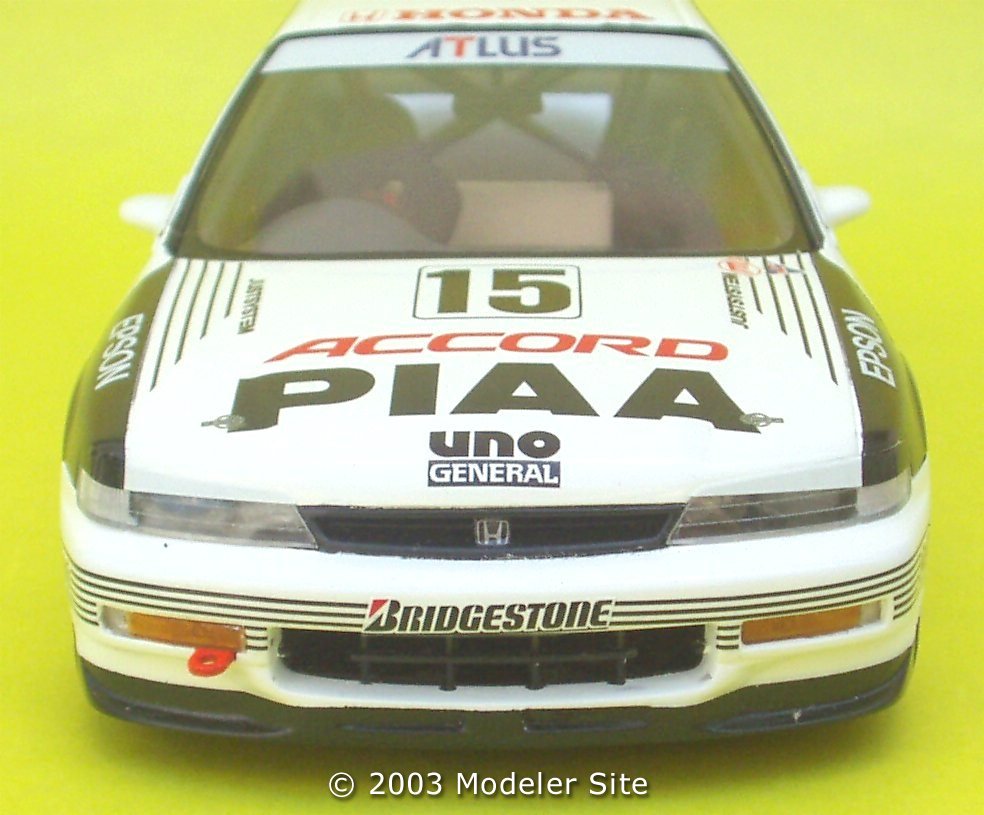
After gluing the chassis and body, I painted in silver the lights and other small details such as the trunk locks and the front grill.
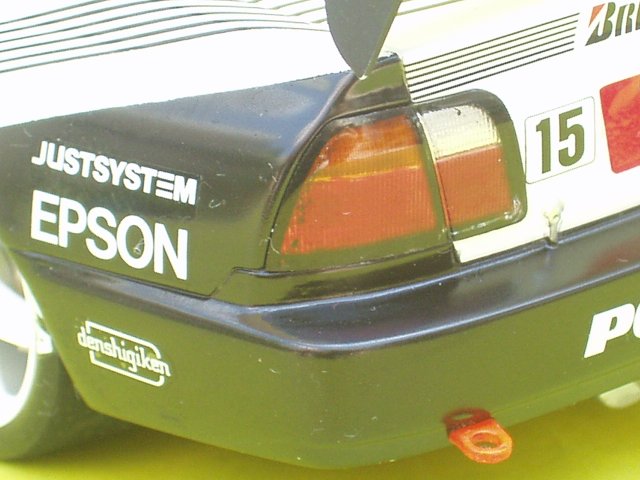
The front marker lights and the stop ones were handpainted in transparent colors from inside.
Decaling
They're thin and of very good quality, their brightness is similar to the paint. First I placed the biggest ones which were used as guide to apply the others.
I cut them one by one and after moistening in water, I let them laying on a foam until they were detached from the paper.
After a few minutes and without touching them with my fingers, I applied them, sliding carefully from the support paper, helping me with a brush and more water. I let them dry at least during one day, then using a brush, water and soap, I removed the rests of glue that can be left. It was not necessary to use "decal set" to set them. Finally I placed the rear aileron and glued the glasses with CA.
Conclusion
I hope this simple description can be useful to newcomers. I advise them to take their time, to be patient when building every step and to put into practice the paint techniques on a spare piece of plastic.
Support us ordering our notes in PDF > Here
|